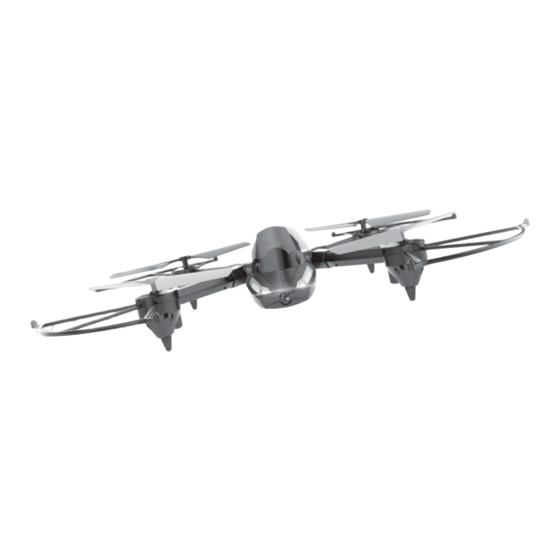
Summary of Contents for RED5 FX 3in1
- Page 1 Ages 8+ TRANSFORMING VEHICLE PLEASE READ INSTRUCTIONS CAREFULLY AND RETAIN FOR FUTURE REFERENCE...
- Page 2 COMPONENTS ASSEMBLY POWER SWITCH LEFT RIGHT CONTROLLER Flexible mobile phone holder Pilot light Photo Speed gear Shooting Four-axis rolling button One-button Forwards ascending Left control lever Right control lever One-button Backwards descending One-button return Left Headless mode Right Jumping button Light mode controlling Power switch...
-
Page 3: Controller Battery Installation
FITTINGS INSTALLATION Attach the bumper frame as shown in the Attach the propeller as shown in the above picture and fasten with screws. above picture. WARNING: Only use the charger and battery provided with this product. The use of other chargers and batteries may cause accidents or damage to the product. -
Page 4: Product Functions
SPACE VEHICLE LEFT Attach and fasten the wheels on each side of the fuselage. RIGHT PRODUCT FUNCTIONS Startup Mode: Turn on the drone and the controller. Push the left control lever all the way up to match the frequency. Pull it to the left, then down to the bottom to reset. After resetting, move both control levers outwards and down as shown in the picture. -
Page 5: Technical Specifications
• Use a screwdriver to remove the screw from environment and human health due to the presence of hazardous substances. the battery cover and insert batteries. Replace battery cover and screw before use. WWW.RED5.COM The Source Wholesale Manufactured by The Atruim, Curtis Road,...


Need help?
Do you have a question about the FX 3in1 and is the answer not in the manual?
Questions and answers