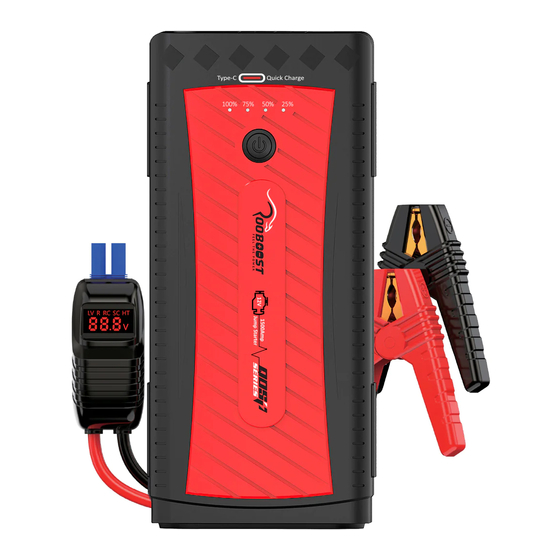
Summary of Contents for Rooboost RB-1500
- Page 1 User Manual Ultra Safe Jump Starter & Power Bank RB-1500 Please read this user manual thoroughly before using the product.
- Page 2 Copyright © 2019-2020, Rooboost, Australia. All Rights Reserved.
- Page 6 GETTING TO KNOW YOUR JUMP STARTER Smart Jumper Cable Jumper Clamp Jump Start Socket Jumper Connector Output1: USB 5V/2.1A Jumper Cable Display Output2: USB Quick Charge 5V/3A, 9V/2A, 12V/1.5A USB Type-C Charging Cable LED Light: Steady Torch, SOS Signal Flash, Type-C Connector Strobe USB Connector...
- Page 7 Follow the bellow steps to charge the RB-1500. Connect Type-C connector of charging cable into jump starter input port. lighter adapter (5V/3A). • It is recommended to charge the RB-1500 at least once a month in order to • while it is hot.
- Page 9 • Follow the bellow steps carefully to jump start your vehicle. Connect the jumper connector (blue) into the RB-1500 jump start socket. Wait for jumper cable display to go into stand-by mode. When in stand-by If the jumper cable display shows voltage without any warning or alarm beeps, it...
- Page 10 Start your vehicle engine. If the vehicle does not start within 3 seconds, stop Once you have successfully started your vehicle, unplug the jumper connector from the RB-1500 within 30 seconds.
-
Page 11: Troubleshooting
Disconnect the jump starter within 30 second One beep per Allow the jump starter to cool in a cooler second environment. Jump starter is over voltage or damaged. Stop using it and carefully store in a Buzzer is long safe place. Contact Rooboost customer support. - Page 14 • This warranty is not transferrable. Rooboost is not responsible or liable for any damages, losses or inconveniences caused by product failure or accidental damage or faults caused by not following the Please email at support@rooboost.com.au with any further inquiries about Rooboost warranty or to ask about making a warranty claim.
- Page 16 V1.0720...


Need help?
Do you have a question about the RB-1500 and is the answer not in the manual?
Questions and answers