Advertisement
Quick Links
A-49 PCS
B-49 PCS
+ -
Cams
C-2 PCS
Wooden dowels
D-8 PCS
(20mm)
E-2 PCS
(98mm)
F-2 PCS
(128mm)
G-8 PCS
(50mm)
U-49PCS
Cam covers
24
23
22
11
25
Additional tools required:
1 x Philips cross-head screwdriver.
1x Drill &1×8mm wood drill bit.
Φ8mm
ASSEMBLY
ASSEMBLY
INSTRUCTIONS
INSTRUCTIONS
4
3
12
16
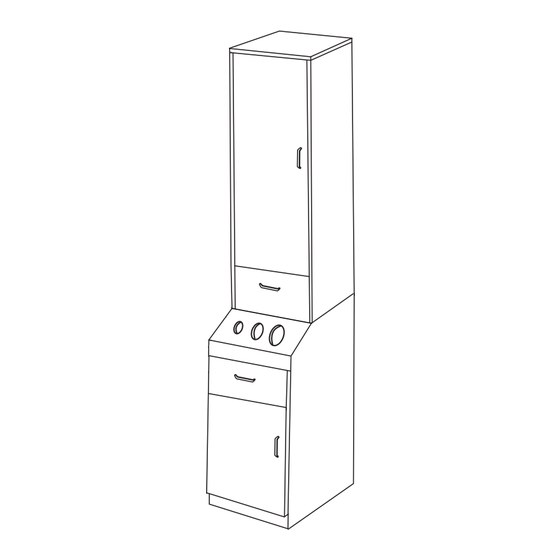
6154-5207
J-1 PC
Allen key tool
K-4PCS
R-2 PCS
S-4 PCS
(M8*50mm)
T-4PCS
(M5*60mm)
P-1
Advertisement

Related Manuals for Otto 6154-5207


Summary of Contents for Otto 6154-5207
- Page 1 Wooden dowels D-8 PCS (20mm) E-2 PCS R-2 PCS (98mm) F-2 PCS S-4 PCS (128mm) (M8*50mm) G-8 PCS T-4PCS 6154-5207 (50mm) (M5*60mm) Additional tools required: U-49PCS 1 x Philips cross-head screwdriver. Cam covers 1x Drill &1×8mm wood drill bit. Φ8mm...
- Page 2 300*90*16 985*368*16 319*294*5 985*284*16 793*434*16 985*284*16 793*434*16 402*303*16 368*80*16 368*265*16 793*368*16 368*265*16 415*368*16 319*244*5 402*303*16 250*90*16 402*52*16 250*90*16 402*182*16 309*90*16 827*399*16 399*150*16 440*399*16 399*120*16 300*90*16...
- Page 3 DO NOT USE A POWER DRILL TO TIGHTEN THE SCREWS -TIGHTEN BY HAND WITH THE ALLEN KEY PROVIDED. Before use please check all fixings are tightened fully. EDGE EDGE EDGE EDGE...
- Page 4 DO NOT USE A POWER DRILL TO TIGHTEN THE SCREWS -TIGHTEN BY HAND WITH THE ALLEN KEY PROVIDED. Before use please check all fixings are tightened fully. EDGE EDGE EDGE EDGE A*12 EDGE EDGE EDGE EDGE...
- Page 5 DO NOT USE A POWER DRILL TO TIGHTEN THE SCREWS -TIGHTEN BY HAND WITH THE ALLEN KEY PROVIDED. Before use please check all fixings are tightened fully. EDGE EDGE Rear Front...
- Page 6 DO NOT USE A POWER DRILL TO TIGHTEN THE SCREWS -TIGHTEN BY HAND WITH THE ALLEN KEY PROVIDED. Before use please check all fixings are tightened fully. EDGE EDGE A*10 EDGE EDGE...
- Page 7 DO NOT USE A POWER DRILL TO TIGHTEN THE SCREWS -TIGHTEN BY HAND WITH THE ALLEN KEY PROVIDED. Before use please check all fixings are tightened fully.
- Page 8 DO NOT USE A POWER DRILL TO TIGHTEN THE SCREWS -TIGHTEN BY HAND WITH THE ALLEN KEY PROVIDED. Before use please check all fixings are tightened fully. fixing hole adjust hole 1.Loosen screw ‘b’ to move the base to line up the guiding hole. 2.Fit the screw ‘N’...
- Page 9 DO NOT USE A POWER DRILL TO TIGHTEN THE SCREWS -TIGHTEN BY HAND WITH THE ALLEN KEY PROVIDED. Before use please check all fixings are tightened fully. Drill into the wall. Wall Wall ø8*50mm mark Note: Please fit cam covers (U) onto visible/exposed cams (B) to complete assembly.
Need help?
Do you have a question about the 6154-5207 and is the answer not in the manual?
Questions and answers