Advertisement
Quick Links
Advertisement

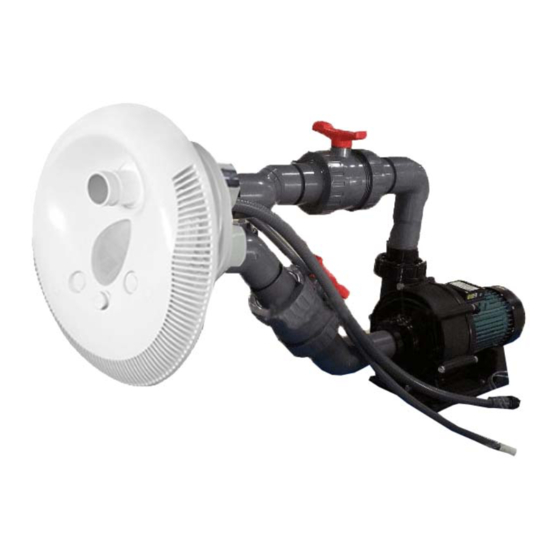
Summary of Contents for Buildahottub.com Swim Jet
- Page 1 Installa(on Manual – Swim Jet...
- Page 2 13 Water Jet Fixed Pipe 14 Vinyl & Fiberglass Pool Fittings (2 x rubber gaskets and faceplate) 15 Swim Jet Body x1 16 Conduit for Light Cable and Air Hose x1 17 Cable Grand x1 18 Exhaust Hose x1 19 Venting Plug x1...
- Page 3 What are the Dimensions of the Swim jet?
- Page 4 How do I install the Swim Jet in a Concrete / Block / Gunite / Shotcrete Pool or Tub? Firstly, parts 14, the face place and the two rubber gaskets are not needed and can be discarded.
- Page 5 This means that the body of the swim jet should be 6.5” or 1650mm from the surface of the water as shown above. The key with the installation on Concrete, Block, Gunite or Shotcrete is that base of the swim jet (Part #15) is installed so that it is flush against what will be the finished surface of the Hot Tub, Swim Spa or Pool.
- Page 6 Next, thread the power cord for the LED Light, as well as the two air button tubes out the back of the base of the swim jet and into the conduit (part #16). You can then attach part #16 onto the base (part#15) and tighten part #17 the cable gland.
- Page 8 The Air Switch Control Box...
- Page 9 The key with the installation is that the base of the swim jet (Part #15) is installed so that it is flush against what will be the finished surface of the Hot Tub, Swim Spa or Pool, right up to the liner.
- Page 10 Next, thread the power cord for the LED Light, as well as the two air button tubes out the back of the base of the swim jet and into the conduit (part #16). You can then attach part #16 onto the base (part#15) and tighten part #17 the cable gland.
- Page 11 M6 screws (part #12) Finally, the face place (part #6) should be placed over the supporting frame (part#8) and screwed into place using the M5 screws x 4 (part#5) Please see the separate section on how to wire the Swim jet.