Table of Contents
Advertisement
Advertisement
Table of Contents

Subscribe to Our Youtube Channel
Summary of Contents for Sharper Image SA251
- Page 1 Powered Subwoofer SA251 Instructions Read and save these instructions.
- Page 3 We offer generous return privileges and excellent warranties on all our products. For more than 25 years, The Sharper Image has shared the fun of discovering innovative products that make life better and more enjoy- able.
-
Page 4: Table Of Contents
Table of Contents Safety Information ..........For Safe and Efficient Operation . -
Page 5: Safety Information
Safety Information CAUTION: This symbol indicates that dangerous voltage constituting a risk of electric RISK OF ELECTRICAL SHOCK shock is present within this unit. DO NOT OPEN CAUTION: TO REDUCE THE RISK OF This symbol indicates that there are ELECTRIC SHOCK, important operating and maintenance DO NOT REMOVE COVER. -
Page 6: For Safe And Efficient Operation
Safety Information •TO AVOID THE HAZARDS OF FIRE OR ELECTRICAL SHOCK, DO NOT EXPOSE THIS APPLIANCE TO RAIN OR OTHER MOISTURE. •CAUTION: TO PREVENT ELECTRIC SHOCK, MATCH WIDE BLADE OF PLUG TO WIDE SLOT. FULLY INSERT. For Safe and Efficient Operation •Do not damage power cord. -
Page 7: Safety Certification
Safety Certification This unit is made and tested to meet exacting safety standards. It meets CSA and UL requirements and complies with safety performance standards of the U.S. Department of Health and Human Services. CAUTION: USE OF CONTROLS OR ADJUSTMENTS OR PER- FORMANCE OF PROCEDURES OTHER THAN THOSE SPECI- FIED HEREIN MAY RESULT IN HAZARDOUS RADIATION EXPO- SURE. - Page 8 IMPORTANT SAFETY INSTRUCTIONS •Cleaning — Unplug the unit from wall outlet before cleaning. Do not use liquid or aerosol cleansers. Use a damp cloth for cleaning. •Attachments — Do not use attachments not recommended by the manufacturer as they may cause hazards. •Water and Moisture —...
- Page 9 IMPORTANT SAFETY INSTRUCTIONS •Ventilation — Slots and openings in the cabinet are provided for ventilation and to ensure reliable operation of the product as well as to protect it from overheating. These openings must not be blocked or covered. The openings should never be blocked by placing the unit on a bed, sofa, rug or other similar surfaces.
- Page 10 IMPORTANT SAFETY INSTRUCTIONS •Alternate Warnings — This unit is equipped with a three-wire grounding-type plug, a plug having a third (grounding) pin. This plug will only fit into a grounding-type power outlet. This is a safety feature. If you are unable to insert the plug into the out- let, contact your electrician to replace your obsolete outlet.
- Page 11 IMPORTANT SAFETY INSTRUCTIONS the National Electric Code, ANSI/NFPA 70, provides informa- tion with regard to proper grounding of the mast and support- ing structure, grounding of the lead-in wire to an antenna dis- charge unit, size of grounding conductors, location of antenna discharge unit, connections to grounding electrodes and requirements for the grounding electrode.
- Page 12 IMPORTANT SAFETY INSTRUCTIONS •Power Lines — An outside antenna system should not be located in the vicinity of overhead power lines or other electric light or power circuits, or where it can fall into such power lines or circuits. When installing an outside antenna system, extreme care should be taken to keep from touching such power lines or circuits as contact with them might be fatal.
- Page 13 IMPORTANT SAFETY INSTRUCTIONS •Damage Requiring Service — Unplug unit from the wall outlet and refer servicing to qualified service personnel under the fol- lowing conditions: • When the power-supply cord or plug is damaged. • If liquid has been spilled, or objects have fallen into the product.
-
Page 14: Location Of Controls
IMPORTANT SAFETY INSTRUCTIONS •Safety Check — Upon completion of any service or repairs to this product, ask the service technician to perform safety checks to determine that the product is in proper operating condition. •Heat — The product should be situated away from heat sources such as radiators, heat registers, stoves or other prod- ucts (including amplifiers) that produce heat. -
Page 15: Installation And Wiring
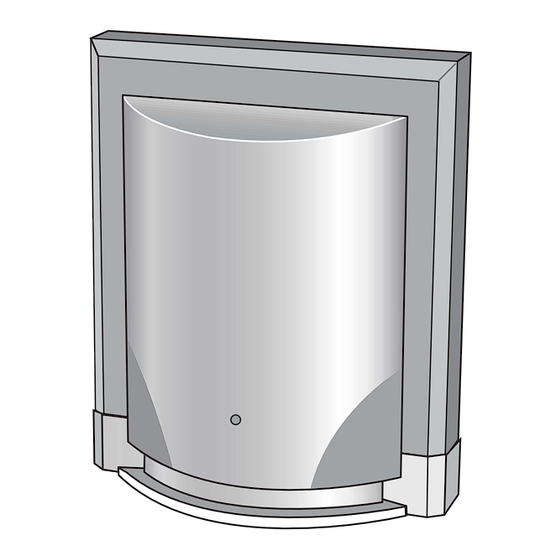
Location of Controls •Low level (RCA) input for systems that feature a subwoofer output. •Universal input (speaker level) allows compatibility with systems that do not have subwoofer outputs (must have easily accessi- ble speaker output terminals). •Volume control. •Bass Reflex design for extended low-frequency and low distortion. •Blue LED power indicator. - Page 16 Installation and Wiring For Units with RCA Subwoofer Figure 2.
- Page 17 Installation and Wiring 1. Connect one end of the included RCA cable to the low-level input on the unit. 2. Connect the other end of the cable to the subwoofer output on the stereo system. (See Figure 2.)
- Page 18 Installation and Wiring For Units with Speaker Terminal Outputs and No Subwoofer Output Figure 3.
-
Page 19: Operation
Installation and Wiring 1. If the stereo system does not have a subwoofer output, check to see if there is a speaker output terminal in the back. 2. Connect the speaker wire parallel to the speaker output on the stereo system as shown. 3. -
Page 20: Troubleshooting
Operation 5. Adjust the volume of the unit to achieve a good balance between the high and midrange output of the stereo system and the bass output of the subwoofer. 6. After this initial adjustment, the output of the unit automatically tracks the volume adjustments of the stereo system. - Page 21 Troubleshooting Noisy or distorted output •Adjust the volume control until distortion is minimized. •Make sure there is enough clearance between the subwoofer, vent and the floor or carpet. Remove objects that may be blocking the unit’s operation. Volume does not go up and down with the volume con- trol of the sound source •Make sure the subwoofer is correctly connected to the sub- woofer output of the system.
-
Page 22: Specifications
Specifications Driver: 5 1/4" high excursion woofer Enclosure Type: Plastic bass reflex design Dimensions: 13 1/2" x 11" x 6 1/4" Power: 20 WRMS into 4 Ohms, 40 Watts peak Frequency Response: 25Hz - 110Hz Low-level (RCA) Input: >15 KOhms Universal Input: >15 KOhms California Proposition 65 Required Statement... -
Page 24: Warranty
The Sharper Image will repair any defects in materials or workmanship. In the event repair is not possible, The Sharper Image will either replace this product with one of similar features and price, or refund the full purchase price of the product, whichever you prefer.
Need help?
Do you have a question about the SA251 and is the answer not in the manual?
Questions and answers