
Related Manuals for JohnnyVac SUPERCHARGED JV252


Summary of Contents for JohnnyVac SUPERCHARGED JV252
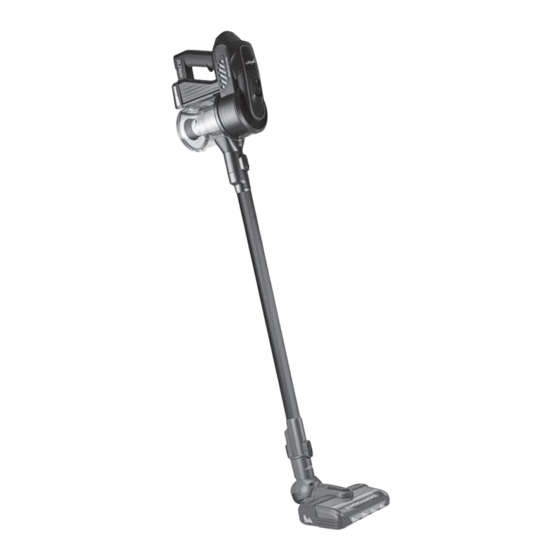
- Page 1 User Guide JV252 2 Speed Cordless & Bagless Stick Vacuum Cleaner Sturdy, lightweight and easily maneuverable stick vacuum with BLDC drive technology.
- Page 2 JV252 Keep this guide close at hand. User Guide JV252 - 2 -...
-
Page 3: Table Of Contents
TABLE OF CONTENTS SAFETY PRECAUTIONS ............4 Lorem ipsum COMPONENTS ............... 5 UNPACKING AND ASSEMBLING........6 - 7 VACUUMING ................8 SWITCH THE WORKING SPEED ..........8 CHARGING THE UNIT ............9 EMPTYING & CLEANING ..........10 - 12 HOW TO CLEAN THE ROLLER BRUSH ....... 13 HOW TO CLEAN THE WHEEL AXLES ........ -
Page 4: Safety Precautions
SAFETY PRECAUTIONS 1. This device can be used by children aged 8 and over. People with reduced physical or mental abilities or with a lack of experience and knowledge must be supervised in a safe manner to fully understand the risks involved. Children should not play with the device. Cleaning and maintenance of this appliance should not be carried out by children without supervision. -
Page 5: Components
COMPONENTS 1. Body 2. Dust cup assembly 3. HEPA filter cover 4. HEPA filter 5. Power brush roll 6. Charger 7. Battery 8. Wall-mounted hook 9. 3-in-1 Tool 10. Carpet brush 11. Electric tube User Guide JV252 - 5 -... -
Page 6: Unpacking And Assembling
UNPACKING AND ASSEMBLING Check that all the parts are in the box (see page 4). Step 1. Install the battery as in the picture below. Step 2. Install the power brush roll by inserting it into the tube carefully. Step 3. Install the tube with brush by inserting it into the vacuum suction tube. - Page 7 Step 4. Install the 3-in-1 accessories to suction tube or to the tube of vacuum cleaner as shown below. Simply push out the tip Push and slide 3-in-1 Tool Final result Fibers & Hair Tool Crevice Tool Dusting Tool User Guide JV252 - 7 -...
-
Page 8: Vacuuming
VACUUMING Vacuuming oors and carpets Regularly check that your brush roll is clean and free of debris to prevent damage to your floors, which are more fragile. Follow Steps 1-3 to assemble your unit and start using it by pressing the ON/OFF button. -
Page 9: Charging The Unit
CHARGING THE UNIT Insert the adapter into the socket (note: always make sure the device is turned off), then connect it to the device. The light gradually becomes bright, then fades out until the battery is fully charged and all four indicator lights stay on for 50 seconds. -
Page 10: Emptying & Cleaning
Notice about discharging When the battery is discharged, the four LEDs gradually turn off, until the electrical capacity decreases by up to 8%. When the last light continues to flash, it reminds you to stop the vacuum cleaner and that the battery needs to be recharged. - Page 11 Step 3. Remove the dust cup by pressing the release button, clean the cyclone part with a toothbrush. Make sure the parts are dry before reassembling them. Step 4. Press the button to open the HEPA lter cover and take out the lter to wash it under owing water.
- Page 12 Re-install the components First, reinstall the dust tank in the appliance and then install the HEPA filter, hose set, brush (or 3-in-1 tool) for future use. User Guide JV252 - 12 -...
-
Page 13: How To Clean The Roller Brush
HOW TO CLEAN THE ROLLER BRUSH If the roller brush is blocked or stuck for any reason, suction will be less effective. The roller brush must then be cleaned. First, turn off the appliance, then carefully use scissors or a sharp knife to remove any objects such as strings that might have tangled in it. -
Page 14: How To Store The Vacuum Cleaner
HOW TO STORE THE VACUUM CLEANER Install the wall bracket on a wall and place the vacuum cleaner by inserting it into the hook, as shown below. SERVICING OR REPAIRS In case of breakdown or faults, the device must be taken to an authorized service center for repair or replacement. -
Page 15: Basic Technical Data
BASIC TECHNICAL DATA Model: JV252 BLDC motor: • High speed - 300 W • Low speed - 120 W 25.2 V - 2200 mAh Li-ion battery Adapter: Input: 100~240 V - 50 Hz, Output: 30 V - 1 A Charge time: 2.5 H - 3 H DISPOSAL OF THE UNIT IF THE DEVICE IS TO BE DISPOSED OF, THE BATTERY MUST BE REMOVED. - Page 16 Do not return the unit to the retailer before having spoken with us. Our most precious wish is that you really love your vacuum cleaner! In case of problems, contact our experts at 1 800 361-2043 or by email at info@johnnyvac.com...
Need help?
Do you have a question about the SUPERCHARGED JV252 and is the answer not in the manual?
Questions and answers