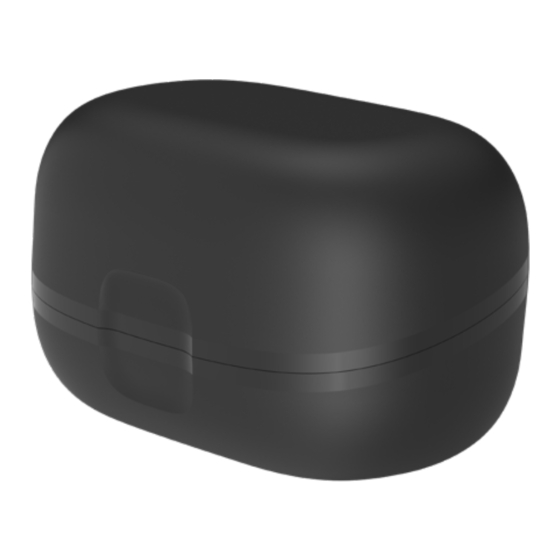
Summary of Contents for STARLINK Charger 2.0
- Page 1 Your StarLink Charger 2.0 User Manual For charging mRIC R, RIC RT, & custom rechargeable hearing aids Instructions for: StarLink Charger 2.0 (mRIC R or RIC RT) StarLink Custom Charger 2.0...
- Page 2 – and get the most out of every day with reliable charging to power your hearing aids. Chargers covered in this user manual (select yours): StarLink Charger 2.0: mRIC R RIC RT StarLink Custom Charger 2.0 StarLink StarLink Charger 2.0 Custom Charger 2.0...
-
Page 3: Table Of Contents
TOC | 3 Table of contents 1. Get to know your charger Meet your charger Use your charger Care for your charger Troubleshooting guide 2. Additional guidance Intended use FCC information Regulatory information... -
Page 4: Get To Know Your Charger
4 | Get to know your charger Meet your charger Overview 1. Earbud/earmold space 2. Charging slots 3. Indicator lights 4. USB-C port 5. Power cord Front view Back view... -
Page 5: Use Your Charger
1. Plug your charger into an external power source, like a wall outlet. The indicator lights turn white when your charger is connected. You’re now ready to charge. Reminder – These StarLink chargers require an external power source to charge hearing aids (e.g., a wall outlet). - Page 6 6 | Get to know your charger 2. Place your hearing aids in the charging slot: • The right indicator light turns ON for 2 seconds when you insert the right hearing aid. • The left indicator light turns ON for 2 seconds when you insert the left hearing aid.
-
Page 7: Care For Your Charger
Get to know your charger 7 LED Status Charging Status Charging in progress Blinking Solid Charging complete Your hearing aids will fully charge in 3.5 hours. 4. Take your hearing aids from the charger. They will turn ON – ready to wear. Before using your hearing aids for the first time, please see your rechargeable hearing user manual. -
Page 8: Troubleshooting Guide
8 | Get to know your charger • Do not use water, cleaning fluids or solvents to clean the charging contacts. These can damage your charger. • Try to keep the lid closed to prevent buildup of dust and debris. Storage tips Store your charger in a clean and dry area. - Page 9 Get to know your charger 9 Possible Symptom Solutions causes Applicable chargers: StarLink Charger 2.0 (mRIC R or RIC RT), StarLink Custom Charger 2.0 Left hearing aid Contact your has an electrical hearing care issue. (This can professional Left prevent charging.) for help.
- Page 10 10 | Get to know your charger Possible Symptom Solutions causes Applicable chargers: StarLink Charger 2.0 (mRIC R or RIC RT), StarLink Custom Charger 2.0 Charger is not plugged into an Test another external external power source to ensure power...
-
Page 11: Additional Guidance | 11
Additional guidance | 11 Intended use INTENDED USE: These hearing aid chargers are intended to charge lithium-ion rechargeable hearing aids, and are to be used with the patient’s selected hearing aid solution. For information about your hearing aid, please consult the hearing aid specific user manual. - Page 12 DO NOT OPEN CHARGER, NO USER-SERVICEABLE PARTS INSIDE These StarLink chargers have a rating of IP 22 per IEC 60529. This means the unit is protected against solid objects over 12 mm, such as fingers and falling water drops, such as condensation.
-
Page 13: Fcc Information
Additional guidance | 13 EU ADVERSE EVENT REPORTING Any serious incident that has occurred in relation to your Starkey device should be reported to your local Starkey representative and the Competent Authority of the Member State in which you are established. A serious incident is defined as any malfunction, deterioration in the characteristics and/or performance of the device, or inadequacy in the device user manual/labeling which could lead to the death or serious... -
Page 14: Regulatory Information
14 | Additional guidance Regulatory information Starkey Labs Canada Co. 2476 Argentia Road, Suite 301 Mississauga, ON L5N 6M1 www.starkeycanada.ca Starkey Laboratories (Germany) GmbH Weg beim Jäger 218-222 22335 Hamburg Germany EEA/EU/EC European Authorised Representative symbol Waste from electronic equipment must be handled according to local regulations Consult user manual Keep dry... - Page 15 Additional guidance | 15 Applicable Symbol Symbol Symbol Meaning Standard Number Manufacturer BS EN ISO 15223-1:2021 5.1.1 Manufacturer symbol – To identify the manufacturer of a product Authorized representative in BS EN ISO 15223-1:2021 5.1.2 the European Community Date of Manufacture BS EN ISO 15223-1:2021 5.1.3 EEA/EU/EC European Authorised...
- Page 16 StarLink and Starkey are trademarks of Starkey Laboratories, Inc. ©2023 Starkey Laboratories, Inc. All Rights Reserved. 9/23 BKLT3200-01-EN-XX-CA Patent: www.starkey.com/patents...


Need help?
Do you have a question about the Charger 2.0 and is the answer not in the manual?
Questions and answers
I am going to Ireland, do I use a regular adapter or a power conversion?
change a microphone
Do my hearing aids charge if I close the door