
Subscribe to Our Youtube Channel
Related Manuals for MAJOR LUTIE FITNESS PS1A

Summary of Contents for MAJOR LUTIE FITNESS PS1A
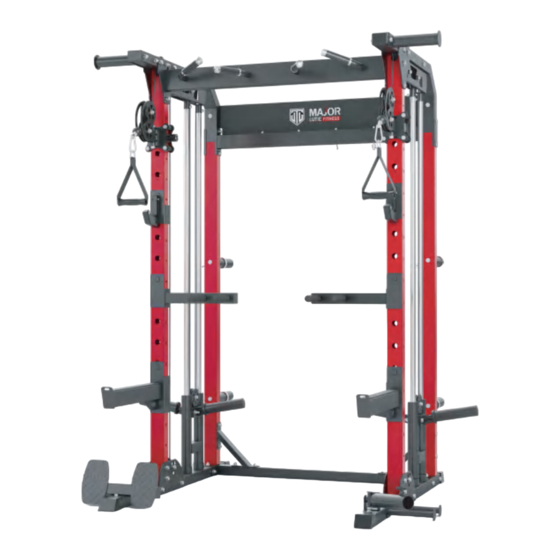
- Page 1 The power cage includes three packages , please confirm before installation PS1A Website: major-lutie.com Website: Email: After-sales service: after-sale@major-lutie.com major-lutie.com after-sale@major-lutie.com...
- Page 2 SERVICE GUIDEILNES For the best service, please have the following information ready Before using this equipment, it is strongly recommended that you when requesting for service: consult your physician whether this fitness equipment is applicable to you. Please do not use this machine if you have the following Buyer Full Name conditions or diseases: Order Number...
- Page 3 PREPARATION Please read all instructions carefully before assembling or 1. Tools for assembly: operating this product. General tools you may need for the assembling this strength This workout equipment is designed and built for optimum safety. equipment: However, certain precautions apply whenever you operate this exercise equipment.
- Page 4 HARDWARE LIST PARTS LIST Underframe Front pillar tube Rear pillar tube Hexagon bolt Hexagon bolt Hexagon bolt Hexagon bolt Flat gasket Lock nut M10 (M10x90L) (M10x80L) (M10x70L) (M10x20L) φ10 2pcs 2pcs 2pcs Top beam tube Bottom connecting pipe Upper connecting pipe ACCESSORIES LIST 2pcs 1pcs...
- Page 5 Do not tighten all bolts until all installations are complete. Do not tighten all bolts until all installations are complete. STEP 1. STEP 2. Hexagon bolt NOTE:Except for pre-installing the hardware you need (M10x90L) Hexagon bolt Flat gasketφ10 Lock nut M10 Hexagon bolt (M10x90L) (M10x20L)
- Page 6 Do not tighten all bolts until all installations are complete. Do not tighten all bolts until all installations are complete. STEP 3. STEP 4. Hexagon bolt Flat gasketφ10 Locek nut M10 Hexagon bolt Flat gasketφ10 Lock nut M10 (M10x90L) (M10x90L) NOTE:Except for pre-installing the hardware you need NOTE:Except for pre-installing the hardware you need...
- Page 7 Do not tighten all bolts until all installations are complete. Do not tighten all bolts until all installations are complete. Do not tighten all bolts until all installations are complete. STEP 5. STEP 6. Hexagon bolt Flat gasketφ10 Lock nut M10 Hexagon bolt Flat gasketφ10 Lock nut M10...
- Page 8 Do not tighten all bolts until all installations are complete. Do not tighten all bolts until all installations are complete. STEP 7. STEP 8. Hexagon bolt Flat gasketφ10 Lock nut M10 (M10x80L) NOTE:Except for pre-installing the hardware you need NOTE:Except for pre-installing the hardware you need Screws and flat washers are pre installed...
- Page 9 Do not tighten all bolts until all installations are complete. Do not tighten all bolts until all installations are complete. STEP 9. STEP 10. Hexagon bolt Flat gasketφ10 Lock nut M10 (M10x20L) NOTE:Except for pre-installing the hardware you need NOTE:Except for pre-installing the hardware you need J1 I2...
- Page 10 Do not tighten all bolts until all installations are complete. Please regularly check whether the gcrews are tight STEP 11. Hexagon bolt Flat gasketφ10 Lock nut M10 (M10x70L) NOTE:Except for pre-installing the hardware you need...
Need help?
Do you have a question about the PS1A and is the answer not in the manual?
Questions and answers