Table of Contents
Advertisement
Quick Links
Wireless Base Stations
▫
and Client Devices
Surveillance Cameras
▫
Mission Critical Backup
▫
Power
Remote Sensors
▫
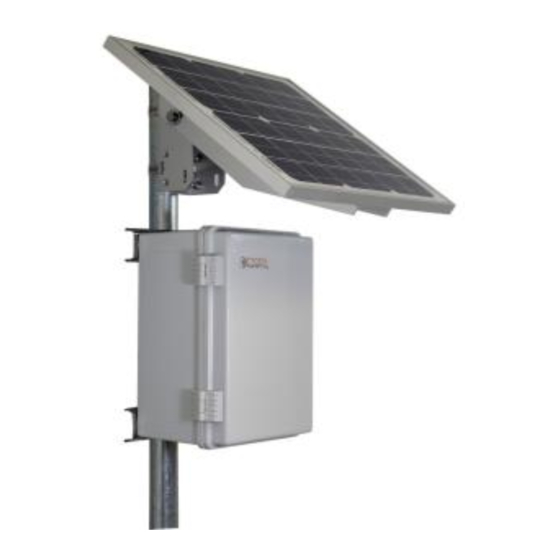
Congratulations! on your purchase of the RemotePro
Off-Grid solar power system. Please take a moment to review
this Qwik Install Guide before assembly or battery installation.
When following the instructions in this guide take extreme care
to avoid contact with overhead power lines, lights and power circuits.
Contact with power lines, lights or power circuits may be fatal. We rec-
ommend to install no closer than 20 feet to any power lines.
Safety:
For your own protection, follow these safety rules.
▫
Perform as many functions as possible on the ground
▫
Do not attempt to install on a rainy, windy or snowy day or if
there is ice or snow accumulation at the install site or if the
site is wet.
▫
Make sure there are no people, pets, etc. below when you are
working on a roof or ladder.
Recommended Tools: Phillips Screwdriver, Flat Blade Screw-
driver, 5/16 nut driver
Please help preserve the environment and return
used batteries to an authorized depot
RPPL-LG SCPOE
RemotePro
DANGER! Avoid Powerlines!
You Can Be Killed!
Solar Power System
®
Outdoor
®
Outdoor
Advertisement
Table of Contents

Related Manuals for TYCON Solar RemotePro RPPL-LG SCPOE


Summary of Contents for TYCON Solar RemotePro RPPL-LG SCPOE
- Page 1 RPPL-LG SCPOE ® RemotePro Outdoor Solar Power System Wireless Base Stations ▫ and Client Devices Surveillance Cameras ▫ Mission Critical Backup ▫ Power Remote Sensors ▫ ® Congratulations! on your purchase of the RemotePro Outdoor Off-Grid solar power system. Please take a moment to review this Qwik Install Guide before assembly or battery installation.
- Page 2 Qwik Install STEP 1: Prepare Enclosure - Attach Battery Brackets Prepare the Velcro strap and the strap brackets, #5600066. Orient as shown. Loosen 8 screws holding the mounting plate. Slide the mounting plate towards you and lift up on the top end of the mounting plate while sliding the #5600066 brackets with Velcro Straps over the end of the mounting plate.
- Page 3 Charge Controller Install The system includes an ad- vanced PWM charge control- ler with PoE output (SCPOE). Mount the controller on the backplate using one or two #8 x 3/8” pan head self tapping screws. The mounting holes in the controller don’t match ex- actly to the backplate holes.
- Page 4 Install the solar assembly to a 2” to 4” pole. Solar panel should be fac- ing South if in Northern Hemisphere. Avoid any shading of solar panel. STEP 5: Enclosure Mounting Mount the enclosure to a pole using two stainless steel hose clamps. Cut off any extra hose clamp length after tightening to keep a clean in- stall.
- Page 5 12V Battery Configuration 24V Battery Configuration...
- Page 6 SPECIFICATION SUMMARY Subject to change without notice Lead Acid Battery Model # RPPL1224-36-35 7.5W 28hrs 36Ah RPPL1248-36-35 7.5W 28hrs 36Ah RPPL1224-36-85 24hrs 36Ah RPPL1248-36-85 24hrs 36Ah RPPL2424-36-30 6.5W 33hrs 36Ah RPPL2448-36-30 6.5W 33hrs 36Ah Lithium Battery Model # RPPL1224-40L-35 7.5W 48hrs 40Ah RPPL1248-40L-35...
- Page 7 FG = Frame Ground (Do Not Connect to GND = V- (There are two V– connec- tions:1 and 2) +12V or +24V = V+ (There are two V+ connections: 1 and 2) Device 2 Device 1 Wire Terminal Connector Pinout charge and increases battery life and performance.
- Page 8 B. I want to add additional solar panels. What is the largest solar panel I can use? Max Solar Panel Size = 12V 100W , 24V 200W C. The CHA light is flashing. What does that mean? The CHA or Charge light flashes when the batteries are almost full and the controller switches to PWM float mode.
Need help?
Do you have a question about the RemotePro RPPL-LG SCPOE and is the answer not in the manual?
Questions and answers