Advertisement
Quick Links
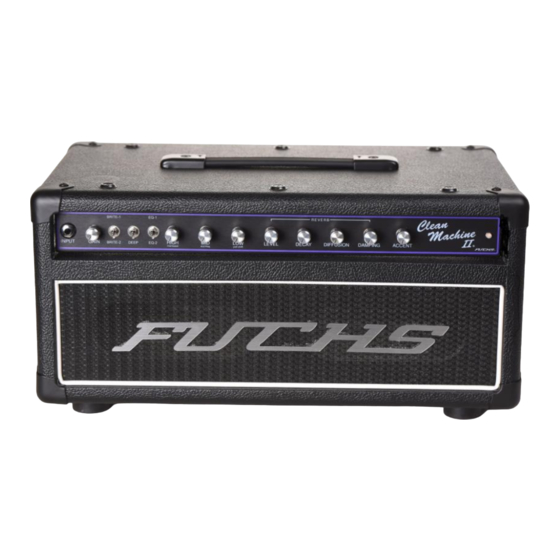
Clean Machine II
Instrument Amplifier
V 2.0
Operations Manual
For Clean Machine II Models
(heads and combo)
CM-100/50 CM-50/25
Fuchs Audio Technology
407 Getty Avenue 2
nd
Floor
Clifton, N.J. 07015
(973) 772-4420
Website: www.fuchsaudiotechnology.com
Email:
techsupport@fuchsaudiotechnology.com
Clean Machine-Manual Rev. 1.0 12-2008-AMF
Advertisement

Related Manuals for FUCHS Clean Machine II

Summary of Contents for FUCHS Clean Machine II
- Page 1 Clean Machine II Instrument Amplifier V 2.0 Operations Manual For Clean Machine II Models (heads and combo) CM-100/50 CM-50/25 Fuchs Audio Technology 407 Getty Avenue 2 Floor Clifton, N.J. 07015 (973) 772-4420 Website: www.fuchsaudiotechnology.com Email: techsupport@fuchsaudiotechnology.com Clean Machine-Manual Rev. 1.0 12-2008-AMF...
- Page 2 A Note from Andy, First of all, thank you for purchasing a Fuchs Clean Machine II amplifier! As a guitar player I designed the Clean Machine series of amplifiers to be sensitive and responsive instruments for musicians to create music.
- Page 3 (A) Rear Panel controls, inputs/outputs, (B) Effects Loop Footswitches (standard, Artist, Artist Plus) Biasing your power tubes & other technical info. Warranty/repair information & mail-in warranty form © 2000-2023 Fuchs Audio Technology. All rights reserved. Clean Machine-II Manual Rev. 1.0 05-2023-AMF...
- Page 4 Introduction to Fuchs Audio Technology Amplifiers What makes our products unique? The recent proliferation of "Boutique” amplifiers, allow guitarists to recognized what audiophiles have known for years, properly designed tube circuits can offer the finest musicality, detail, and sensitivity to playing subtleties of any type amplifier.
- Page 5 All passive parts are carefully chosen for both reliability and sonic attributes. Each and every Fuchs amplifier undergoes 20-40 hours of “burn-in” before leaving our shop. This ensures every Fuchs amp is built for the long haul. © 2000-2023 Fuchs Audio Technology. All rights reserved.
- Page 6 Please read before powering up your Clean Machine Please see Panel Diagrams in next section 3 for assistance. 1) Inspect to make sure power & pre-amp tubes are intact & snuggly seated in their sockets. 2) Make certain a speaker (load) is plugged into the correct speaker input jack on the back of the amplifier (4 or 8 ohm).
- Page 7 Diagrams of FRONT & REAR Panels and FOOTSWITCHES Rear Panel Effects Loop Clean Machine-II Manual Rev. 1.0 05-2023-AMF...
-
Page 8: Front Panel Controls And Their Functions
Front Panel Controls and Their Functions Input Jack(s): Input jack(s), are 1/4" phone plugs, designed for 1-Meg impedance, guitar-level signal. This input will readily accept pedals/effects without any loss in performance. The design of the Clean Machine amplifier is quite flexible, so we first suggest exploring its performance without any effects or pedals initially. - Page 9 NOTE: There are no internal trimmer pots, other than output tube bias and AC balance controls for the power amplifier stage. There are no internal tone altering controls in a Clean Machine II. These internal controls are best left to professional technicians, who have the proper measuring equipment to set them properly. There are hazardous voltages present in any tube amplifier, even after it has been shut off for some period of time.
- Page 10 (A)-REAR Panel Controls, inputs/outputs, (B)-Effects Loop (A)-REAR panel Controls/input/output jacks AC power cord input: Using the supplied power cord. Connect AC POWER IN on amplifier and to AC power source. Please confirm your line voltage matches that of the amplifier!!! AC power Fuse: This fuse protects the amplifier if any malfunction occurs.
- Page 11 (B)-Effects Loop Using the Loop: When inserting a device like an equalizer, or perhaps a Sonic Maximizer (or similar processor), the loop should be set in series mode. The mix controls on the outboard device can be used to control all effects and the balance between clean and dirty effects.
- Page 12 FOOTSWITCHES: Your Clean Machine is provided with either: a 1- button standard, 2-Button enhanced, or a 4 button “Artist” footswitch depending on your purchase selection. Standard 1 or 2-Way footswitch: Connects via ¼” phone cable (supplied) to rear panel input. Single button controls reverb.
- Page 13 Please contact Fuchs Audio beforehand with questions in this regard. Fuchs Audio takes no responsibility or shall be held liable for any personal harm caused or...
-
Page 14: Warranty Information
This does not apply to Fuchs amplifiers that have been tampered with, damaged by shipping carriers, reverse engineered, or modified. This warranty is void if the amplifier is used with power attenuator type devices (Power Soaks, Air Brakes, Hot Plates etc.). -
Page 15: Warranty Registration Form
WARRANTY REGISTRATION FORM This completed form must be returned to Fuchs Audio Technology within 30 days of purchase along with a copy of your receipt from your authorized dealer. Please fill in all requested information on this form so we may register you for future warranty repairs or future upgrades, should they become available.
Need help?
Do you have a question about the Clean Machine II and is the answer not in the manual?
Questions and answers