Table of Contents
Advertisement
O
WNER'S
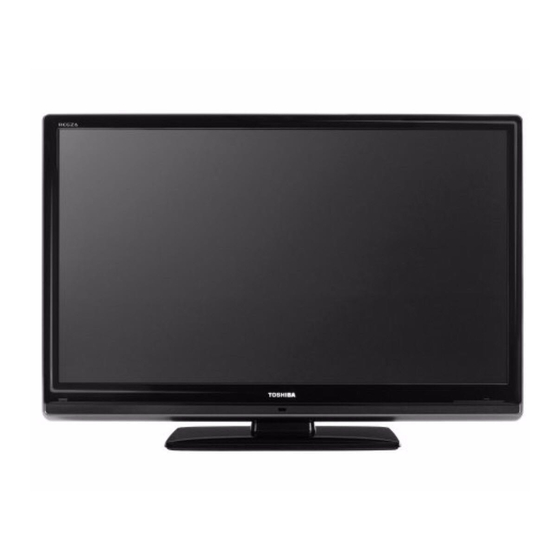
LCD Color TV
19AV550E
19AV550T
19AV550Y
26AV550E
26AV550T
26AV550Y
26AV600E
26AV600T
26AV600Y
©2009 TOSHIBA CORPORATION
All Rights Reserved
M
ANUAL
Owner's Record
You will find the model number and serial number on
the back of the TV. Record these numbers in the spaces
provided below. Refer to them whenever you call upon
your TOSHIBA dealer regarding this product.
Model number:
Serial number:
VX1A001212A0
Advertisement
Table of Contents


Need help?
Do you have a question about the Regza 26AV550E and is the answer not in the manual?
Questions and answers