Advertisement
HEATIT
Z-WATER2
Installers manual
TABLE OF CONTENTS
1. Introduction
2. Statement regarding products from multiple
manufacturers
3. Behaviour within the Z-Wave network
4. Installation guidelines
5. Connections
6. Quick Start
7. Add/Remove
7.1
Method 1: Standard (Manual)
7.2
Method 2: SmartStart (Automatic)
8. Factory Reset
9. Startup
10. LED blinking patterns description
11. QR-Code Placement (DSK)
12. Security
13. Node Information Frame
14. Associations
14.1 Setting and Removing Associations
15. Association Groups
16. Configuration Parameters
17. Calibration
18. Command Classes
18.1 Basic Command CLass
18.2 Binary Switch Command Class
18.3. Multilevel Sensor Command Class
18.4. Indicator Command Class
19. Supported Command Classes
20. Other features
21. Dimensions
22. External antenna connector
Product info
TO PRODUCT
DOCUMENTS
Firmware version
Document version
FW 1.0
2023-A
Article no.
Document date
45 124 95
01.05.2023
Org. doc. date 01.05.2023
1. INTRODUCTION
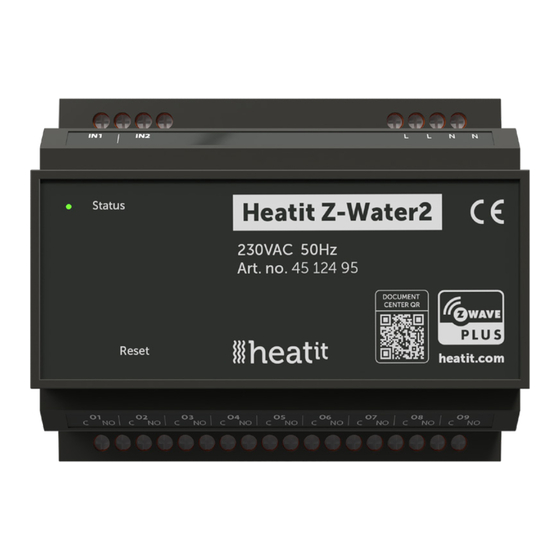
Heatit Z-Water2 is a DIN-rail regulator for controlling
waterbased heating systems. The module clips right onto a
DIN-rail and allows you to control your waterbased heating
through your Z-Wave™ network.
Heatit Z-Water2 is equipped with 9 potential free relays for
actuators. It also has 2 analog inputs for temperature sensors.
The Heatit Z-Water2 relays may be controlled by associations
with other Z-Wave thermostats e.g Heatit. Each relay can
control one or several actuators in your underfloor heating
system.
2. STATEMENT REGARDING PRODUCTS FROM MULTIPLE
MANUFACTURERS
Please read this before installation
This device may be used with all devices certified with the
Z-Wave Plus™ certificate and should be compatible with
such devices produced by any manufacturer. Every primary
controller is different depending on the manufacturer, their
target audience and intended use/application. Please review
the functionalities implemented by the primary controller you
intend to use with our Z-Wave Plus certified device to ensure
that it provides the necessary controls to take full advantage of
our product's capabilities.
3. BEHAVIOR WITHIN THE Z-WAVE NETWORK
This device may be operated within any Z-Wave™ network
with Z-Wave-certified devices from other manufacturers. All
non-battery-operated nodes within the network will act as
repeaters regardless of manufacturer to increase the reliability
of the network. On delivery, the device does not belong to any
Z-Wave network. The device needs to be added to an existing
network to communicate with the other devices within it.
Devices may also be removed from a network. The add/
remove processes are initiated by the primary controller of the
Z-Wave network.
4. INSTALLATION GUIDELINES
Installation must be done by a qualified electrician in
accordance with national building codes. Before installation,
disconnect the power to the device from the mains. During
installation of the device, power to the device must be
disconnected AT ALL TIMES!
Max tightening torque for terminal screws: 2Nm
Use the following procedure to install Heatit Z-Water2:
1. Place the top part of the DIN rail mounting on the Heatit
Z-Water2 over the top of the DIN rail so it hooks onto the
rail.
2. Use a flathead screwdriver to push the DIN rail mounting tab
downward.
3. Tilt the bottom of the Heatit Z-Water2 until it touches the
DIN rail. Now let go of the DIN rail mounting tab so it locks
into place.
4. Make all the necessary connections to the device (max
tightening torque for all screw terminals is 2Nm). Apply
power to the device after all connections have been made.
Advertisement
Table of Contents

Subscribe to Our Youtube Channel
Related Manuals for Heatit Z-WATER2

Summary of Contents for Heatit Z-WATER2
- Page 1 19. Supported Command Classes 1. Place the top part of the DIN rail mounting on the Heatit 20. Other features Z-Water2 over the top of the DIN rail so it hooks onto the 21. Dimensions rail. 22. External antenna connector 2.
-
Page 2: Quick Start
6. Press the reset button on the product 3 times in a rapid Please use this procedure only when the network primary sequence. Heatit Z-Water2 is now included in your Z-Wave controller is missing or otherwise inoperable. network. 9. STARTUP After powering up the device for the first time, all the parameters will have default settings. - Page 3 10. LED BLINKING PATTERNS DESCRIPTION 14. ASSOCIATIONS Z-Wave devices interact with other Z-Wave devices. The The device supports numerous LED blinking patterns to make it as easy as possible to identify what the device is doing. relationship between one device controlling another device is called an association.
-
Page 4: Supported Command Classes
18.4 Indicator Command Class The device supports Indicator Command Class. SHORT DESCRIPTION / DESCRIPTION The indicator Command Class will turn ON/OFF internal LED. NAME COMMENT OF VALUE -6.0°C to 6.0°C. Calibrates input 1 by ±6°C. 19. SUPPORTED COMMAND CLASSES (Default is 0°C). Input 1 Manually calibrate Calibration... -
Page 5: Product Info
Any wrongful installation, misuse or damage to the product is not covered under warranty. Heatit Controls AB · Läkarvägen 4, 454 31 BRASTAD, SWEDEN Heatit Controls AB can not be held liable for any type of errors or omittances in our product information. Phone: +47 61 18 77 77 · post@heatit.com · heatit.com...
Need help?
Do you have a question about the Z-WATER2 and is the answer not in the manual?
Questions and answers