Table of Contents
Advertisement
Quick Links
Advertisement
Table of Contents

Related Manuals for Neoss NeoTell & SmartPegs


Summary of Contents for Neoss NeoTell & SmartPegs
- Page 1 NeoTell™ Instructions for use Outside US...
-
Page 2: Table Of Contents
Welcome Congratulations on the purchase of your new NeoTell. Before you start using your instrument, please read through the entire instructions for use. 1 – Introduction ............. . 2 –... -
Page 3: Introduction
1 – Introduction Qualifications of the user This medical device is intended to be used by qualified dentists, doctors, surgeons, or specialist staff appointed by the responsible clinician. Responsibilities of the user Read through the entire instructions for use before using this device. -
Page 4: Intended Use
The SmartPegs are disposable and should only be used for one or multiple measurements at one treatment session, for a single patient only (to avoid cross- contamination). Repeated re-use may result in false readings due to wear and tear of the soft aluminum SmartPeg threads. -
Page 5: Description
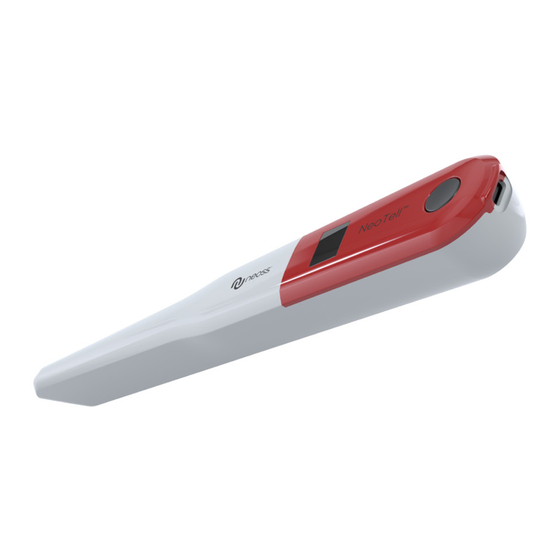
5 – Description The instrument is a handheld instrument that involves the use of the non-invasive technique, Resonance Frequency Analysis. The system involves the use of a SmartPeg attached to the dental implant or abutment by means of an integrated screw. -
Page 6: Before You Start
Non-ionizing electromagnetic radiation Not sterilizable Temperature limitation Humidity limitation Atmospheric pressure limitation Protected against solid foreign objects of IP20 12.5 mm ∅ and greater. No protection against water Use by date Lot/batch code Sterilized using irradiation For US market only: Prescription use only. US Federal Law restricts this device to sale by or on the order of a licensed practitioner Catalog number... -
Page 7: Testpeg
8 – TestPeg The TestPeg may be used for testing and learning how to use the system. Place the TestPeg on the table or hold it in your hand. Activate the instrument by a short press on the button and hold the instrument tip approximately 2 – 4 mm away from the top of the TestPeg. - Page 8 1. Activate the instrument by a short press on the button. The instrument will start-up and after showing the battery status, the instrument will be ready for measurement in the BL (Buccal–Lingual) direction, which is prompted in the display. 2. Place a barrier sleeve over the instrument. See fig 1. 3.
- Page 9 4 – 6 Ncm 2 – 4 mm ≈ 45° 2 – 4 mm ≈ 45° IFU-SYS104501-R0.0 GB 15588_0 EN_GB 2023-04...
- Page 10 ISQ < 60 2-stage, conventional loading, re-measure at follow-up > 2 months Scientific references: 1, 6 Consider conservative approach due to low implant stability (i.e. relatively high implant mobility) Scientific references: 7, 8 ISQ 60 – 64 Full splint: 1-stage, immediate loading Partial case: 1-stage, early loading, re-measure at follow-up 6 –...
-
Page 11: How To Measure On An Abutment
11 – How to measure on an abutment When measuring on abutment level, the ISQ values will not be equal to when measuring on implant level. They will in most cases be lower. This is due to that the total length of abutment plus the SmartPeg will be a bit different (longer) depending on abutment height used. -
Page 12: Cleaning And Maintenance
13 – Cleaning and Maintenance Before each use, moisten a gauze or soft cloth with a recommended (see list below) surface cleaner and wipe the whole instrument. Note! Do not autoclave the instrument. Routinely check the surface of the instrument tip and overall surface for possible cracks and residuals. -
Page 13: Technical Information
Carefully inspect the SmartPeg Mount for damage or wear. Hand wash the SmartPeg Mount using a neutral instrument detergent. Rinse and dry; carefully inspect the SmartPeg Mount for damage and wear. Sterilize the SmartPeg Mount according to the autoclave manufacturer’s instructions. Do not wash in dishwasher. -
Page 14: Troubleshooting
Power, weight & size: Lithium-ion battery: 3.7 VDC Charging: Only use USB cable, type A – C, connected to a standard USB 2.0 or 3.0 (type A) port (Max 5,2 VDC). Instrument size: 206 × 36 × 25 mm Package size: 272 ×... -
Page 15: Service And Support
Unit is not charging when USB cable is connected Wrong USB cable used. Only use USB cable, type A – C, connected to a standard USB 2.0 or 3.0 (type A) port (Max 5,2 VDC). Instrument does not start Uncharged battery. Charge the instrument. - Page 16 15588_0 EN_GB 2023-04 © Neoss Group, 2023. Copyrights, design rights and trademarks, Neoss documents, software and designs may not be reprinted, copied or published in whole or part, without the written authorization of Neoss. Neoss, the N logo and NeoTell™ are trademarks of Neoss Group.
Need help?
Do you have a question about the NeoTell & SmartPegs and is the answer not in the manual?
Questions and answers