Sign In
Upload
Download
Table of Contents
Contents
Add to my manuals
Delete from my manuals
Share
URL of this page:
HTML Link:
Bookmark this page
Add
Manual will be automatically added to "My Manuals"
Print this page
×
Bookmark added
×
Added to my manuals
Manuals
Brands
Pro-Form Manuals
Treadmill
831.297442
User manual
Pro-Form 831.297442 User Manual
Hide thumbs
1
Table Of Contents
2
3
4
5
6
7
8
9
10
11
12
13
14
15
16
17
18
19
20
21
22
23
24
25
26
27
28
29
30
page
of
30
Go
/
30
Contents
Table of Contents
Bookmarks
Table of Contents
Table of Contents
Important Precautions
Before You Begin
Assembly
How to Use the Chest Pulse Sensor
How to Use the Hand Pulse Sensor
Operation and Adjustment
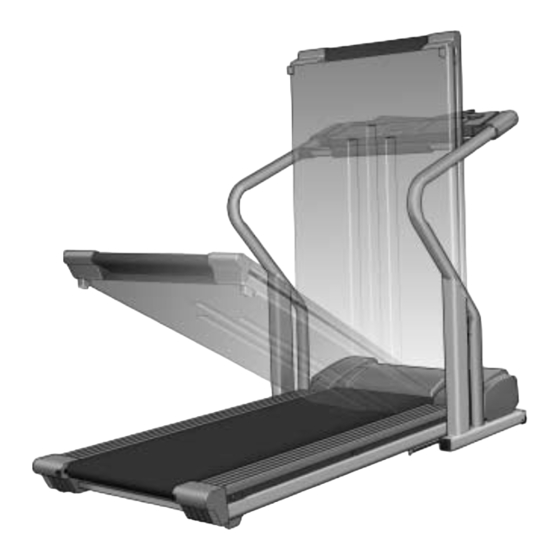
How to Fold and Move the Treadmill
Maintenance and Trouble-Shooting
Conditioning Guidelines
Part List
Advertisement
Quick Links
Download this manual
Model No. 831.297442
Serial No.
Write the serial number in the space
above for future reference.
CAUTION
Read all precautions and in-
structions in this manual before
using this equipment. Save this
manual for future reference.
Serial
Number
Decal
USER'S MANUAL
®
Table of
Contents
Previous
Page
Next
Page
1
2
3
4
5
Advertisement
Table of Contents
Need help?
Do you have a question about the 831.297442 and is the answer not in the manual?
Ask a question
Questions and answers
Related Manuals for Pro-Form 831.297442
Treadmill Pro-Form 831.297671 User Manual
Proform user's manual 585 treadmill 831.297671 (18 pages)
Treadmill Pro-Form 831.297682 User Manual
Proform treadmill user's manual 831.297682 (18 pages)
Treadmill Pro-Form 831.297681 User Manual
Sears, roebuck and co. user's manual treadmill 831.297681 (18 pages)
Treadmill Pro-Form 831.297364 Owner's Manual
831.297364 (19 pages)
Treadmill Pro-Form 831.297481 User Manual
Cross walk plus (19 pages)
Treadmill Pro-Form 831.297660 User Manual
Low profile treadmill (19 pages)
Treadmill Pro-Form Proform Treadmill 585 User Manual
Sears treadmill user's manual 585 (18 pages)
Treadmill Pro-Form J6 831.297693 User Manual
(18 pages)
Treadmill Pro-Form 585tl Manual
Low profile treadmill (19 pages)
Treadmill Pro-Form 585TL User Manual
Low profile treadmill (20 pages)
Treadmill Pro-Form 725 proform Model No. 831.297780 User Manual
Performance treadmills (30 pages)
Treadmill Pro-Form 595LE User Manual
(16 pages)
Treadmill Pro-Form J6si User Manual
(22 pages)
Treadmill Pro-Form J4 User Manual
Performance treadmill (19 pages)
Treadmill Pro-Form CUSHION DECK PLUS J8 User Manual
(22 pages)
Treadmill Pro-Form J4 User Manual
(19 pages)
This manual is also suitable for:
795
Table of Contents
Print
Rename the bookmark
Delete bookmark?
Delete from my manuals?
Login
Sign In
OR
Sign in with Facebook
Sign in with Google
Upload manual
Upload from disk
Upload from URL


Need help?
Do you have a question about the 831.297442 and is the answer not in the manual?
Questions and answers