
Related Manuals for Axor One Select 170 48070 1 Series


Summary of Contents for Axor One Select 170 48070 1 Series
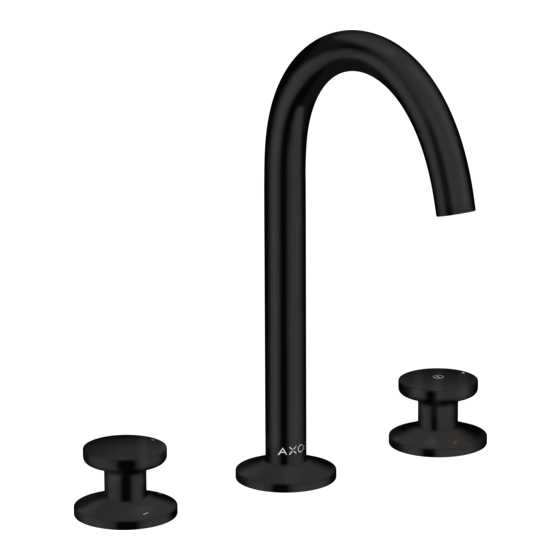
- Page 1 EN Installation / User Instructions / Warranty FR Instructions de montage / Mode d'emploi / Garantie AXOR One Select 170 48070XX1 ES Instrucciones de montaje / Manejo / Garantía I N S T A L L A T I O N...
-
Page 2: Technical Information
E N G L I S H T EC HN IC A L I N F ORMAT IO N Water pressure Recommended 15 - 75 PSI (0.1 - 0.5 MPa) Maximum 145 PSI (1 MPa) Hot water temp. Recommended 120°-140° F (48° - 60° C)* Maximum 158°F (70°... - Page 3 F R A N A I S D ON N É E S T EC HN I Q UES Pression d’eau recommandée 15 - 75 PSI (0.1 - 0.5 MPa) maximum 145 PSI (1 MPa) Température d'eau chaude recommandée 120°-140°...
-
Page 4: Datos Tecnicos
E S P A Ñ O L DATOS TEC N ICO S Presión en servicio recomendada 15 - 75 PSI (0.1 - 0.5 MPa) max. 145 PSI (1 MPa) Temperatura del agua caliente recomendada 120°-140° F (48° - 60° C)* max. - Page 5 AXOR One Select 170 TOOLS R EQUIRED / OUTILS RE QUIS / 48070XX1 HERRA MIE NTA S ÚTILE S 4" (100 mm) 4" (100 mm) 5½" (140 mm) Ø⅞" (21mm) Ø1⅝" Ø1⅝" (42 mm) (42 mm) 9 mm Ø2" Ø2"...
- Page 6 I N S T A L L A T I O N / I N S T A L L A T I O N / I N S T A L A C I Ó N Place the volume control assembly on the mounting surface.
- Page 7 Align the dot on the handle with the “+” sign on the escutcheon. The “-“ sign on the escutcheon should be at the front, the “+” sign should be at the right. Position the handle and O-ring over the volume con- trol assembly.
- Page 8 Tighten the mounting nut. Tighten the tensioning screws. Serrez l’écrou de montage. Serrez les vis de pression. 2.2 ft-lb 3 Nm Apriete la tuerca de montaje. Apriete los tornillos tensores. Install the mounting nut, metal washer, and fiber washer on the adapter assembly. Installez l’écrou de montage, la rondelle métal- lique et la rondelle en fibre sur l’assemblage de l’adaptateur.
- Page 9 Push the adapter assembly up through the mounting surface. Install the holder, the o-ring, and the seal. Rest the holder on the mounting surface. Position the function block adapter assembly so that the indexing mark faces the spout shank. Poussez l’assemblage de l’adaptateur vers le haut à travers la surface de montage.
- Page 10 Rotate the function block valve stem counterclock- wise as far as it will go without using force. Tournez la tige de la valve du bloc de fonction dans le sens anti-horaire jusqu’en butée sans forcer. Gire el vástago de la válvula de bloque de función al máximo en sentido antihorario sin forzarlo.
- Page 11 Install the escutcheon and O-ring on the holder. The blue dot must be on the right and the red dot at the front. Position the handle so that the black dot is adjacent to the blue dot on the escutcheon. Press the handle into place.
- Page 12 If the hole on the mounting surface is 34 mm, install the spout without the sealing ring. If the hole on the mounting surface is greater than 34 mm, install the spout with the sealing ring. Si le trou sur la surface de montage est de 34 mm, alors installez le bec sans la bague d’étanchéité.
- Page 13 Pivot the spout if necessary. The set screw should be at the front. Faites pivoter le bec si nécessaire. La vis de ré- glage doit être à l’avant. Pivotee el surtidor si es necesario. El tornillo de bloqueo debe quedar al frente. Tighten the mounting nut.
- Page 14 Open the quick connect on the spout hose by push- ing it upward. Ouvrez la douille de raccord rapide du tuyau du bec en la poussant vers le haut. Abra la conexión rápida en la manguera del surti- dor empujando hacia arriba. Insert the connector into the quick connect.
- Page 15 Close the quick connect by pulling it downward. Fermez la douille de raccord rapide en la tirant vers le bas. Cierre la conexión rápida tirando hacia abajo. Open the quick connect on the volume control hose. Ouvrez la douille de raccord rapide sur le tuyau de contrôle du débit.
- Page 16 Push the quick connect over the other end of the connector. Close the quick connect. Poussez la douille de raccord rapide sur l’autre extrémité du connecteur. Fermez la douille de raccord rapide. Empuje la conexión rápida sobre el otro extremo del conector.
- Page 17 Install the adapters on the stops. Install the filters. Failure to install the filters may result in debris dam- age to the faucet. Installez les adaptateurs sur les butées d’arrêt. 19 mm Installez les filtres. Si ces filtres ne sont pas installés, il est possible que le robinet n’offre pas un rendement satisfaisant.
- Page 18 Remove the aerator. Retirez l’aérateur. Retire el aireador. Flush the faucet for at least two minutes. Rincez le robinet pendant au moins 2 minutes. Lave el grifo durante al menos 2 minutos. > 2 min Install the aerator. Installez l’aérateur. Instale el aireador.
- Page 19 SET HOT WATER LIMITER / POSITIONNER LE LIMITEUR DE TEMPÉRATURE / AJUSTAR TOPE 140°F 60° C 50°F 10°C 44 PSI 0.3 MPa 95°F 35°C 102°F 39°C 109°F 43°C 116°F 47°C 134°F 57°C 140°F 60°C...
- Page 20 min. max. CLICK...
- Page 21 R E P L A C E M E N T P A R T S / P I È C E S D É T A C H É E S / R E P U E S T O S AXOR One Select 170...
- Page 22 U S E R I N S T R U C T I O N S / I N S T R U C T I O N S D E S E R V I C E / M A N E J O ouvert fermé...
- Page 23 C HEC K VALVE M A IN TEN AN CE / E N TR E TIE N D E LE S CL A PE TS A NTI-RETOUR/ M A N TE N IM I EN TO DE L AS VÁLVU L AS AN TI R R ETORN OS 10 mm 19 mm 19 mm...
- Page 24 C L E A N I N G R E C O M M E N D AT I O N F O R H A N S G R O H E P R O D U C T S Modern bathroom faucets, kitchen faucets and shower products are made from different materials to comply with the needs of the market with regard to design and functionality.
- Page 25 I MP O RTA N T ⁄ Les residus de produits pour le corps comme les savons liquides, shampooings, gels de douche, teintures pour cheveux, parfums, apres-rasage et vernis a ongles peuvent causer des deteriorations. Rincez le produit avec de l’eau propre après chaque utilisation.
-
Page 26: What We Will Do
Hansgrohe, Inc. (ii) a limited warranty on our hansgrohe and AXOR branded products. any hansgrohe or AXOR product sold for display purposes or (iii) hans- ® ® grohe or AXOR products purchased from unauthorized sellers. - Page 27 PRODUCT INSTRUCTIONS AND QUESTIONS OR REPAIR, INCLUDING THE USE OF ABRASIVE OR CAUSTIC CLEANING AGENTS OR “NO-RINSE” CLEANING PRODUCTS. Upon purchase or prior to installation, please carefully inspect your prod- N OTICE TO RESID ENTS OF T H E STATE O F N E W J ER SEY: uct for any damage or visible defect.
- Page 28 AXOR ⁄ Hansgrohe, Inc. 1490 Bluegrass Lakes Parkway Alpharetta, GA 30004 Tel. 800-334-0455 Fax 770-889-1783 axor-design.com...
Need help?
Do you have a question about the One Select 170 48070 1 Series and is the answer not in the manual?
Questions and answers