Advertisement
Quick Links
Advertisement

Summary of Contents for Patriot 355-0608
- Page 1 PAGE: 1 / 10 220817...
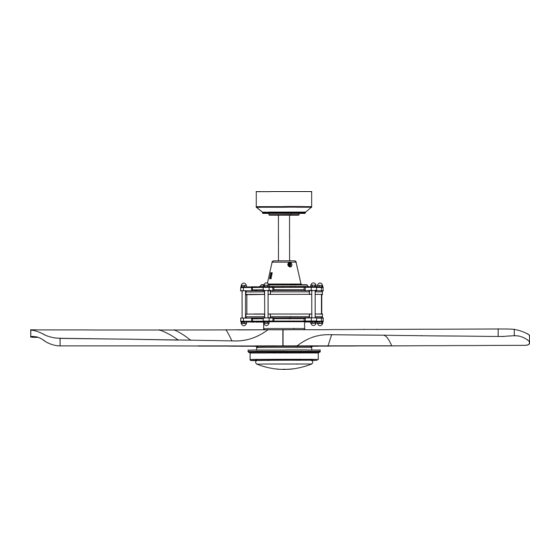
- Page 2 Unpack your fan and check the contents. You should have the following items. 1.) Hanger Bracket 2.) Canopy 3.) Decorative Cap (Remove the Preassembled Decorative Cap from the Canopy Before Installation.) 4.) Downrod Set (Included Hanger Ball, 6" Downrod, Hanger Pin & Lock Pin) 5.) Fan Motor Assembly 6.) Fan Blades (3PCS) 7.) Light Kit with LED Module...
- Page 3 Connect Plate of Light Kit PAGE: 3 / 10 220817...
- Page 4 PAGE: 4 / 10 220817...
- Page 5 IMPORTANT: BEFORE YOU BEGIN INSTALLATION, CAREFULLY READ ALL INFORMATION PROVIDED IN THE SAFETY INSTRUCTIONS AND INSTALLATION INSTRUCTIONS. IF IN DOUBT, CONSULT A QUALIFIED ELECTRICIAN. SAVE ALL INSTRUCTIONS. Tighten the hanger bracket to the outlet box with two mounting screws. (To reduce the risk of fire, electric shock, or personal injury, mount to an outlet box marked "Acceptable for fan support"...
- Page 6 Both the transmitter and receiver have a 4-key unit code on each SUR Switch (Fig.8) and by default, all keys are pre-set to the "off" position. This means that the transmitter and receiver are already paired together. However, if you have multiple fans and remote controls and want to avoid interference between them, you can "pair"...
- Page 7 Fig.11 Remove the plastic insert screws and plastic Hanger Bracket Fan Motor inserts from the fan motor assembly first. Assembly Align the holes on one of the blades with the holes on the bottom of fan motor assembly, Canopy Screw then loosely attach the blade using the screws provided.
- Page 8 Install the battery (9V, included) into the transmitter. Fig.18 * Press "HI" button to turn on the fan at high speed. * Press "MED" button to turn the fan in medium speed. * Press "LOW" button to turn the fan in low speed. * Press "FAN OFF"...
- Page 9 Fig.22 Fig.23 Fig.24 PAGE: 9 / 10 220817...
- Page 10 PAGE: 10 / 10 220817...
Need help?
Do you have a question about the 355-0608 and is the answer not in the manual?
Questions and answers
Is there a chance the sensor that reads the remote can go bad , we have a few of this model of fan which are all great but one stopped responding to the remote totally, i attempted to swap the remote with a working one and set the internal dip switches to match with no luck at all. i replaced the battery -light on the remote goes green - nothing on the fan. any suggestions - lines and cables are still connected, switch on the side in up or down same thing. fan will not turn on / light will not turn on.