Arcam AVR200 Handbook
Surround sound receiver
Hide thumbs
Also See for AVR200:
- Handbook (56 pages) ,
- Service manual (15 pages) ,
- Service manual (61 pages)

Related Manuals for Arcam AVR200


Summary of Contents for Arcam AVR200
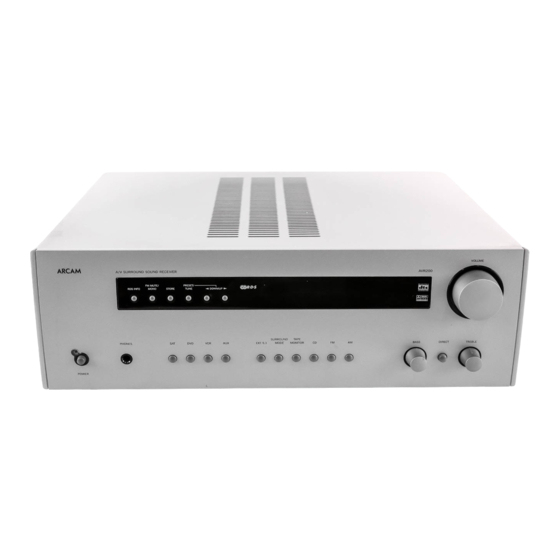
- Page 1 H A N D B O O K H A N D B O O K AVR 2 0 0 Arcam AVR200 surround sound receiver E nglis h Ampli-tuner audiovidéo Arcam AVR200 F ra nça is Arcam AVR200 Surround-Sound-Empfänger De uts c h...
-
Page 2: Safety Guidelines
This product has been designed to meet the EN60065 solvents for cleaning. international electrical safety standard. We do not advise the use of furniture cleaning sprays or polishes as they can cause indelible white marks if the unit is subsequently wiped with a damp cloth. AVR200 AVR200... -
Page 3: Table Of Contents
Safety guidelines with the equipment is also described. Safety instructions It may be that the AVR200 has been installed and set up as Safety compliance part of your system installation by a qualifi ed Arcam dealer. In Using this handbook... -
Page 4: Installation
An external AM loop aerial is supplied as an accessory with the console or satellite receiver – will need to be connected to AVR200. This should be attached to the AM Antenna inputs with sockets on the AVR200’s back panel. -
Page 5: Connecting Inputs
This product does not feature a Phono input stage. If you wish to connect a turntable to your AVR200 you will need to use DVD input an in-line phono pre-amp. All line level inputs have the same... - Page 6 ‘ ’. GROUND LIFT REMOTE CONTROL INPUT This input is connected to the output of an infrared receiver. The remote control input is usually used in custom installations. Ask your dealer or custom installer for further details. AVR200...
-
Page 7: Connecting Outputs
Use this socket to connect to the input of a suitable digital recorder (e.g. a CD-R or minidisc). When using a coaxial digital input, the signal is passed through the AVR200 with no changes. An optical input is restricted to a maximum frequency of 48kHz. -
Page 8: Setting Up
Setting up Using the On Screen Display (OSD) The easiest way to set up the AVR200’s multi-channel audio and NOTE: In some cases you may fi nd that the OSD is not still video options is through its On Screen Display (OSD). -
Page 9: Channel Balance Page
SAVE AND EXIT provide a balanced sound from the listening position. To help set this balance, the AVR200 can generate a test tone that plays an identical signal through each channel in turn. Trim the balance of each speaker in turn until they all appear to produce the NOTE: The test tone generates a noise which may not be same volume. - Page 10 The rear channel delay in Dolby Pro Logic is calculated by DO NOT SAVE AND EXIT adding 15ms to the rear channel delay calculated for Dolby SAVE AND EXIT Digital. In our example, this is 15ms + 6ms = 21ms. AVR200...
-
Page 11: Speaker Settings Page
If you have small speakers on the front, set SUBWOOFER STEREO to ‘ON’ to give the extra bass reinforcement required for music. If your front speakers are large, or of high quality and performance, you may fi nd music is reproduced more accurately with the Subwoofer turned ‘OFF’. AVR200... -
Page 12: Using The Avr200
This format decodes the centre and Dolby Pro Logic A red status LED indicates that the AVR200 is in stand by and surround sound signals encoded in can be switched on by the remote handset. Dolby Surround or Dolby Stereo movie soundtracks. - Page 13 TAPE IN AVR200. It also enables you to monitor a recording being made on a 3-head cassette deck. Tape monitor status is shown in red on the display. When the tape monitor is selected, pressing other source buttons changes the signal sent to the recorder.
-
Page 14: Using The Tuner
Using the tuner The AVR200’s radio tuner can be controlled from the upper row of front panel buttons (see diagram, below) or from the remote control handset (see ‘Using the remote control’). FM MUTE/ PRESET/ DOLBY PL II SPEAKERS FM MUTE... -
Page 15: Using The Remote Control
CD/DVD lights These indicate the function of the CD/DVD button at the bottom of the control. They are not related to any function on the AVR200. The LED only stays on for 15 seconds to conserve battery life. If neither LED is lit this does not mean that the remote control unit... -
Page 16: Reference
Frequency). procedures. Two amplifi ers – one of these would be the AVR200 and the other an Arcam power amplifi er (e.g. an P75 or P85). Bi-wiring your loudspeakers Loudspeaker cables – one pair of cables per loudspeaker or... -
Page 17: Troubleshooting
Troubleshooting The following table should help you diagnose most problems that may arise when using the AVR200. Problem Solution Cause No audio 1. Check mains lead is connected to AVR200 and that the wall 1. Power Lead unplugged or not switched on switch is on 2. -
Page 18: Technical Specifi Cations
FM ribbon aerial E&OE Continual improvement policy NOTE: All specifi cation values are typical unless otherwise Arcam has a policy of continual improvement for its products. stated. This means that designs and specifi cations are subject to change without notice. -
Page 19: Guarantee
Arcam distributor in the country of residence. On line registration You can register your Arcam product on line at: www.arcam.co.uk/reg...
Need help?
Do you have a question about the AVR200 and is the answer not in the manual?
Questions and answers