Table of Contents
Advertisement
Quick Links
Advertisement
Table of Contents

Summary of Contents for Hypercharge home LEVEL 2
-
Page 2: Table Of Contents
1. IMPORTANT SAFETY INSTRUCTIONS ........2 2. PRODUCT INTRODUCTIONS............6 3. VERIFY CONTENTS..............8 4. GATHER TOOLS ..............10 5. PLAN THE MOUNTING ............11 6. MOUNT THE CHARGING STATION ........12 7. PLUG INTO WALL ..............13 8. OPERATING HYPERCHARGE HOME........14 9. LIGHT CODES ................16 10. WARRANTY AND MAINTENANCE........18... -
Page 3: Important Safety Instructions
REQUIREMENT: A NEMA 14-50 outlet connected to a dedicated 40A or 50A circuit breaker is WARNING: To avoid fire, injury or death, carefully read and follow the instructions during required BEFORE installation of the Hypercharge Home charger. installation, operation and maintenance. - Page 4 EXIGENCE: Une prise NEMA 14-50 connectée à un disjoncteur dédié de 40 A ou 50 A est requise AVANT l'installation du chargeur Hypercharge Maison. AVERTISSEMENT : Pour éviter les risques d’incendie, de blessure ou de mort, il faut lire et suivre AVERTISSEMENT : Si vous n'avez pas de prise NEMA 14-50, consultez un entrepreneur en soigneusement les instructions pendant l’installation, l’utilisation et l’entretien.
-
Page 5: Product Introductions
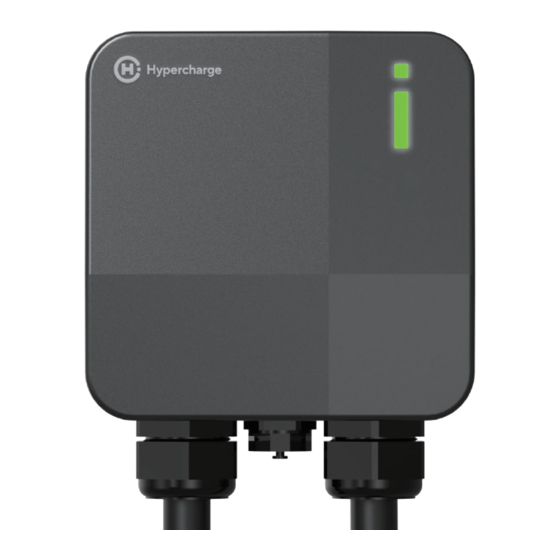
2. Product Introductions 2.3 Specifications CAUTION: Avoid placing Hypercharge Home near hot objects, high temperature locations, Model Number HC1117-JT (EVC27) and away from dangerous substances such as flammable gases and corrosive materials. Rated Input Voltage 200-240 VAC Rated Output Current 2.1 Basic Interface... -
Page 6: Verify Contents
Check the box to ensure you have this installation guide and these parts: With attached input power cable and Hypercharge Home output charging cable User Manual Please read carefully before use For mounting Hypercharge Home to Wall-Mounted Bracket the wall / structure M5 Anti-Theft Round For securing Hypercharge Home to Head Screws... -
Page 7: Gather Tools
4. Gather Tools WARNING: In areas with frequent thunderstorms, add surge protection at the service Before installing Hypercharge Home, you will need the following tools: panel for all circuits. Ensure all power and ground connections, especially those at the 1. Adjustable Wrench breaker and bus bar, are clean and tight. -
Page 8: Mount The Charging Station
Follow the instructions on the next page to operate the Install wall-mounted bracket for holster: Drill 4 screw holes with a diameter of 0.33” and a depth of Hypercharge Home. 2.2”. Use 4 holster bracket screws (M6*50mm external hexagon expansion screws) to secure the holster bracket on the wall, then level the brackets. -
Page 9: Operating Hypercharge Home
When the status indicator light starts to flash green (CHARGE), Hypercharge Home is actively charging your vehicle. CAUTION: Please operate Hypercharge Home correctly. Avoid striking or applying ● If the status indicator light is red (FAULT), remove the charging excessive force to the enclosure. If the casing is damaged, do not use. -
Page 10: Light Codes
9. Light Codes 9.1 Power Indicator 9.3 Error and Warning Messages Fault Status Power Off Power On Voltmeter fault 1 flash followed by 3 sec pause Control pilot fault 2 flashes followed by 3 sec pause Light Off Solid Blue Input Undervoltage 3 flashes followed by 3 sec pause Input Overvoltage... -
Page 11: Warranty And Maintenance
10. Warranty and Maintenance • The warranty period for this charger is two years. • During the warranty period for any malfunction under normal use according to the User Manual and Service Instructions (to be determined by certified maintenance technicians of sellers), the product shall be repaired free of charge.
Need help?
Do you have a question about the home LEVEL 2 and is the answer not in the manual?
Questions and answers