Advertisement
Release Date
January 2014
Tempest LeMans GTO
Add
our
Bluetooth®
incoming calls and place outgoing calls with compatible
phones — all without having to fumble around for your cell
phone. You can also stream music from any compatible
phone or tablet — use the dedicated keys to skip or replay
tunes. Built in USB 2.1 Amp charger. NFC simple pairing
function.
ANTIQUE AUTOMOBILE RADIO, INC.
700 TAMPA RD. Palm Harbor, FL 34683 USA (727) 785-8733
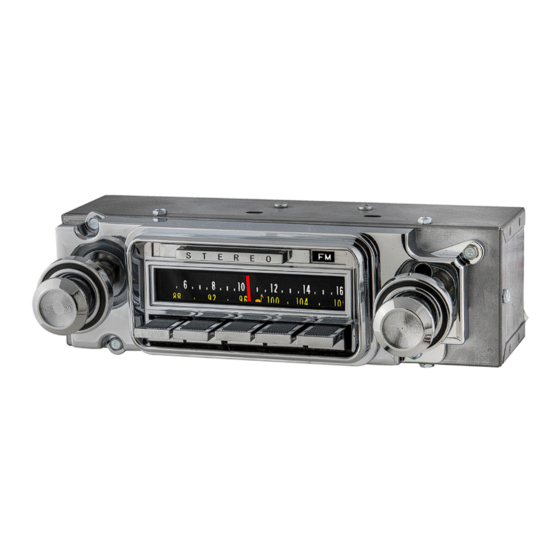
1966 Pontiac
AM/FM STEREO
RADIO INSTALLATION
OPERATING INSTRUCTIONS
Model 542201B
1
adapter
kit
For HELP, Questions or Comments email:
support@radiosforoldcars.com
AND
AM/FM9.2
option!
Answer
Advertisement
Table of Contents

Related Manuals for Antique Automobile Radio 542201B


Summary of Contents for Antique Automobile Radio 542201B
- Page 1 — use the dedicated keys to skip or replay tunes. Built in USB 2.1 Amp charger. NFC simple pairing function. ANTIQUE AUTOMOBILE RADIO, INC. 700 TAMPA RD. Palm Harbor, FL 34683 USA (727) 785-8733 For HELP, Questions or Comments email:...
- Page 2 CONGRATULATIONS! You have one of the most unique and sophisticated radios ever built! It is designed for a long trouble free life and quality sound. Our objective is to preserve the original fit, functions and appearance of your radio while providing superior sound using the best of the latest digital technology.
- Page 3 Your radio has a 12 pin connector for the speakers, power, and options. See inset below for more details. There is one red (fused) wire. This is the main power input. It should be connected to the 12 volt Accessory circuit. There is a green wire that is used for the dial light.
- Page 4 INSTALLATION If you intend to use our Bluetooth® adapter kit install the extension cable provided with the kit. Refer to the Bluetooth® instructions To remove your old radio, first remove the knobs and back rings. Remove the hex nuts from the control bushings. Remove the antenna, power and speaker connectors.
Need help?
Do you have a question about the 542201B and is the answer not in the manual?
Questions and answers