Table of Contents
Advertisement
Quick Links
Advertisement
Table of Contents

Related Manuals for EyeQue Insight Pro


Summary of Contents for EyeQue Insight Pro
- Page 1 Insight Pro Vision Screener Beta Prototype Product Manual...
-
Page 2: Table Of Contents
Table of Contents INTRODUCTION ........................4 PACKAGE CONTENTS ......................5 INSIGHT PRO ......................... 6 ........................ 6 ECHNICAL PECIFICATIONS ........................6 RODUCT ESCRIPTION ........................8 NSIGHT ONTROLS ........................8 ONTRAINDICATIONS ........................9 AFETY NFORMATION ............................9 ARNING ............................9 LEANING ............................9 ISPOSAL REMOTE CONTROL ...................... - Page 3 SOFTWARE UPDATES ......................22 SERIAL NUMBERS ........................ 22 DISCLAIMER OF LIABILITY ....................24 WARRANTY INFORMATION ....................24 EYEQUE CONTACT INFORMATION ..................24 & P ....................24 UPPORT MAIL HONE UMBER ............................24 DDRESS...
-
Page 4: Introduction
EyeQue Connect platform. The results will display Visual Acuity, Color Deficiency and Contrast Sensitivity for OD, OS, and OU. The Insight Pro provided is a custom-built beta prototype of the Insight Pro that is still undergoing development. As such, the product and its software are provided on an “as... -
Page 5: Package Contents
Package Contents Insight Pro Table Stand with Remote Control Tray Tablet Tablet Stand Smartphone Remote Control The package also includes 2 USB-C charging cables, 1 micro-USB charging cable, 1 flathead screwdriver, 1 Phillips screwdriver, 1 hex key screwdriver, and stand assembly... -
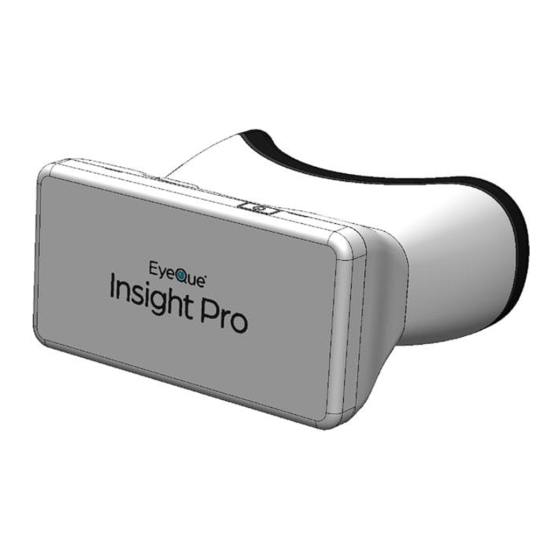
Page 6: Insight Pro
Visual Acuity Range: 20/20 to 20/400 Product Description The EyeQue Insight Pro is a vision screening device. The Insight Pro has the capability to administer four types of tests: 1. Visual Acuity Test – ETDRS Test: How clearly one can see. - Page 7 • If the patient does not have corrective lenses: results other than 20/20 (imperial, 6/6 in metric) may indicate the need for vision correction. • If the patient wears corrective lenses: the test can be conducted while the patient is wearing the corrective lenses to check if their vision correction may need to be updated.
-
Page 8: Insight Pro Controls
Power Button When the phone is placed into the Insight Pro, the power button can be used to turn the phone screen on or off. Do not press the power button when there is no phone in the Insight Pro, or when the front cover is opened. -
Page 9: Safety Information
Pro present minimal risks. Note: For ages 6 years or older. Children under 18 years of age should use the EyeQue Insight Pro with adult supervision. Cleaning Between patients, clean the padding that is in contact with the face with rubbing alcohol. -
Page 10: Remote Control
Battery Indicator Direction Buttons On/Off Switch Product Description Bluetooth enabled remote control that connects to the Insight Pro device and allows for an intuitive test taking experience. Charging • Charge the device using the micro-USB cable provided (USB wall charger not included). -
Page 11: Tablet
Press the button on the back of the table stand pillar to unlock the stand and adjust the height of the Insight Pro. Push down on the Insight Pro to lower the height and pull up from the bottom of the device to raise the height. -
Page 12: Tablet Stand
Insight Pro is locked, use the flathead screwdriver to twist the lock to the open position. 2. Open the Insight Pro front cover. The phone should fit between the ribs on the inside of the Insight Pro, with the power button facing upward and the charging port facing to the left so that it is accessible. -
Page 13: Administrator Instructions For Use
4. Look at the center of the screen with the tablet directly in front of you 5. Select “Save Results” 6. Results for Far and Near PD will be displayed on the screen 7. Use Far PD to adjust the PD on the Insight Pro device and tablet... -
Page 14: Administrator Tablet Instructions - Guest Mode
Administrator Tablet Instructions – Guest Mode When testing in Guest Mode please note that the results cannot be saved to a patient’s profile or the database 1. Pair phone through the app dashboard by selecting “Connect Phone” a. Select the device that is listed on the screen then select OK... - Page 15 2. Pair remote control through the app dashboard by selecting “Connect EUC” a. Select the device that is listed on the screen then select OK 3. When paired the word “CONNECTED” will be displayed with a green checkmark. Select “Test in Guest Mode” when you are ready to test.
- Page 16 4. Select the test that you would like to administer then select Next. 5. Select “Change PD” and adjust to patients Pupillary Distance (PD). a. Adjust the Pupillary Distance on the Insight Pro device by adjusting the PD wheel.
- Page 17 6. During the test, the app will display the screen that the patient is seeing as well as the direction in which they are swiping. a. The patient should not squint during testing. b. If the patient is unable to determine the direction of the letter E, they will just guess.
-
Page 18: Administrator Tablet Instructions - Log In
Next 8. Select the test you would like to administer then select Next. 9. Adjust the Pupillary Distance on the Insight Pro device by adjusting the PD wheel. 10. During the test, the app will display the screen that the patient is seeing as well as the direction in which they are swiping. -
Page 19: Eyeque Connect Instructions
EyeQue Connect Instructions To use EyeQue Connect, the tablet must be connected to the internet and the Administrator must sign in on the tablet and select the patient that is testing. Test results are uploaded in real time and are available for review immediately via desktop version of EyeQue Connect. - Page 20 4. When reviewing results, select the patient from the Patient list and click on “Other Tests” tab. a. The “Other Tests” tab will display results for visual acuity, color deficiency, contrast sensitivity, and Amsler Grid tests. For additional instructions on EyeQue Connect, please refer to the EyeQue Connect User Manual.
-
Page 21: General Testing Procedure For Patients
The following will apply to all tests with the EyeQue Insight Pro 1. The patient should keep both eyes open while testing. 2. The patient will look through the Insight Pro and click in the direction of the letter “E” displayed on the screen by using the remote control. -
Page 22: Charging
The Insight Pro has a tablet and smartphone, both of which require a USB-C cable to charge. The Insight Pro also has an EUC, which uses a micro-USB cable to charge. It is recommended to charge the EUC overnight and unplug the EUC during use. - Page 23 The Phone serial number can be found in Settings > System > About phone:...
- Page 24 Disclaimer of Liability The Insight Pro provided is a custom-built beta prototype version of the Insight Pro that is still undergoing development. The product and its software are provided on an “as is” basis. Parts and features may be different from the final finished product, and some features may be limited or unavailable.
Need help?
Do you have a question about the Insight Pro and is the answer not in the manual?
Questions and answers