Nomadic NC-X3 Install Manual
Hide thumbs
Also See for NC-X3:
- Install manual (18 pages) ,
- Operation manual (10 pages) ,
- Install manual (15 pages)

Related Manuals for Nomadic NC-X3


Summary of Contents for Nomadic NC-X3
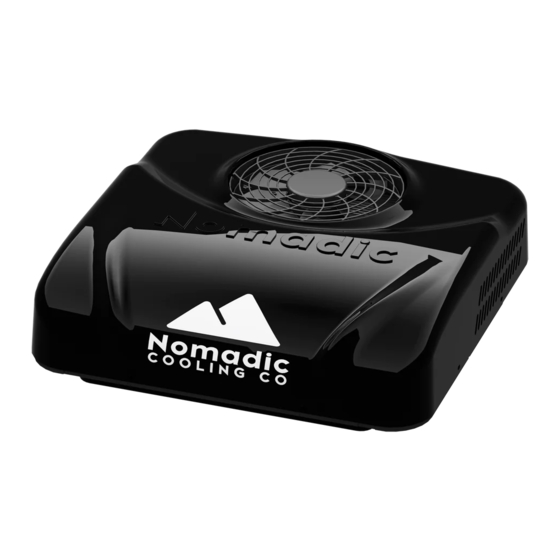
- Page 1 NC-X3 Install Manual Version 2.0-082923 16680 N 51st Ave Units 4 & 5 Glendale, AZ 85306 (480) 576-2489 www.NomadicCooling.com/Support...
- Page 2 NC-X3 SPECIFICATIONS . . . . . . . . . . . . . . . . . . .6...
- Page 3 ITEMIZED PARTS LIST Nomadic Cooling Co NC-X3 Install Manual Version 2.0-082923...
- Page 4 AC Unit and Shroud AC Base Plate Foam Gasket Vehicle Roof Trim Ring Cross Bars 16680 N 51st Ave Units 4 & 5 Glendale, AZ 85306 (480) 576-2489 www.NomadicCooling.com/Support NC-X3 Install Manual Nomadic Cooling Co Version 2.0-082923...
- Page 5 Do NOT add any devices or accessories read and follow all of the safety information to the AC unit unless specifically and instructions . authorized in writing by Nomadic Cooling Co. Read and comprehend these instructions before installing, using, servicing, or maintain- ing this AC unit .
- Page 6 18” PWM, Spring Bushings Evaporator Motor Brushless with 10“ Fan 10.85” 8.67” Condensor Fan 14” Noise (Decibals) ≤ 60 dBa Operation Modes Auto/ECO/Powerful/Fan Min-Max Temperature Settings 60°F to 86°F Profile Warranty Two (2) Years NC-X3 Install Manual Nomadic Cooling Co Version 2.0-082923...
- Page 7 4. Cut on your lines using a jig saw, nibbler or cutting wheel . 14” Exterior Roof Use a sander or file to smooth out the rough edges after cutting . 14” 14” 14” 14” Exterior Roof Nomadic Cooling Co NC-X3 Install Manual Version 2.0-082923...
- Page 8 CUTAWAYS FOR ROOF RIDGES 6. Remove tape and clean surface . Exterior Roof 7. Remove Nomadic Cooling 14”x 14” water- proof gasket from packaging . Make sure area/paint is clean, dry and 9. Place AC unit on roof over 14”x 14” gasket clear of all debris .
- Page 9 Over compression of the unit to the roof may cause the internal fan to rub against the fan housing . Be sure the fan blades rotate freely prior to starting the unit . Interior Roof Nomadic Cooling Co NC-X3 Install Manual Version 2.0-082923...
- Page 10 12. Attach LCD control panel and AC stacking them wiring harnesses . on each other . To AIR-OUT sensor OPTION B To Control Panel AC unit centered on foam gasket AIR IN AIR OUT NC-X3 Install Manual Nomadic Cooling Co Version 2.0-082923...
- Page 11 16. Install faceplate. Use self-drilling screws to firmly secure your faceplate to your final roof panel/wall . Obsidian Black Metal Arctic White Congratulations! Your Nomadic Cooling X3 AC unit rooftop installation is complete. Now... Nomadic Cooling Co NC-X3 Install Manual Version 2.0-082923...
- Page 12 B ack(2.0) Red(2.0) B ack(2.5) Red(2.5) B ack(2.0) Blue(1.5) NC-X3 Install Manual Nomadic Cooling Co Version 2.0-082923...
- Page 13 Properly wired LCD Control Panel using included wiring bundle (Part V) .
Need help?
Do you have a question about the NC-X3 and is the answer not in the manual?
Questions and answers