Advertisement
WHAT'S IN THE BOX

Note: Power adapter varies by region.
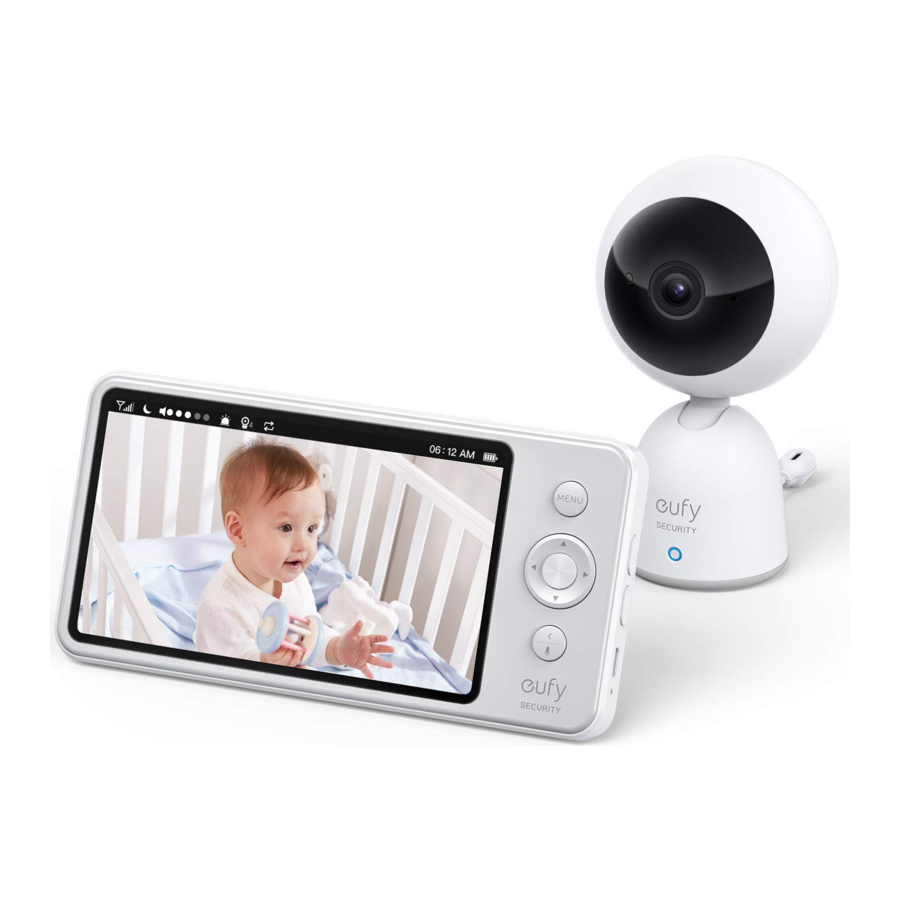
FEATURE INTRODUCTION
Monitor Features

- Screen
- Menu button
- Navigation button
- OK button
- Press to confirm the selection
- Press to switch camera display if more than 2 cameras added
- Return to previous level of menu / Talk button
- Press and hold to speak to the camera
- When menu is opened, press to return to the previous level of menu
- LED indicator
- Red: charging
- White: Fully charged
- Micro USB charging port
- Volume down
- Volume up
- Power button
- Zoom button
- Reset
- Speaker
Camera Features

- Microphone
- Standard camera lens
- LED indicator
- Temperature sensor
- Pairing button
- Micro USB port
- Speaker
SETTING UP THE CAMERA AND MONITOR
Charge the Monitor
Fully charge the monitor before use. To charge:
- Connect one end of the micro USB cable to the baby monitor, and the other end to the power adapter (5V/2A).
- Plug the adapter into a power outlet.
- Press and hold the power button for 2 seconds to turn the baby monitor on.


Charge the Camera
- Connect one end of the micro USB cable to the baby camera, and the other end to the power adapter (5V 1A).
- Plug the power adapter into a power outlet.

The new baby monitor and camera will set up automatically. You are all set to use the products after the monitor and camera are fully charged.

ADDING A NEW BABY CAMERA TO THE BABY MONITOR
The baby camera and baby monitor are paired and ready to use right out of the box. Refer to the following steps when adding extra baby cameras or after resetting a baby camera.
- Enter menu settings, go to Camera →Add Camera, then follow the onscreen instructions to start the pairing.

- Press and hold the pairing button on the rear of the camera for 1 second until a notification prompt is heard.
- Check the firmware version of the monitor (see image below) to make sure your baby monitor and camera are running the same, latest firmware version.


To check whether it is the latest version:
- Visit the website below: https://www.eufylife.com/support/5505/spaceview-baby-monitor
- If the firmware version is lower than the version shown online (highlighted in green), click the firmware version to download. The downloaded file includes firmware for both T8300 and T8321 models, make sure you use the T8321 firmware.
- Follow the steps in the "eufy Security Software Upgrade Guide" video or Firmware Upgrade Manual to complete firmware upgrade.
Note:
- The eufy Security Spaceview baby camera can be added to the monitor. Before adding the camera, make sure SpaceView baby camera is running the same, latest version with the monitor's.
- Chrome OS is not supported for firmware upgrade.
- Before you upgrade firmware, use the provided micro USB cable (1m) to connect the device needed to your computer.
USING THE BABY MONITOR
When more than 2 cameras are added to the monitor, you can manually switch among cameras by pressing the monitor's OK button. Once the camera switch is completed, the icon of the selected camera will appear on the corner of the baby monitor.
You can also select the "Cycle Camera" option. The screen cycles through the list of connected baby cameras according to the preset intervals.
Note: The monitor will emit a loud noise if placed too close to the camera. This is normal and is resolved once the camera is moved away from the monitor.
MOUNTING THE BABY CAMERA ON THE WALL
- Place the wall mount against the wall, matching the direction as UP indicates. Mark the screw holes with a pencil.

- Drill 1/5'' holes into the wall and then insert anchors into the holes. Anchors are not needed for wooden walls.

- Insert the screws through the mounting holes of the wall mount and screw into the anchors.

- Snap the baby camera onto the wall mount.

- To get the optimal viewing angle, rotate the camera (25°upwards, 60° backwards, 250° horizontally) manually, as pan and tilt functions are not supported on this model when using the navigation button.


MONITOR MENU SETTINGS
Press and hold the power button to power on the monitor. Press the menu button to open Menu Settings.
Menu Settings
| Menu Options | Description |
| Brightness | Set the brightness of the screen. |
| Sleep Mode | Enable to automatically turn off the screen after 1 min, 3 min, 5 min or Off. |
| Sound Alert | You can set the baby monitor to alert you when a specific noise level is detected. Note: Surrounding noise might set off false alarm. |
| Lullaby | Select your desired lullaby song. You can adjust the volume by selecting the volume button. Note: Sound Alert is automatically disabled when Lullaby function is enabled.  Your baby's cry might be obscured by the sound of a lullaby. |
| Zoom | Zoom in / out |
| Alarm |
|
| Camera | Add Camera Note: You can add up to 4 cameras per baby monitor. |
| Delete Camera | |
| Cycle Cameras Cycles through the list of connected baby cameras according to the preset intervals. | |
| Time Set | Set the time on the monitor. |
| Night Vision Mode | When Auto is enabled, the camera will change the screen color according to the light conditions in the room. When disabled, the camera will stick to daylight screen color and will not change when the surrounding environment is getting dark. Note: We recommend setting this function to On for most of the situations. |
| Anti-Screen Flicker | Changes the refresh rate of the screen to prevent flickering. |
| Language | Sets the on-screen display menu language. |
| Default Settings | Resets all options to their default setting. |
| Temperature Unit | Select your desired temperature measure unit. |
| Connect with Us | Contact details |
Note: The interval duration between each sound alert is 30 seconds. It will not sound alerts during this interval, even if the conditions are met to trigger an alert.

On-screen Menu Icons
| Icon | Icon Description |
 | Wireless signal strength |
 | Night Vision Mode is enabled |
 | Shows the camera that is currently presenting on the baby monitor screen Note: This icon will not appear on the screen when there is only one camera connected to the monitor. |
 | Cycle Cameras enabled |
 | Sound Alert enabled |
 | Sound level of the room the camera is in |
| 08:30 AM | Current time |
 | Current battery level of the baby monitor |
| 72°F | Current operating temperature |
NOTICE
Strangulation Hazard: Children have STRANGLED in cords. Keep this cord out of the reach of children (more than 1m (3ft) away). Never use extension cords with AC Adapters. Only use the AC Adapters provided.
 This product complies with the radio interference requirements of the European Community.
CUSTOMER SERVICE
Anker Innovations Limited
Room 1318-19, Hollywood Plaza, 610 Nathan Road, Mongkok, Kowloon, Hong Kong
Call Us
United States +1 (800) 988 7973 Mon-Fri 9AM-5PM (PT)
United Kingdom +44 (0) 1604 936 200 Mon-Fri 6AM-11AM (GMT)
Germany +49 (0) 69 9579 7960 Mon-Fri 6:00-11:00
Email Us
Customer Support: support@eufylife.com
 @EufyOfficial
 @EufyOfficial
 eufyofficial

Documents / Resources
References
Download manual
Here you can download full pdf version of manual, it may contain additional safety instructions, warranty information, FCC rules, etc.
Advertisement

Need help?
Do you have a question about the T8321-C and is the answer not in the manual?
Questions and answers