Oster FPSTMC6613A-L, FPSTMC6613A-G - 3-CUP MINI FOOD CHOPPER Manual
- User manual (11 pages)
Advertisement
POWER CORD INSTRUCTIONS
A short power-supply cord or detachable power-supply cord is provided to reduce risks resulting from becoming entangled in or tripping over a longer cord. Longer detachable power-supply cords or extension cords are available and may be used if care is exercised in their use. If a long detachable powersupply cord or extension cord is used on short-cord models:
- The marked electrical rating of the detachable power-supply cord or extension cord should be at least as great as the electrical rating of the appliance;
- When the product is of the grounded type, the extension cord shall be a grounding type 3-wire cord; and
- The longer cord should be arranged so that it will not drape over the counter top or table top where it can be pulled on by children or tripped over unintentionally.
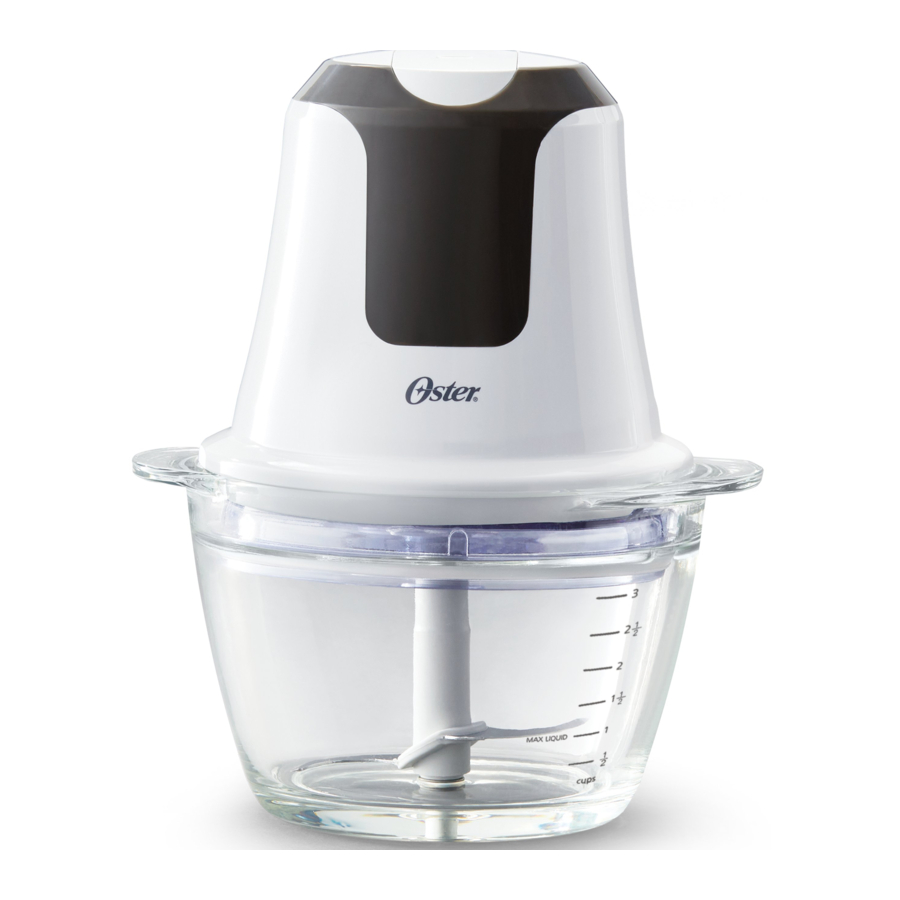
LEARNING ABOUT YOUR DEVICE


- 2-Speed Buttons
- Motor
- Cover
- Chopping Blade
- Whisk: For beating egg whites (only available with model FPSTMC6613A-G
- Bowl
- Storage lid (only available with model FPSTMC6613A-L)
HOW TO
Assembling the Unit
- Remove all packaging materials before using.
- Before using, wash cover, bowl, blade and creamer in warm soapy water; rinse and dry thoroughly, see CARE AND CLEANING.
- Place bowl on a flat surface and slide the chopping blade over the metal shaft at the bottom of the bowl.
- Place the cover on top of the bowl, so that the upper stem of the chopping blade comes through the hole in the cover. The two cut outs on the cover should match up with the two protrusion on the side of the bowl. Cover needs to be aligned with bowl.
![]()
- Place the motor on top of the cover, rotating if necessary to drop into place. The motor will "float" in the opening of the cover, so that it can be pressed down further to activate the chopping blade.

Chopping
- Cut food into approximately 1.5 cm (1/2 inch) pieces and place up to 3 cups of dry food in the bowl at a time.
- Place the cover and motor on top of the bowl.
- Plug the cord into an outlet. Press and hold either top silver buttons on the top of the motor to activate the chopping blade. Button "I" is for softer ingredients and button "II" is for harder ingredients.
NOTE: To avoid liquefying the ingredients, do not over chop them. Use short presses to pulse until desired consistency is achieved.
- When finished chopping release button, allow chopping blade to stop rotating before removing contents.
- Remove the motor and cover and grasp the stem of the chopping blade. Carefully remove it from the bowl. Empty processed food from the bowl only after the chopping blade has been removed.
![]()
Blades are sharp! Handle with care. - To store leftovers, place the storage lid on-top of glass bowl. Note: Storage lid does not create an air tight lock and is subject to detaching from bowl if rotated or turned upside down.
| FOOD | QTY | TIME |
| Almonds & Nuts | 1 1/3 Cup | Pulse for 15 seconds for coarse chop. |
| Pulse for 20 seconds for fine chop. | ||
| Fresh Herbs | 1 loosely packed Cup | Chop for 50 seconds |
| Hard Cheese | 120 grams | Chop for 50 seconds |
| Garlic Cloves | 1 Cup, peeled | Pulse for 20 seconds |
| Chocolate | 120 grams | Chop for 30 seconds |
| Onion | 1 Cup, cut into quarters | Pulse for 15 seconds |
| Tomatoes | 1 Cup, cut into quarters | Pulse for 15 seconds |
| Meat | 180 grams | Pulse for 15 seconds |
| Egg Whites | 2 egg whites | Pulse for 45 seconds to whip |
| Whipping cream | 1 cup | Pulse for 45 seconds to whip |
Note: Do not exceed max liquid amount for whipping as it may cause overflow from unit.
CARE & CLEANING
This appliance should be cleaned after every use.
- Unplug the 3-cup chopper when not in use and before cleaning.
![]()
Do not place or immerse cord, plugs, or appliance in water or other liquid. Allow the chopping blade to stop rotating before disassembling. - Wash the bowl, cover and chopping blade in warm soapy water. Rinse and dry thoroughly.
NOTE: Cover, bowl, chopping blade, storage lid and whisk attachment can be placed in dishwasher.

Blades are sharp! Handle with care.
- To clean the motor, wipe the exterior with a damp cloth or sponge. Dry thoroughly with a soft cloth. Do not use with hot foods.
This appliance has no user serviceable parts. Any servicing beyond that described in the Cleaning Section should be performed by an Authorized Service Representative only.
For product questions contact:
Sunbeam Consumer Service
USA: 1.800.334.0759
www.oster.com
©2021 Sunbeam Products, Inc. All rights reserved.
Distributed by Sunbeam Products, Inc., Boca Raton, Florida 33431.

Documents / ResourcesDownload manual
Here you can download full pdf version of manual, it may contain additional safety instructions, warranty information, FCC rules, etc.
Download Oster FPSTMC6613A-L, FPSTMC6613A-G - 3-CUP MINI FOOD CHOPPER Manual
Advertisement


Need help?
Do you have a question about the FPSTMC6613A-L and is the answer not in the manual?
Questions and answers