Advertisement
Introduction
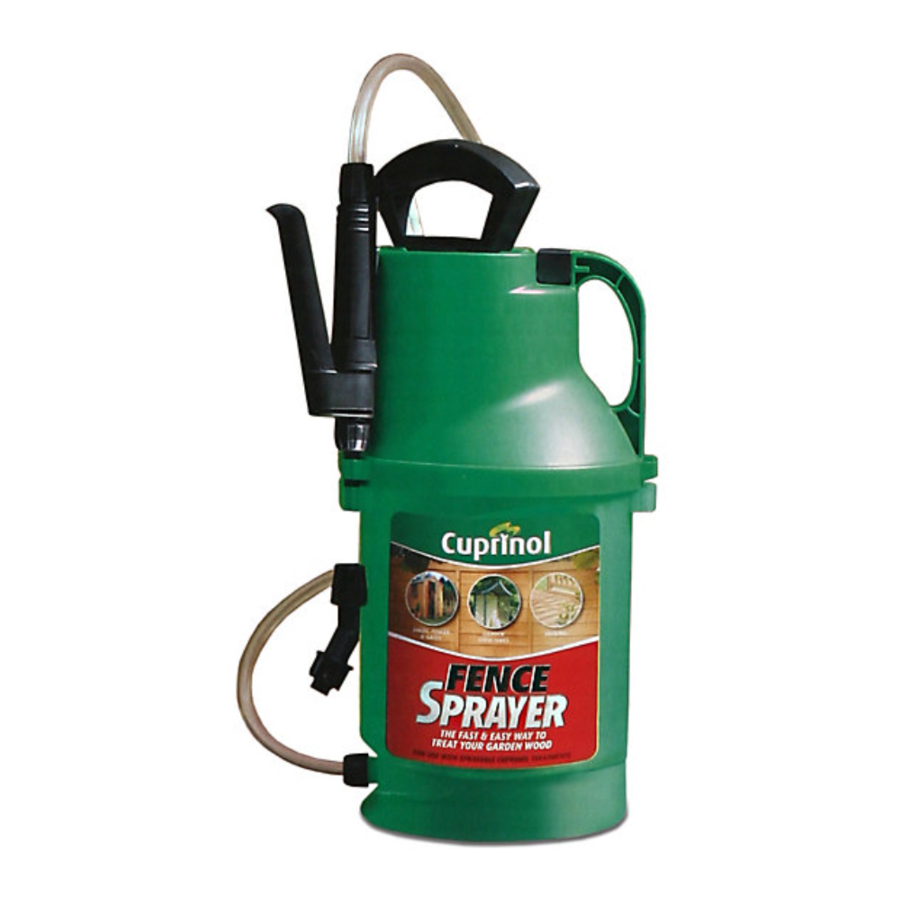
Thank you for purchasing the Cuprinol Fence Sprayer
Please read all the instructions in this user guide before using this product and retain them for future use.
The Cuprinol Fence Sprayer has been specially designed for use with Sprayable Cuprinol treatments (Cuprinol Sprayable Fence Treatment, Cuprinol Decking Oil and Protector (WB), Cuprinol Shades and Cuprinol Ducksback Sprayable). It is not intended for use with any other treatments, either waterbased or solvent based and is not to be used with wood preservers, creosote or creosote alternatives. It is not intended to be used with any agrochemicals (insecticides, fungicides, herbicides) or any application other than the recommended treatments.
Using this sprayer for application of other products will result in a disappointing finish and will invalidate the guarantee. This guarantee does not affect your statutory rights.
HOW TO USE
ASSEMBLY OF COMPONENTS
ON INITIAL USE: The majority of the components are assembled however you will need to attach the hose (992) SECURELY to the sprayer tank and to the handset (166) to avoid leaks during use. Ensure all fittings are tight prior to use but do not use a spanner or similar to tighten. After assembly test for proper delivery and tightness by filling with water, pressurizing and doing a test spray. Remove centre handle/piston (921) from the sprayer by turning it anticlockwise (in the locked position).
ON REUSE AND AFTER STORAGE: Check all component parts are free of excessive wear and tear, worn parts must not be used. Check for damage to unit and attachments, if damaged do not use. All repairs to be carried out by an authorized service agent. Check that the pressure release valve (269) is working / not stuck / blocked. Use only authorized replacement components.

FILLING WITH FLUID
SHAKE PACK OF SPRAYABLE TREATMENTS THOROUGHLY. Remove the lid and pour contents into sprayer.
Please note that the Fence Sprayer is designed to hold one 5litre pack of Sprayable Treatments. When refilling use the 4litre indicator (printed on the outside of the sprayer) as a guide to ensure the sprayer is not overfilled.

REPLACING PISTON, CLOSING TIGHTLY
Wipe any liquid from the screw thread and replace piston by turning in a clockwise direction until it can be tightened no further. Depress and 1/4 turn the handle (407) anti clockwise until it is in the unlocked position for pumping.

PUMPING
Place the sprayer on a firm, flat surface. Pressurize the sprayer by pumping the handle up and down fully with two hands. Make sure that fingers cannot be trapped between the handle and the top of the tank. Once you have reached the optimum pressure for spraying, the valve (269) will release some air and the black valve handle will rise to reveal about 5 mm of the red indicator below.

SPRAYING
For best results stand with the sprayer nozzle approximately 15-30 cm (6´-12´) from the fence panel and spray one panel at a time. Start by spraying the edges and any vertical struts before spraying the center of the fence panel. Using a slow, sweeping motion, spray horizontally across the panel, turning at the end and overlapping approximately half of the previous pass each time. This should ensure that you achieve an even finish.
As with any sprayer it may take a couple of minutes to perfect your technique. Vary the distance of the nozzle from the fence until you get the best finish. Begin slowly and increase the pace as you get used to spraying. Take care not to spray too quickly as this may result in an uneven finish. Similarly, spraying too slowly will result in excess product being applied causing runs. Should this happen simply brush into the wood.
The Cuprinol Fence Sprayer has a very controlled spray pattern, however, as with any spray product a limited amount of overspray will be created. This can be minimized by avoiding spraying in windy conditions and by using cardboard or plastic as a shield. Any overspray should be cleaned up with water and household detergent if necessary. Excessive spillage on plants should be rinsed off before drying.
Repressurize to maximum pressure when the spray pattern "tails off" following step 4.
The frequency of repressurization will depend on the amount of liquid in the container.
In the unlikely event that the nozzle (665 and 666) becomes partially blocked, release the pressure and unscrew the retainer (291). Remove both nozzle components and filter (664) and wash with water until all traces of fluid are removed. Check to see if the nozzle holes are clear and reassemble.
FINISHING
Any unused treatment can be sprayed directly back into the pack for storage. To do this, remove the combined components (990 and 991) and depress the trigger slowly to avoid splashback.
RELEASING THE PRESSURE
BEFORE REFILLING OR AFTER USE, ENSURE ALL PRESSURE IS RELEASED VIA THE PRESSURE RELEASE VALVE (269) BEFORE OPENING THE SPRAYER. DO NOT LEAVE SPRAYER PRESSURIZED WHEN NOT IN USE.


DO NOT TAMPER WITH THE PRESSURE RELEASE VALVE (269) AT ANY STAGE.
CLEANING
Fill the sprayer with water and reseal as in step 3.
Shake the sprayer to remove fluid from round the insides and then repressurize.
Do not dispose of washings into drains or watercourses. Spray water into an empty container and then flush down a sink. Repeat until the waste water runs clear. To ensure that the smaller components have been cleaned thoroughly we recommend that you clean the filters (346) & (664) and the seal (165) under running water using a hard bristle brush if necessary. Do not use wire, pins or similar sharp objects to clean or unblock the nozzle (665, 666).This will lead to damage and a poor spray pattern.
Ensure that all parts of the trigger mechanism (743, 990, 991) are also washed clean of any fluid.
To avoid losing smaller components on storage we recommend that you attach 990, 901 and 743 together.
Ensure that liquid is completely drained from the sprayer and hose for storage. It is best to detach the hose (992) from the sprayer tank and handset during storage.

MAINTENANCE
A few drops of lubricating oil in the pumping mechanism (406) will protect the seal (164).
Use only authorized replacement components.
All repairs to be carried out by an authorized service agent.
Retain user guide for future reference.
PARTS LIST

| N.º | COD. | Q | DESCRIPTION |
| 101 | 2.23.15.908 | 2 | ROUND GASKET AN-8 |
| 127 | 8.38.12.323 | 2 | CONE NUT |
| 138 | 8.38.12.328 | 2 | Ø 10 CONE |
| 159 | 2.23.15.930 | 1 | ROUND GASKET AN-30 |
| 164 | 8.39.02.314 | 1 | COLLAR SEAL |
| 165 | 8.38.05.314.1 | 1 | CHAMBER VALVE |
| 166 | 8.39.18.367 | 1 | GRIP |
| 167 | 2.23.15.914 | 1 | ROUND GASKET AN-14 |
| 265 | 8.18.95.801 | 1 | TANK |
| 269 | 8.18.95.806 | 1 | PRESSURE RELEASE VALVE |
| 291 | 8.42.02.332 | 1 | NUT |
| 292 | 8.38.08.328 | 2 | HOSE BUSHING |
| 293 | 8.38.12.312 | 2 | NUT |
| 346 | 8.39.47.365 | 1 | LANCE FILTER |
| 349 | 2.23.16.903 | 1 | ROUND GASKET AN-3 |
| 356 | 8.39.46.366 | 1 | HANDLE BODY |
| 358 | 8.39.46.368 | 1 | GRIP |
| 363 | 8.39.41.342 | 1 | FILTER SPRING |
| 406 | 8.38.46.303 | 1 | CHAMBER |
| 407 | 8.38.46.308 | 1 | HANDLE |
| 414 | 8.28.40.319 | 1 | ELBOW |
| 608 | 2.23.16.906 | 2 | ROUND GASKET AN-6 |
| 664 | 8.34.46.320 | 1 | FILTER |
| 665 | 8.34.44.341 | 1 | NOZZLE |
| 666 | 8.34.44.342 | 1 | PRE-ORIFICE |
| 743 | 8.38.08.801 | 1 | COMPLETE HANDLE |
| 904 | 8.39.47.811 | 1 | FILTER WITH GASKET |
| 921 | 8.38.46.601 | 1 | COMPLETE CYLINDER |
| 990 | 8.34.44.840 | 1 | ELBOW WITH NOZZLE |
| 991 | 8.34.60.828.1 | 1 | TUBE WITH NUTS |
| 992 | 8.28.83.805 | 1 | COMPLETE HOSE |
| 8.18.95.200 | 1 | INSTRUCTION SHEET | |
| 8.18.95.201 | 1 | PACKAGING |
OTHER INFORMATION
PRECAUTIONS
Please read and comply with all instructions and precautions in the Cuprinol Fence Sprayer user guide and on Sprayable Fence treatment container before use.
Do not modify this unit.
Do not connect to an external pressure source (manual use only).
Do not block or remove or tamper with the pressure release valve (269).
Do not use if sprayer tank is damaged.
Do not use if components are excessively worn.
Compressed air is dangerous and should not be directed at people.
The Cuprinol Fence Sprayer is for use with Sprayable Cuprinol treatments only.

FOR TECHNICAL PRODUCT ADVICE CONTACT
The Customer Advice Center
ICI Paints, Wexham Road, Slough, SL2 5DS, UK
Telephone +44 (0) 844 4817 817
www.cuprinol.co.uk
FOR REPUBLIC OF IRELAND:
Dulux Paints (Ireland), Commons Road, PO Box 45, Cork
Telephone +353 (0)214220222
REPLACEMENT/SPARE PARTS
FOR REPLACEMENT/SPARE PARTS AND GUARANTEE QUERIES PLEASE CONTACT:
SOLO SPRAYERS LTD.
20 Vanguard Way, Shoeburyness,
Essex, SS3 9RA - UK
Tel. +44 (0) 1702 525740
Fax. +44 (0) 1702 522752
DISPOSAL
Dispose of according to local authority guidelines.
Cuprinol, the tree device, Ducksback Cuprinol Sprayable and Garden Shades are trademarks of the AkzoNobel group © AkzoNobel 2010

Documents / Resources
References
Download manual
Here you can download full pdf version of manual, it may contain additional safety instructions, warranty information, FCC rules, etc.
Advertisement


Need help?
Do you have a question about the FENCE SPRAYER and is the answer not in the manual?
Questions and answers