Advertisement
IMPORTANT SAFETY INSTRUCTIONS
READ ALL INSTRUCTIONS BEFORE USE AND SAVE FOR FUTURE REFERENCE

DO NOT touch or hold the mains plug with wet hands.

DO NOT tilt the ice maker. If tipped over, set it upright on a flat, level surface for at least 2 hours before use.

Fill the water tank with fresh potable water or connect with water filtration system to prolong the service life.
When using an electrical appliance, especially when children are present, basic safety precautions should always be followed, including the following:
INTENDED USE
- This appliance is not intended for use by persons (including children) with reduced physical, sensory or mental capabilities, or lack of experience and knowledge, unless they have been given supervision or instruction concerning the use of the appliance by person responsible for their safety.
- Close supervision is necessary when any appliance is used by or near children. Children should be supervised to ensure that they do not play with the appliance. Cleaning and user maintenance shall not be done by children unless they are older than 8 and supervised. Keep the appliance and its cord out of reach of children.
- Use the appliance only for intended household purposes as described in this User Manual.
ELECTRICITY SAFETY
- This appliance must be provided with correct voltage via a professionally installed power socket. Make sure the voltage indicated on the label of the appliance is the same as your local supply.
- DO NOT operate the appliance with a damaged cord or plug or if the product malfunctions, is dropped or damaged in any manner.
- Always plug the appliance directly into a wall outlet / receptacle. Never use with an extension cord or relocatable power tap (outlet / power strip).
- DO NOT let cord hang over edge of table or counter, or touch hot surfaces.
- DO NOT immerse any part in water or any other liquid.
RELATED TO USE
- DO NOT attempt to disassemble, repair, modify or replace any part of the appliance. No user serviceable parts inside. All servicing should be performed by qualified personnel only.
- Always place and use the appliance on a dry, stable, level, and horizontal surface. Make sure it cannot be easily knocked over by a person or object.
- Always turn the appliance OFF and unplug it before cleaning, making any repairs or servicing, or whenever not in use.
- DO NOT sit on or place any object on top of the appliance.
- DO NOT use with water that is micro-biologically unsafe or of unknown quality.
- DO NOT use mechanical devices to defrost. Carry out self-cleaning cycle to remove any frozen parts.
- If the appliance is stored in a cold environment, wait at least 3 hours for the appliance to warm to room temperature before plugging it in.
FOR HOUSEHOLD USE ONLY
SAVE THESE INSTRUCTIONS
Specifications
| Input | 120V~ 60Hz |
| Rated Power | 170W |
| Ice Basket Capacity | 3.3lbs./1.5kg |
| Water Tank | 0.74Gal./2.8L |
| Daily Production | 26lbs./12kg |
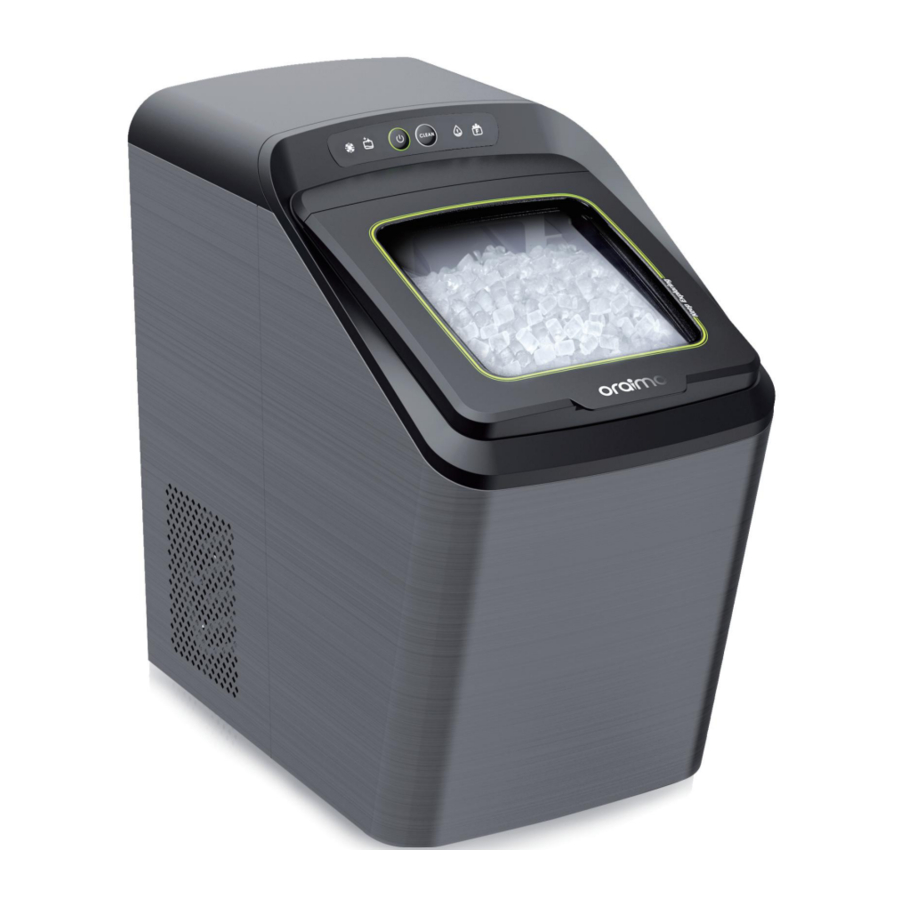
KNOWING YOUR ICE MAKER

This ice maker may have been tilted or placed upside down during transportation. Please set it upright for at least 2 hours before initial use to allow the refrigerant fluid to settle.

Control Panel & Display

USING YOUR ICE MAKER
Getting Started

- Make sure the drain plug is firmly inserted before use.
- The ice maker will stop making ice when the ice bin is full and resume in 8 hours automatically. Remove the ice cubes timely, the unit will restart making ice immediately if there is plenty of water.
Locate and Clean
Locate upright on a flat, level surface with at least 3 inches of clearance on the sides and back. Clean the tank, ice basket and ice scoop, then settle for at least 2 hours before first use.

Add Water Manually
Take the ice basket out, fill the water tank with clean potable water below MAX line.

* Recommended water type: distilled or demineralized water at 40~ 82°F.
Start Making Ice
Plug into a properly installed grounded outlet, then press ![]() button to start ice making cycle. It will keep making ice until the ice basket is full.
button to start ice making cycle. It will keep making ice until the ice basket is full.

Scoop Ice Out
The ice maker will start to produce ice in 15 minutes. Scoop the ice cubes out once made.

Put in use or store in freezer to avoid melting.
Automatic Refilling
- To add water automatically, connect the included hose to the water supply system as instructed. An adapter (not included) may be required as per the type of water supply system in your home.
- To avoid overflow of water, do not add water manually when the ice maker is already connected to the water supply system.
Insert the Hose

Fully insert the included hose into the water inlet till the end is reached.
To remove, hold against the gray ring and pull out.
Connect with Water Supply System

Connect the other end with water supply system. A 1/4'' connector may be required.
* It is recommended to connect with water filtration system to prolong the service life of the ice maker.
CLEANING AND MAINTENANCE
Self-Cleaning
To keep your nugget ice tasting fresh, we recommend that you carry out self-cleaning at least once every 1 to 2 weeks.
Fill the tank with water below MAX line or connect with water supply system.

Hold ![]() for 3s to start an 8-minute self-cleaning cycle (
for 3s to start an 8-minute self-cleaning cycle (![]() stays solid on).
stays solid on).

Once completed, ![]() will turn off. Unhook the drainpipe and lay down to a sink.
will turn off. Unhook the drainpipe and lay down to a sink.

Regular Cleaning

- Unplug and take out the ice basket. Remove the water filter on the right corner of the tank.
- Rinse clean the ice basket and water filter with diluted detergent and water.
- Clean the water tank using a soft cloth moistened with water.
- To clean the exterior, use a soft cloth dampened with soapy water. Dry with a soft cloth.
To remove the fallen dirt or fibers, we recommend cleaning the ice basket and water tank once a week. Unplug before cleaning.
Removal of Scale /Mineral Build-up

- Fill the tank with water below MAX line.
- Add in distilled white vinegar or citric acid descaling agent. Set aside for 12 hours or overnight.
- Hold CLEAN for 3s to start self cleaning cycle. Repeat up to 3 cleaning cycles.
- Drain the mixture and continue running 3 cleaning cycles with fresh water for each rinse.
For scale or mineral build-up, follow the directions to deep clean periodically or when needed. Do not clean with solvents or chemicals.

When not in use for an extended period of time, drain the water tank and clean as instructed. Cover and store in a cool, dry location away from direct sunlight.
TROUBLESHOOTING GUIDE
The troubleshooting guide addresses the most common problems. If problems persist, feel free to contact the Customer Support at contact@oraimo.com
| PROBLEM | SOLUTION |
 flashing flashing |
|
 solid on solid on |
|
 solid on, solid on,  flashing flashing |
|
| flashing, flashing | Ice-making assembly is frozen. Wait 20 minutes for the ice maker to defrost automatically. Unplug after 20 minutes then restart. |
| The ice maker does not work or stops making ice suddenly |
|
| Noise during ice making |
|
| Water leaks |
|
| Ice making cycle is normal but no ice is being formed |
|
| Ice cubes easily melted | The ice basket is not refrigerated and the ice cubes will melt if not used. Please put the ice cubes in use or store in freezer once made to avoid melting. |
 to restart.
 for 3s to carry out a self-cleaning cycle, then press to restart after cleaning is done.
 if lights up.

Documents / Resources
References
Download manual
Here you can download full pdf version of manual, it may contain additional safety instructions, warranty information, FCC rules, etc.
Advertisement


Need help?
Do you have a question about the OIM-211A and is the answer not in the manual?
Questions and answers