Advertisement
INTRODUCTION
THIS PRODUCT SUPPORTS SMART MODE.
Devices that support Smart Mode can save up to 3 different favourite scenarios, and these can be activated easily using a Nexa Smart Mode transmitter.
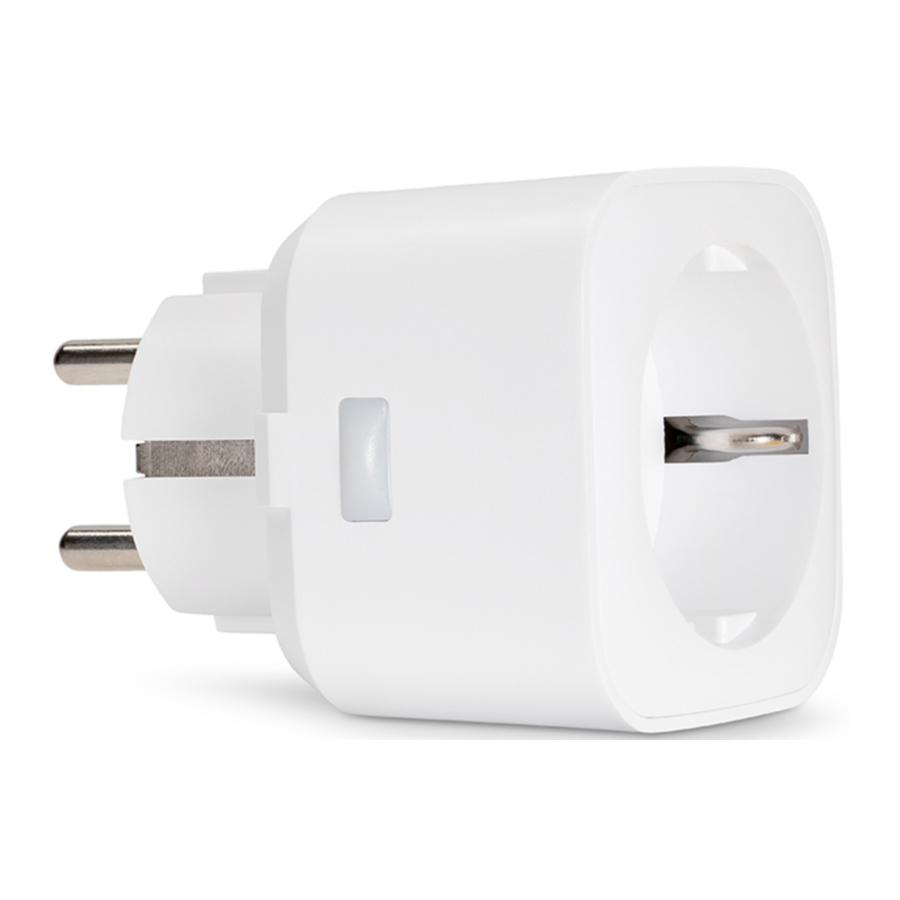
Plug-in receiver with on/off button on the receiver. Works with System Nexa remote controls, transmitters and the Nexa Bridge. This is a self-training system, so installation is very easy and flexible.
INSTALLATION
Connect the load to the receiver. Make sure that the load does not exceed the output specified under "Dimmer settings" in the table.
PROGRAMMING
- Connect the receiver (plug-in) to a power socket. The receiver goes into setup mode as soon as it is powered up.
- Press the "ON" button for the selected channel on any System Nexa remote control within 6 seconds.
PROGRAMMING CONFIRMATION
The LED indicator on the receiver flashes rapidly. If a light is connected to the receiver, this flashes twice.

DELETING MEMORY
- To delete a memory slot, remove the receiver (plug-in) from the wall socket
- Wait at least 6 seconds
- Reconnect the receiver to a wall socket
- Press the "OFF" button for the selected channel on the System Nexa remote control within 6 seconds.
To delete all storage locations, repeat steps 1-3 above, then press the "ALL OFF" button on the System Nexa control within 6 seconds.
CONFIRMATION OF DELETION
The LED indicator on the receiver flashes rapidly. If a light is connected to the receiver, this flashes twice.
MEMORY SLOTS
Every MYCR-3500 plug-in receiver has 32 memory slots. When memory slot 32 is occupied, slot 1 is overwritten during setup.
CONTROL
The plug-in receiver can be controlled in a number of ways.
- With a System Nexa remote control
- With other programmed System Nexa transmitters
- With the On/Off button on the plug-in receiver
- With a Nexa Bridge
Note: MYCR-250 is a universal type dimmer. To avoid damage to the receiver it has to be set up for the type of load that is connected to it, see "Dimmer settings" for more information.
DIMMER SETTINGS
MYCR-250 is supplied set for leading edge dimming and can be set to trailing edge dimming.
Selection of an appropriate setting is dependent on the type of load to be connected – see the table below. Contact the place of purchase for your luminaire/light if you are not sure what type of load is to be set.
| LOAD | SETTING | OUTPUT |
| Halogen lamps and bulbs | Trailing edge | 25-250W /220-240V W RL |
| Electronic transformers | Trailing edge | 20-250W / 220-240V |
| Dimmable LED and low-energy bulbs | Trailing edge | 3-120W / 220-240V |
| Conventional transformers | Leading edge | 40-250W / 220-240V |
SWITCH BETWEEN LEADING EDGE AND TRAILING EDGE DIMMING
- Switch on the connected charge using the ON/OFF button on the receiver.
- Press and hold down the ON/OFF button on the receiver for 10 seconds.
- The LED indicator on the receiver flashes in series of 4.
- Briefly press the ON/OFF button to toggle between leading edge and trailing edge dimming.
- The LED indicator on the receiver flashes quickly and the connected (light) flashes twice and then dims to the set minimum level in order to confirm the new setting.
The LED indicator shows the set dimming method every time MYCR250 is switched on or off using the ON/OFF button.
LED flashes once = Leading edge dimming
LED flashes twice = Trailing edge dimming
SETTING THE MINIMUM DIMMER LEVEL
- Switch on the connected charge using the ON/OFF button on the receiver.
- Press and hold down the ON/OFF button on the receiver for 3 seconds.
- The LED indicator on the receiver flashes in series of 2.
- Use a programmed remote control to adjust the minimum dimmer level. ON increases the level by one step, OFF decreases the level by one step (4 steps in total).
- Briefly press the ON/OFF button to save the minimum dimmer level set.
- The LED indicator on the receiver flashes quickly and the connected (light) flashes twice and then dims to the set minimum level in order to confirm the new setting.
Safety and information
Indoor range: up to 30 m (optimal conditions). The range is strongly dependent on local conditions, such as the presence of metals. For example, the thin metal coating in Low-emissivity (Low-E) glass has a negative impact on the range of radio signals.
There may be restrictions on the use of this device outside the EU. If applicable, check whether this device complies with local directives.
Maximum load: Never connect lights or equipment that exceed the maximum load of the receiver, as it can result in defects, a short circuit or fire.
Life-support: Never use Nexa products for life-support systems or other applications in which equipment malfunctions can have life-threatening consequences.
Interference: All wireless devices may be subject to interference, which could affect performance. The minimum distance between 2 receivers should be at least 50 cm.
Repairing: Do not attempt to repair this product. There are no user-serviceable parts inside.
Water-resistance: This product is not water-resistant. Keep it dry. Moisture will corrode the inner electronics and can result in a short circuit, defects and shock hazard.
Cleaning: Use a dry cloth to clean this product. Do not use harsh chemicals, cleaning solvents, or strong detergents.
Environment: Do not expose the product to excessive heat or cold, as it can damage or shorten the life of electronic circuit boards.
TECHNICAL DATA
MYCR-250
| Power supply | 220-240 V~50 Hz |
| Max. load | 20–250 W R/RC / 40–250 W RL / 1.1A |
| Max. load LED | 3–120 W LED |
| Frequency | System Nexa (433,92 MHz) |
| Range | upp till 30 m |
| Memory slots | 32 |
| Power consumption | < 1 W (standby) |
| Built in protective device | Temperature fuse |
| IP rating | Inomhusbruk / Indoor use |
| Size | 53 x 53 x 58 mm |
Declaration of conformity is available at www.nexa.se
NEXA AB, DATAVÄGEN 37B, 436 32 ASKIM, SWEDEN
info@nexa.se | www.nexa.se

Documents / Resources
References

Download manual
Here you can download full pdf version of manual, it may contain additional safety instructions, warranty information, FCC rules, etc.
Advertisement


Need help?
Do you have a question about the MYCR-250 and is the answer not in the manual?
Questions and answers