Advertisement
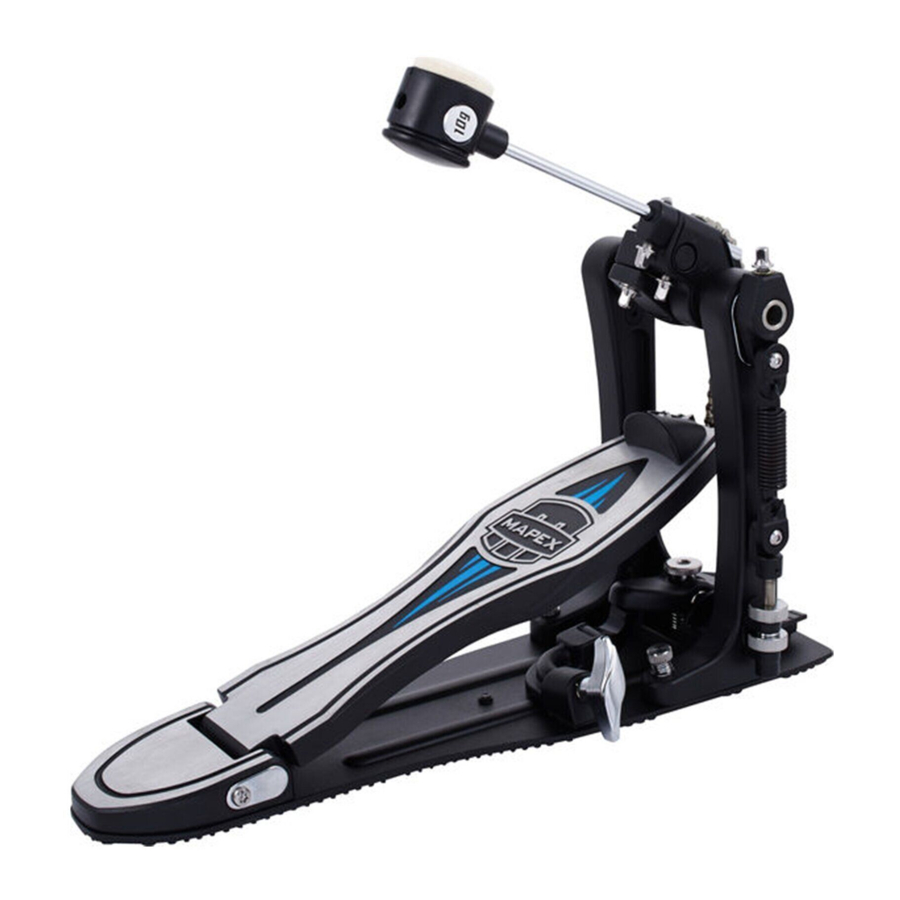
Falcon Beater angle Adjustment

- Using the Mapex drum key supplied with the Falcon pedal turn the drum key screw counter clockwise until the Mapex falcon beater and black beater housing move freely.
- Once you have achieved the desired position for your beater turn the drum key on the drum key screw clockwise and fix the beater into place.
Lateral: Falcon Beater Position Adjustment
Step 1

- Remove the Falcon Beater. Using the Allen wrench supplied with your Falcon pedal, insert into the head of the Allen screw positioned at the front of the black beater holder.
- Turn the Allen wrench counter clockwise until the black beater holder is free to move.
Step 2

Find your desired beater holder position (beater position). Turn the Allen wrench clockwise to tighten the beater holder firmly into position.
 PLEASE NOTE
The same action is performed onto the auxiliary black beater holder when using the Falcon double pedal (P1000TW).
Changing Falcon Beater Weights

With your Falcon pedal (P1000) you have a replacement 20g weight and with the double pedal (P1000TW) 2PC 20g weights.
Step 1
- To change the weights, using the Allen wrench supplied with your Falcon pedal, insert into the Falcon beater head and until you feel the wrench fitting into an Allen screw inside the beater weight.
- Turn the Allen wrench counter clockwise until you feel the 10g beater has loosened.
- Remove the Allen wrench from the beater head and then remove the 10g beater weight.
Step 2
- Insert into the falcon beater head the 20g weight with the flat side at the bottom.
- Insert the Allen wrench into the beater head until you feel the wrench fitting into an Allen screw inside the beater weight.
- Turn the Allen wrench clockwise until you feel the beater weight is tight and secure.
PLEASE NOTE
The Falcon beater can be used without any beater weights inserted into the beater head for that extreme light feel.
Changing the Falcon Spring
Step 1
Using the Mapex drum key supplied with the Falcon pedal, turn the drum key screw counter clockwise until the Mapex Falcon spring holder moves freely.

Step 2

- Remove the spring holder off of the shaft.
- Remove the actual spring from the black swivel spring holder.
DO NOT
Remove the spring by loosening the chrome Allen screw.
Step 3

- Install the new spring onto the holder.
- Place the spring holder back onto the shaft.
- Using the Mapex drum key supplied with the Falcon pedal, turn the drum key screw clockwise until the falcon spring holder is tight and secured.
Falcon Footboard Angle Adjustment

- Using the Mapex drum key supplied with the Falcon pedal turn the drum key screw counter clockwise until the Mapex Falcon Cam and footboard move freely.
- Find the desired footboard height / position then using your Mapex drum key turn the drum key screw clockwise until the falcon Cam and the footboard are secured into your desired position.
Falcon Toe Stop Adjustment
- Using the Mapex drum key supplied with the Falcon pedal turn the drum key screw counter clockwise until the Mapex Toe Stop moves freely.

- Find your desired position and turn your mapex drum key clockwise to secure into position.


Changing the Falcon Cam
Step 1

- Using the Mapex drum key supplied with the Falcon pedal turn the drum key screw counter clockwise until the screw is completely loosened.
- Lift the chain and the drum key screw off of the cam.
Step 2

Using the Mapex drum key supplied with the Falcon pedal turn the drum key screw holding the cam counter clockwise until the cam can be completely removed from the drive shaft cam collar.
Step 3

- Place the alternative cam back onto the drive shaft cam collar.
- Using your Mapex drum key turn the screw clockwise until the alternative cam is secure to the drive shaft cam collar.
- Place the chain with the drum key screw onto the cam.
- Using the Mapex drum key turn the drum key screw clockwise and secure the chain to the cam.
Changing the Drive Connectors
Step 1

- Using the Mapex drum key supplied with the Falcon pedal, turn the drum key screw counter clockwise until the screw is completely loosened.
- Lift the chain and the drum key screw off of the cam.
Step 2

- Using the Mapex drum key supplied with the Falcon pedal, turn the drum key screw counter clockwise until the screw is completely loosened.
- Remove the chain from the pedal completely.
Step 3
- Install the Strap Connector to the bottom of the Falcon footboard by using the drum key screw.
- Using the Mapex drum key turn clockwise until secure.
- Install the top of the Strap Connector to the cam by using the drum key screw.
- Using the Mapex drum key turn clockwise until secure.
www.mapexdrums.com www.falconpedal.com
© 2010 copyrights by Mapex, Inc.

Documents / Resources
References
Download manual
Here you can download full pdf version of manual, it may contain additional safety instructions, warranty information, FCC rules, etc.
Advertisement
Need help?
Do you have a question about the P1000 and is the answer not in the manual?
Questions and answers