SON Edelux II DC - Led-Headlight For DC Power Supply Manual
- Instructions for use (2 pages)
Advertisement
Introduction
The Edelux II DC is especially designed for use with pedelec systems. On systems which provide a special 6 volts DC output for bicycle lights the Edelux II DC 6-75 Volt should only be used if the current output is limited to less than 600mA (e.g. Bosch Classic). For 6 volts outputs with higher current output we recommend our Edelux II DC 6 Volt – which provides more light at voltages around 6 volts. The Edelux II DC should not be operated with a (hub) dynamo or any other AC source.
Attention: The Edelux II DC should only be installed by a trained professional. Adhere to the manual of the pedelec system. Wrong connection of the headlight may damage the pedelec system. Work on electrical systems with more than 60 volts should be left to a certified electrician.
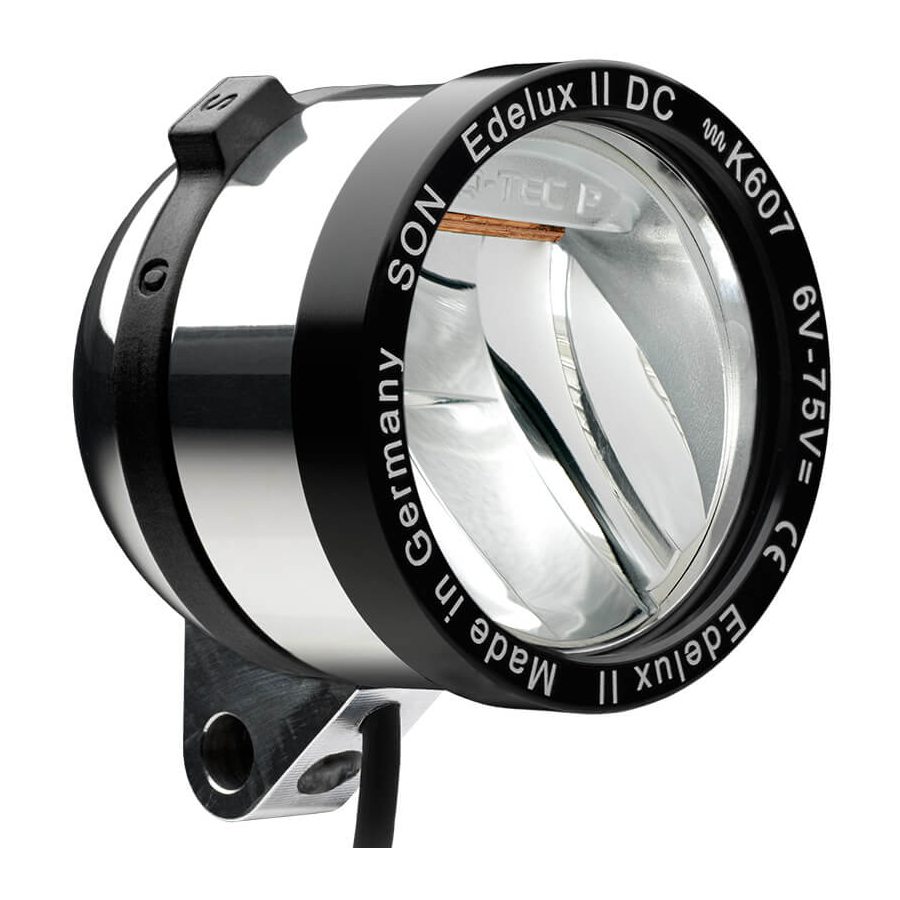
The most important characteristic of the Edelux II is the outstanding light technology, which achieves a wide and even illumination of the road. The optical system („IQ-TEC Premium"-mirror) was developed by Busch & Müller. Rugged mechanical design, reliable electrical contacts and good sealing ensure problem-free operation in daily use, regardless of weather. Efficiency and LED life span depend on its cooling. Therefore the LED is placed on a copper heat sink, which in turn conducts the heat to the aluminium housing.
Assembly on the Bicycle
Mount the Edelux II DC with standard headlight brackets. Firmly tighten the screw connections so that the headlight cannot move by itself.
However, it should be possible to correct the beam angle by hand. Align it in such a way that it creates an ideally long light field without dazzling oncoming traffic.
Attachment to the fork bridge of a suspension fork results in a high swinging load for the bracket. Therefore mounting on the handlebars or stem is preferable on bicycles with front suspension.
Connection to the Pedelec System
Attention: Follow the instructions of the pedelec manufacturer regarding the connection of a headlamp. A short-circuit fault in the wiring might damage the pedelec system. Insufficient insolation may be dangerous if accidentally touched by hand.
The Edelux II DC is equipped with a coaxial cable. The inner conductor has to be connected to the positive pole. The outer conductor has to be connected to the negative pole (electrical ground).
Connection may be made directly by attaching an appropriate plug to the coaxial cable or indirectly by joining the wires with an existing cable.
Work on the coaxial cable:
 |
|
 |
|
 |
|
 |
|
Connection of a Rear Light

The Edelux II DC 6-75 Volt is equipped with a spade terminal to power a standard 6 volts dynamo rear light. We recommend to use the provided ready-made cable. If an existing cable should be connected you find a set of parts included. The 2.8 mm plug connects the rear light cable at the spade terminal in the socket of the Edelux II DC. The plug must be covered with heat shrink tubing to avoid a short-circuit with the aluminium housing. Connect the ground conductor with the 6 mm ring terminal at the fixing screw of the Edelux II DC. When using a rear light with ground connection mind its polarity.
If the Edelux II DC 6-75 Volt is used on a pedelec with switchable 6 volts DC supply the rear light should not be connected to the headlight but the pedelec system.
Switch – ON/OFF
The switch is placed, optimally protected, inside the headlight base. It is controlled by a magnet in the black switching ring. When you switch the nose to the left position ('0'), as viewed from the rear, the light is turned off; in the position to the right ('1') it is switched on. Should the switching ring be pulled off for once, put it back correctly onto the housing: seen from the back, the '1' should be on the left and the '0' on the right side of the nose. If the switching ring should be missing, the Edelux II DC is permanently switched on.
If there is no need for a switch at the headlight, the switching ring can be replaced by a cover ring which is available separately.
Reverse Polarity Protection
The electronics within the Edelux II DC work only at the right polarity (plus at the inner conductor of the coaxial cable). With wrong polarity the headlamp doesn't work, but won't be damaged. Voltages above 75 volts or operation with a hub dynamo will damage the electronics.
Guarantee/Spare Parts
The Edelux II DC does not contain any parts that need maintenance. Do not open the headlight! You will damage sealing, screwed connections and electrical insulation. Switching ring and cover ring are available as spare parts.
For the Edelux II DC there is a guarantee period of 5 years. In case of problems ask your dealer to contact the manufacturer or the importer. Please enclose a copy of your proof of purchase.

Manufacturer
Wilfried Schmidt Maschinenbau www.nabendynamo.de

Documents / Resources
References
Download manual
Here you can download full pdf version of manual, it may contain additional safety instructions, warranty information, FCC rules, etc.
Download SON Edelux II DC - Led-Headlight For DC Power Supply Manual
Advertisement

Need help?
Do you have a question about the Edelux II DC and is the answer not in the manual?
Questions and answers