Advertisement
Please read this manual carefully before operating
Inspection
In order to use the product securely and properly, please read the manual before using and follow the instructions strictly to prevent personal safety trouble and product damage caused by misuse. Take care of the product, check the possibility of the product damage caused by transportation and check all the listed items are present upon receipt of the product:
LED Spot Light 1
Use Manual 1
Power cable 1
Handle 2
Installation
- Make sure there is no flammable or explosive subjects within min 1.5 meter nearby the installation, the distance between wall and the light shall be min 0.5M
- Before installation, please check and make sure the power supply voltage meet request of the system.
- Please check ventilation and fans or exhaust passages are cleared.
- The equipment should be fixed firmly.
- For security reasons, the appliance must be earthed.
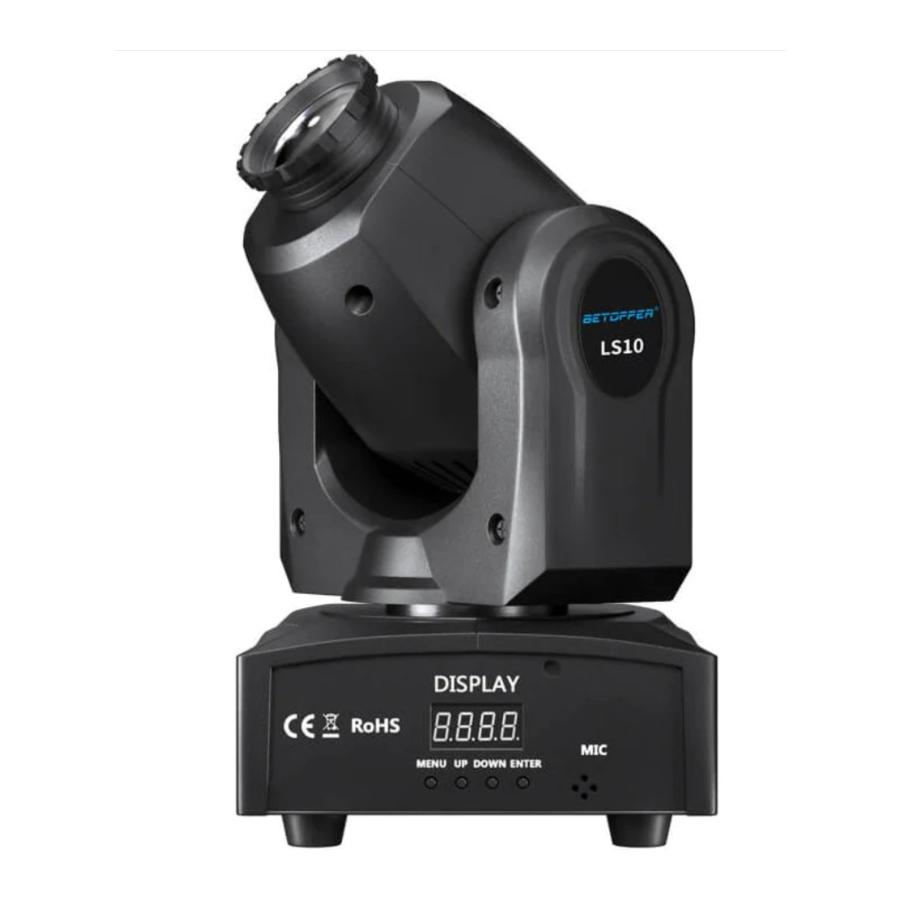
Part description


Button description

[ MODE/ESC ] Menu selection button
[ UP ] Switch upward submenu/add value
[ DOWN ] Switch downward submenu/reduce value
[ ENTER ] Confirming button. Preserve all set values and select functions by it, and the current interface stays
Menu Description
- Addr (A001-A512)
This option is for DMX address setting. Press button "MENU" to select Addr, press button "Enter" to start setting, press button "UP" to increase the address NO., press button "DOWN" to decrease, then press button "ENTER" again to preserve your selection, automatic exit in10S. - CHnd
This option is for setting the unit's channel mode. Press button "MENU", select CHnd, press button "Enter" to start setting, press button "UP" and "DOWN" to select channel mode, successively 11CH and 9CH, then press "Enter" again to preserve your selection, automatic exit in 10S.
11CH: 11Channel Mode
9CH: 9Channel Mode - SLnd
This option is for setting the unit's master-slave mode. Press "MENU", select SLnd, press button "Enter" to start setting, press button "UP" and button "DOWN" to select master-slave mode, successively "MASR", "SL1", "SL2", then press button "Enter" again to preserve, automatic exit in 10S.
MAST: Master-slave Mode
SL 1: DMX Mode
SL 2: Assistant Mode - SHnd
This option is for setting the unit's memory effects. Press button "MENU" to select SHnd, press button "Enter" to start setting, press button "UP" and button "DOWN" to select memory effects, successively "SH0", "SH1", "SH2", "SH3", then press button "Enter" again to preserve your selection, automatic exit in 10S.
LH 0: Effect 0 (recommended)
LH 1: Effect 1
LH 2: Effect 2
LH 3: Effect 3 - Sound
This option is for "On" and "OFF" setting to sound mode. Press button "MENU", select Sound, press "Enter" to start setting, press button "UP" and "Down" to select "ON" or "OFF", then press button "Enter" to preserve, automatic exit in 10S. - SEnS
This option is for adjusting sound sensibility. Press button "MENU", select SEnS, press button "Enter" to start setting, press button "UP" and " Down" to adjust sound sensibility from 0-100, then press button "Enter" again to preserve, automatic exit in 10S. - bLnd Operating Mode Setting
This option is used to set the operating mode, press the "MENU" key to select bLnd, press "Enter" key to enter the settings, press "UP" or "DOWN" keys for operating mode selection. Operating mode followed by a "bLAc", "HLod", "Soun", "Auto". Press "Enter" to save after selecting the operating mode. It will be exited automatically around 10 seconds
bLAc: Digital back to 0 when 512 signal off
HLod: Stay last DMX status when 512 signal off
Soun: Sound activated when 512 signal off
Auto; Auto-play when 512 signal off - LED Display Backlight Setting
This option is the setting for display panel backlight switches, Choose "MENU" key to select LED, press "Enter" key to enter the settings. Press "UP" or "DOWN" key to make the backlight switch selection, select "NO "indicates that the backlight has been long on, select" OFF "indicates the didn't press the key, five seconds off, and begin again until press key operation. After selecting the mode, press "Enter" to save. It will be exited automatically around 10 seconds. - dISP Display Font reverse direction Setting
This option is the reverse direction of the font setting for display panel, press the "MENU" key to select dISP, press "Enter" key to enter the settings, press "UP" or "DOWN" button to select the font and reverse directions, choose "NO", font display in negative direction, select" Yes "font to display the positive direction. After selecting the mode, press "Enter" to save. It will be exited automatically around 10 seconds. - rPAN X-Axles Inverse Setting
This option is set to reverse the X-axis direction, press "MENU" menu key to select RPAN, press "Enter" key to enter the settings. Press "UP" or "DOWN" button to choose the option for direction, Select "Yes" indicates the X-axis in the negative direction, select "NO" shows an X-axis in positive direction. Press "Enter" to save after choose correct direction. It will exit automatically around 10 seconds. - rTiL Y-Axles Inverse Setting
This option is set to reverse the Y-axis direction, press "MENU" menu key to select rTil, press "Enter" key to enter the settings. Press "UP" or "DOWN" button to choose the option for direction. Select "Yes" indicates the Y-axis in the negative direction, select "NO" shows an Y-axis in positive direction. Press "Enter" to save after choose correct direction. It will exit automatically around 10 seconds. - REST
Press the "MENU" key to select REST, Press "Enter" key to enter the setup. User selects Yes, press "Enter" key and wait for 1-3 seconds, the lamp will be reset. - About Micro Adjustment
When screen shows A001, press "Enter" key for about 10 seconds, the system will pop up a menu, press "MENU" to Micro adjustment mode. The mode followed by "H000-255", "Y000-255", "C000-255", "G000-255", "DEFR". After selecting the operating mode, press "UP" or "DOWN" key to micro adjustment. It will exit automatically around 10 seconds after press the "Enter" for about 10 seconds.
H000-255 X motor data bias
Y000-255 Y motor data bias
G000-255 Pattern motor data bias
DEFR Above data back to Factory setting - Description
- When setting under the hold mode, first thing is to unplug the signal cable and wait for 30 seconds, then turn off the power. The system saves the last 512 signal automatically.
- Under DMX mode: Pls set to LS1, DMX mode and bLAc: No 512 signal, digital back to zero or HLod: No 512 signal remains the last DMX status got valid operation.
- Soud mode switch setting only valid by MAST
- SEnS Sound sensitive setting only valid by MAST, Master mode and Soun: it works when 512 signal is off.
Parameters
| Model | LS10 |
| Power supply | AC100-240V/ 50-60HZ |
| Rating power | 35W |
| LED specification | 10W white |
| Lifetime | 5000-10000H |
| Dimming | 0-100% linear dimming |
| Horizontal angel | 540° |
| Vertical angel | 200° |
| Control mode | Auto-play/ sound/ DMX/ master-slave |
| DMX channel | 9/11 |
| Working environment | Indoor 10℃/ 40℃ |
Channel Descriptions
9 Channel
| Channel | Function | Description |
| 1 | Horizontal rotation | 0-255 |
| 2 | Vertical rotation | 0-255 |
| 3 | Color | |
| 0-139 | Color selection | |
| 140-255 | Automatic color switch, speed increasing | |
| 4 | Gobo | Gobo |
| 0-63 | Fixed gobo | |
| 64-127 | Gobo shaking | |
| 128-255 | Automatic gobo switch, speed increasing | |
| 5 | Strobe | 0-255 |
| 6 | Dimming | 0-255 |
| 7 | Rotation speed | 0-255 |
| 8 | Auto-play mode | 0-255 Up to clockwise rotation, down to reversion |
| 9 | Reposition | 250-255 (5S) |
11 Channel
| Channel | Function | Description |
| 1 | Horizontal rotation | 0-255 |
| 2 | Horizontal trimming | 0-255 |
| 3 | Vertical operation | 0-255 |
| 4 | Vertical trimming | 0-255 |
| 5 | Color | |
| 0-139 | Color selection | |
| 140-255 | Automatic color switch, speed increasing | |
| 6 | Gobo | |
| 0-63 | Fixed gobos | |
| 64-127 | Gobo shaking | |
| 128-255 | Automatic gobo switch, speed increasing | |
| 7 | Strobe | 0-255 |
| 8 | Dimming | 0-255 |
| 9 | Rotation speed | 0-255 |
| 10 | Auto-play mode | |
| 0-59 | Other channel functions | |
| 60-84 | Auto Mode 3 | |
| 85-109 | Auto Mode 2 | |
| 110-134 | Auto Mode 1 | |
| 135-159 | Auto Mode 0 | |
| 160-184 | Sound control Mode 3 | |
| 185-209 | Sound control Mode 2 | |
| 210-234 | Sound control Mode 1 | |
| 235-255 | Sound control Mode 0 | |
| 11 | Reposition | 250-255 (5S) |
Fault checking and repair
| No. | Fault description | Fault Checking |
| 1 | Not work, no light output and the fan doesn't work |
|
| ||
| ||
| 2 | DMX no control |
|
| ||
| ||
| ||
| ||
| 3 | One of channel blocked |
|
| ||
| 4 | Light sources work discontinuously |
|
| ||
| 5 | Can't be controlled by Sound |
|
| ||
| ||
| ||
| 6 | Horizontal synchronous belt damaged |
|
| ||
| ||
| ||
| ||
| ||
| ||
| 7 | Vertical synchronous belt damaged |
|
| ||
| ||
| ||
|
Maintenance and Clean
Maintenance
- Please replace in time if the skintle of inner power wires is getting yellow
- Please do maintenance every 2 months and check all screws, connection terminals without any looseness. The lack of maintenance might cause the light problem.
Clean
Two sides of lens and reflector must be cleaned frequently which will make the effect of light is better. Clean times depend on the using environment. Wet, smoky and dirty environment will make the lens accumulating dirt.
- Using soft linen or specified glass clean lotion
- Dry the parts carefully
- Please wipe exterior of lens one time every at least 20 days and the inner 30days
Declare
The product is with good performance and complete package when it is delivered. The end-user of this product should follow all the above instructions and warnings. Any damage caused by misuse, malfunction and problem caused by ignoring the instructions are not included in the repair guarantees of the manufacturer or dealers.
Warnings

Please check the package whether any damage is caused by transportation after you got the lights. If there is any damage, please do not use this fixture, and contact the dealer or manufacturer as soon as possible.
- This product is only suitable for professional use, and does not apply to security for other purposes.
- Be cautious to prevent the impact that is caused by the device. The use of this product should pay attention to: fire, heat, electric shock, ultraviolet radiation, the lamp to explode or Shedding caused serious or fatal injury.
- Need to read the instructions before use energized or installing. Follow through the operation of security methods and pay attention to the warning signs on the specification and equipment.
- This product is only suitable for indoor use, protection class IP20.
- Lamps should be kept dry to avoid Moisture, overheating or dusty environment. Shall stop working once the using environment exceed 40℃.
- Prevent lamps come into contact with water or any other liquid.
- Please replace the protection screen, optical lens, UV screen if any visible damage, i.e. function no use, crack or gash caused.
- Make sure the facilities and hooks can withstand at least 10 times the weight of the fixtures when hanging the devices.
- Please make sure the hardware strong enough and do not have any damage, or use safety rope to increase the safety of the fixtures.
- Please reduce the height of the hanger rod to a safe position when installing or dismantling the fixtures.
- Avoid eye exposure to the lighted LED lamp. Do not use the fixture without lens or protection cover.
- Please replace the relevant component if any damage caused.
- Please make sure the voltage used comply with the voltage for the fixture, moreover to have overload and leakage protection. Every fixture shall earth correctly accordingly to the relevant and professional standard when installing the fixtures.
Documents / ResourcesDownload manual
Here you can download full pdf version of manual, it may contain additional safety instructions, warranty information, FCC rules, etc.
Download BETOPPER Spot Light LS10 - Spot Moving Head Lights 10W 8 GOBO 8 Colors Manual
Advertisement
Need help?
Do you have a question about the Spot Light and is the answer not in the manual?
Questions and answers