Advertisement
IMPORTANT SAFETY INSTRUCTIONS

When using your dishwasher, please follow the basic precautions including:
- Read all instructions before using the dishwasher.
- Use the dishwasher only for its intended function.
- Only use the detergent designed specifically for automatic dishwashers and keep them out of the reach of children.
- When loading items to be washed:
- make sure that the sharp items do not damage the door seal; and
- load sharp knives with the handles facing up or outside to reduce the risk of cut-type injuries.
- Do not wash plastic items unless they are marked "dishwasher safe" or the equivalent.
- Do not touch the heating element during use or immediately after use.
- Do not tamper with the controls of the dishwasher,
- Do not sit on or stand on the door/basket of the dishwasher.
- To reduce the risk of injury, do not allow children to play in or on the dishwasher.
- Remove the door to the washing compartment when removing an old dishwasher from service or discarding it.
- DO NOT IMMERSE THE DISHWASHER IN WATER to protect against the risk of electric shock,
- HOUSEHOLD AND INDOOR USE ONLY.
- It is forbidden to open the door while the dishwasher is working to avoid personal danger (e.g. hot water flying out to cause hurt).
- If the supply cord is damaged, it must be replaced by the manufacturer, its service agent, or similarly qualified persons to avoid a hazard.
- This appliance is not intended for use by persons(including children) with reduced physical, sensory or mental capabilities, or lack of experience and knowledge unless they have been given su pervision or instruction concerning the use of the appliance by a person responsible for their safety.
SAFETY WARNINGS
- Keep the dishwasher and its cord out of the reach of the children.
- Unplug the dishwasher from the outlet when it's not in use, before you remove parts from it or before you clean it.
- Allow the dishwasher to cool down before you install/remove any parts or before cleaning,
- Using the parts that are not recommended by the dishwasher's manufacturer may cause injuries.
- Do not let the cord of the dishwasher hang over the edge of a table or a counter.
- Please put the dishwasher on a dry and flat surface,
- Do not use an extension cord or modify the plug provided with this dishwasher.
- Do not place any heavy objects on the top of the dishwasher.
- Do not put the dishwasher on or near flammable material, vapor or hot gas, such as gasoline.
- Be sure the plug of the dishwasher is fully inserted into the receptacle. ll. Keep all the packaging material of the dishwasher away from children.
- Do not touch or cover the air outlet on the dishwasher.
- Do not place the dishwasher in an extremely hot or cold environment.
- Do not operate this dishwasher when parts are missing or broken.
- Check the dishwasher for the presence of foreign objects before use.
- Do not interrupt the power of the dishwasher by pulling the power supply cord out of its socket directly.
- Check with a qualified electrician or service representative if you are in doubt whether the dishwasher is being used correctly.
GROUNDING INSTRUCTIONS
- This dishwasher must be grounded in the event of a malfunction or breakdown. Grounding will red uce the risk of electric shock by providing a path of least resistance for electric current. This dishwasher is equipped with a cord having an equipment-grounding conductor and a grounding plug. The plug must be plugged into an appropriate outlet that is installed and grounded following all local codes and ordinances.
![]()
Improper connection of the equipment-grounding conductor can result in a risk of electric shock. Check with a qualified electrician or service representative if you are in doubt whether the appliance is properly grounded. Do not modify the plug provided with the dishwasher. If it will not fit the outlet, have a proper outlet installed by a qualified electrician.
We will accept no liability or responsibility for fires or electric shocks caused by improper operation, dismantling the dishwasher or by not adhering to the above safety instructions.
WHAT'S INCLUDED

* If there 15 any part missing, please contact us а! support@ecozy.com.
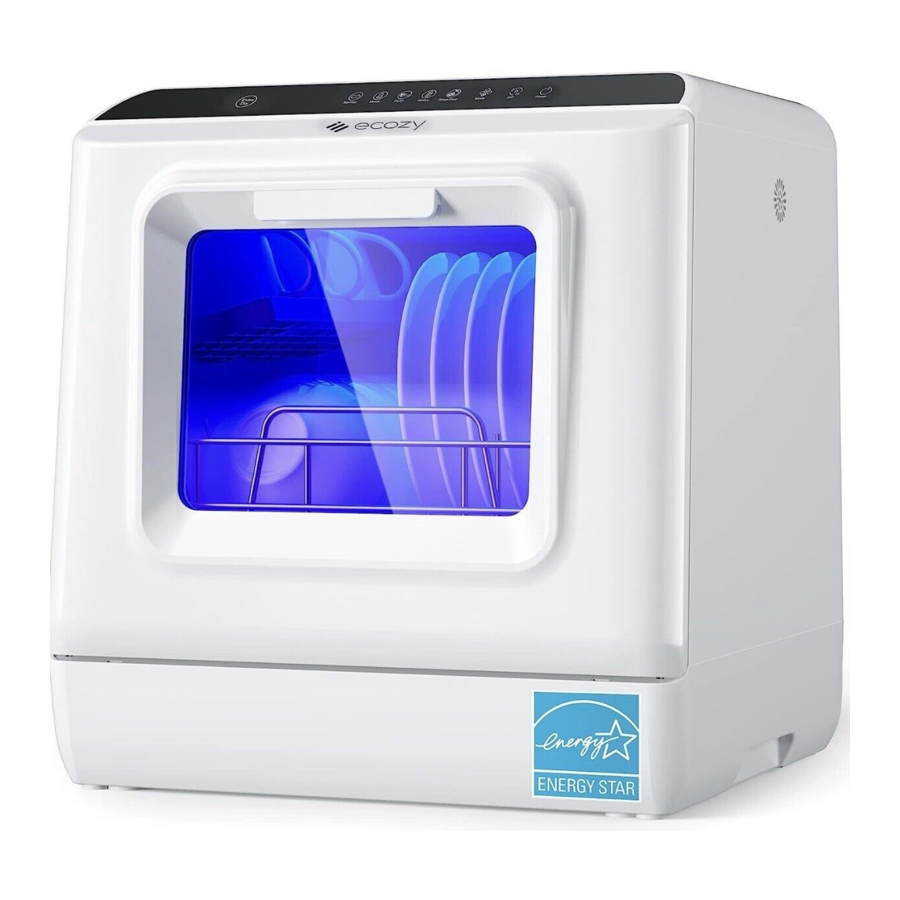
KNOW YOUR DISHWASHER
Dishwasher


Control Panel

- Extra Dry Button
- LCD Display
- Normal Mode Indicator
- Quick Mode Indicator
- ЕСО Mode Indicator
- Heavy Mode Indicator
- Rinse/Fruit Mode Indicator
- Mode Toggle Button
- Start/Pause Button
- Power Button
*Press and hold the Extra Dry Button and Power Button simultaneously for 3 seconds if you need to empty the water tank.
LCD Display

- Adding Water Manually/No Enough Water Indicator
- Adding Water Automatically/No Enough Water Indicator
- Value of Temperature&Time, Error Code
- Temperature Indicator
- Door Opened Indicator
- Drying Indicator
- Time Indicator
HOSE INSTALLATION
- Do not connect the dishwasher to power before installation.
- A professional is recommended.
- The installation position of the dishwasher should be near an existing faucet if you choose to add water automatically. One side af the sink should be chosen ta facilitate the connection of the drain hose. If you choose to add water manually, other container is needed for draining water.
Drain Hose Installation
Step 1:
Connect one end (with 'L" shape) of the Water Drain Hose to the Water Outlet Connector, then screw it tightly using the Hose Clamp.

*Screwdriver(not included)
*Make sure the hose is tightly fixed to avoid water leakage.
Step 2:
Fix the other end of the Water Drain Hose onto a sink or a bucket using the Suction Cup.

Tips:
- If you don't want to connect the Water Drain Hose to the sink directly, you can also connect it to a drain pipe ог а drainage pipe а5 shown below:

* Drilling а hole оf the counter is required - The Water Drain Hose must be properly fitted with the sink, bucket ог pipe о avoid water leakage
- Ensure that the Water Drain Hose is not twisted ог has impeded drainage.
- If you need а drain hose extension, please choose а similar and proper one to make sure е water can go out thoroughly.

Water Inlet Hose Installation (Optional)
This installation procedure can be skipped if you want to add water to the dishwasher manually.
Step 1:
Take off the Cap on the Water Inlet Connector of the dishwasher. Connect the end (with " L" shape) of the Water Inlet Hose to the Water Inlet Connector, then rotate in a counterclockwise direction to tighten it.
 - Step 1")
Step 2:
Connect the Other end to a faucet and make sure that they are fitted with each Other well.
 - Step 2")
(For North America)
 - Step 3")
(For Japan)
* If the water inlet hose we provided does not fit your faucet, please prepare а suitable adapter yourself. If you are not sure about the specification of the adapter, please contact us for help.
Tip: Please let the water run а while to make sure the water is free of impurities after the installation; otherwise, there is а risk that the water inlet hose could get blocked and damage the dishwasher.
USE YOUR DISHWASHER
Load the Dishwasher Baskets
Step 1:
Remove large food scraps from tableware before loading them into the dishwasher.

Step 2:
Open the dishwasher, pull out the baskets and put the tableware on them.

Notes:
- Please leave the side with dirty on the tableware facing towards the Lower Spray Arm.
- Do not wash the items that are not marked dishwasher safe or the equivalent.


Step 3:
Push the loaded baskets back into the dishwasher.
*Recommended loading layout

Add Detergent
The place to add detergent is at the door. Please refer to the chart in the section of "Select Program and Start Washing" for the volume of the detergent.

Notes:
- For the detergent, pods, liquid ог powder detergent are all acceptable; but they should be the detergent specially made for automatic dishwashers.
- Never use soap, laundry detergent, handwashing detergent, or washing-up liquid in your dishwasher.
- Dishwasher detergent is corrosive! Keep dishwasher detergent out of the reach оf children.
- Do not add detergent when washing fruit.
Power On
Connect the power cord of the dishwasher to a grounded socket and the power button indicator flashes slowly (like breathing), then press the Power Button to power on the dishwasher

Add Water
Option 1; Add Water Automatically
* After the water inlet hose installation(refer to the section mentioned above), please turn on the faucet.
When there is enough water and the dishwasher is ready ta be used, it will beep.

Never turn off the faucet when the dishwasher is working.
Option 2: Add Water Manually
*This option is for the case you don't instal the water inlet hose.
Open the cap on the top of the dishwasher, then fill the water of 1.3 Gal/5 L into the tank. When there is enough water and the dishwasher is ready to be used, it will beep.

Tips:
- No need to add water during the washing cycle.
- Please close the сар after filling enough water.
- It's forbidden to add detergent into the water tank directly,
- If you frequently add water with this option, please clean е water inlet opening regularly.
*A Guide to the Indicators  and
and  on the LCD Panel
 | Flash Red: No enough water | Solid White: Наs enough water |
 | Flash Red: Faucet not turned оп ог no enough water | Solid White: Has enough water |
Select Program and Start Washing
Close the door and press the button  to select a desired washing program, then press the button
  to start washing.
Please refer to the following chart for the details Of each washing program.
| Program | Time | Detergent Volume | Suitable Fог | Duration of Air Circulation |
Normal | 69mins(washing&rinsing)+ 60mins(drying) | 8g | Regular soiled dishes and everyday dirt | / |
Quick | 29mins(washing&rinsing)+ 60mins(drying) | 8g | Lightly soiled dishes | / |
ЕСО | 59mins(washing&rinsing)+ 60mins(drying) | 8g | nergy saving | / |
Heavy | 89mins(washing&rinsing)+ 60mins(drying) | 12g | Baby's bottles апа \, heavily soiled dishes | / |
Rinse/Fruit  | 19mins(rinsing) | / | Fruit | / |
Extra Dry | 60mins(drying) | / | Storage of tableware | 72 hrs |
* How to change a washing program?
Step 1:
Press and hold the Power Button for 3 seconds to power off the dishwasher.
Step 2:
After 30 seconds, press the Power Button once to power on the dishwasher.
Step 3:
Press the button  to select a new washing program.
Power Off
Option 1:
When the entire washing cycle ends(until the drying process ends), the dishwasher Will power Off automatically.
Option 2:
Press and hold the Power Button for 3 seconds to do a farced shutdown at any process.

FILTER ASSEMBLY
The filter assembly consists of an Upper Filter Assembly and a Lower Filter. They should be cleaned once a week und er running water.

* How to clean the filter assembly?
Step 1:
Rotate the Upper Filter Assembly in a counterclockwise direction, then lift it. Remove the Lower Filter.

Step 2:
Take both of them ta the running water to clean.

Step 3:
After cleaning, install them into the dishwasher. Make sure the Upper Filter Assembly is fixed properly.

SPRAY ARMS
There are a lower spray arm and an upper spray arm in the dishwasher. You can clean the arms when they become dirty and the orifices are blocked.

* How to clean the spray arms?
Step 1:
Open the door and take out the baskets. For the upper spray arm, please rotate the part under the arm in a clockwise direction; for the lower spray arm, you can grasp the middle part of the arm to pull it out.

Step 2:
Wash them under running water and clean the orifices as well.

Step3:
Install them back into the dishwasher. For the upper spray arm, please rotate the part under the arm in a counterclockwise direction and make su re the side with orifices faces down; for the lower spray arm, directly insert the arm into the hole until you hear a "click" sound,

After assembly, please make su re that both arms can rotate freely.
MAINTENANCE AND CARE
- Before cleaning or performing maintenance, always remove the plug from the socket.
- To clean the exterior of the dishwasher, only use a cloth with warm soapy water. Do not use solvents or abrasive products.
- To clean the stains on the surface of the interior of the dishwasher, use a damp cloth with water and a little vinegar to wipe it.
SPECIFICATIONS
| Rated Voltage | 120V~(North America), 100V~(Japan) |
| Rated Frequency | 60Hz(North America), 50/60Hz(Japan) |
| Rated Power | 950W(North America), 900W(Japan) |
| Water Inlet Pressure | 0.03~1MPa |
| Water Tank Capacity | 5L(1.3Gal) |
| Net Weight | 13kg (15.6lbs) |
| Unit Dimension | 428 х 425 х 458mm (16.9 х 16.7 х 18inch) |
TROUBLESHOOTING GUIDE
Error Codes Explanations
| Error Code | Possible Cause | Solution |
| E1 | Water Drain lssue |
|
| E3 | Overflow lssue | Tilt the dishwasher backwards in an angle of 30-45 degrees аnd keep this angle for more than 2 minutes to drain the water from the base of the dishwasher. Then restart the dishwasher. |
| E4 | Temprerature Sensor Issue | Try to unplug аnd plug the dishwasher. |
| E5 | Communication Issue | Try to unplug аnd plug the dishwasher. |
| Еб | Heating Issue | Try to unplug аnd plug the dishwasher. |
| Е7 | Pressure Switch Issue | Try to unplug аnd plug the dishwasher. |
If the error code still exists after you try all the solutions, please contact us directly at support@ecozy.com.
Frequently Asked Questions
Q1: The tableware are not clean after the washing cycle ends.
- The tableware are not loaded properly. Please make sure they are tilted and facing towards the lower spray arm. Make sure that there are gaps between tableware.
- Make sure the spray arms work well and the orifices on the spray arms are not clogged.
- Ensure that the filter assembly is clean and not blocked.
- Please select the right washing program according to the washing items.
- Do not forget to add the detergent.
- Scrape off any large food particles before washing.
- Soften stubborn residues like egg custard before washing.
- Make sure the water inlet opening on the top of the dishwasher is clean,
Q2: The dishwasher doesn't start.
- Make sure there is enough water in the water tank.
- Ensure that the door of the dishwasher is closed well.
- Make sure the dishwasher is powered on and the power cord is properly connected to the socket.
Q3: The tableware are still wet after the washing cycle ends
- Check if the tableware are loaded properly.
- Do not empty the dishwasher immediately after washing. Wait for the end of the drying process.
- Do not select the "Rinse/Fruit" washing program.
- Some plastic and wooden tableware need to be dried manually.
Q4: I can't select any washing program.
- The dishwasher is running. You need to press and hold the power button for 3 seconds to do a forced shutdown, then restart the dishwasher and select a new washing program.
Q5: The color of plastic tableware is changed.
- Make sure your plastic tableware are dishwasher safe,
Q6; There is detergent left on the tableware.
- The tableware are not loaded properly. Please make sure they do not affect the rotation of the spray arms.
- The detergent is of poor quality or expires. Please change it.
- The volume of the detergent is too much.
- It's forbidden to add detergent into the water tank directly.
Q7: There is noise coming from the dishwasher when it's running.
- It is normal to hear the sound of water spraying and motor running when the dishwasher is working.
- The tableware are not loaded properly and stably. Make sure they will not contact the spray arms.
Q8: There is foam in the dishwasher.
- There is too much detergent. Please refer to the chart for the detergent volume.
- Use only the dedicated dishwasher detergent.
- Open the door of the dishwasher to allow the foam to evaporate. If the foam persists, please select any washing program to wash them until they are gone.
Q9: How to drain the water manually?
- Press and hold the Extra Dry Button and Power Button simultaneously for 3 seconds to drain the water tank.
Q10: The interior of the dishwasher is wet after the drying process of a washing program ends.
- This is a normal phenomenon, which does not affect the drying of the tableware.
Q11: There is water leakage.
- The detergent produces too much foam. Please replace it with an appropriate type of detergent.
- Make sure the water inlet hose and water drain hose are installed properly.
- Do not move the dishwasher when it is working.
- Make sure the dishwasher is placed on a flat surface.
- Make sure the door seal is not deformed.

Documents / ResourcesDownload manual
Here you can download full pdf version of manual, it may contain additional safety instructions, warranty information, FCC rules, etc.
Advertisement
Need help?
Do you have a question about the DW01 and is the answer not in the manual?
Questions and answers