TRENDnet TK-207K Software Manual
Client switching software manual
Hide thumbs
Also See for TK-207K:
- Software manual (15 pages) ,
- User manual (11 pages) ,
- Guía del usuario (10 pages)
Table of Contents
Advertisement
Advertisement
Table of Contents

Related Manuals for TRENDnet TK-207K


Summary of Contents for TRENDnet TK-207K
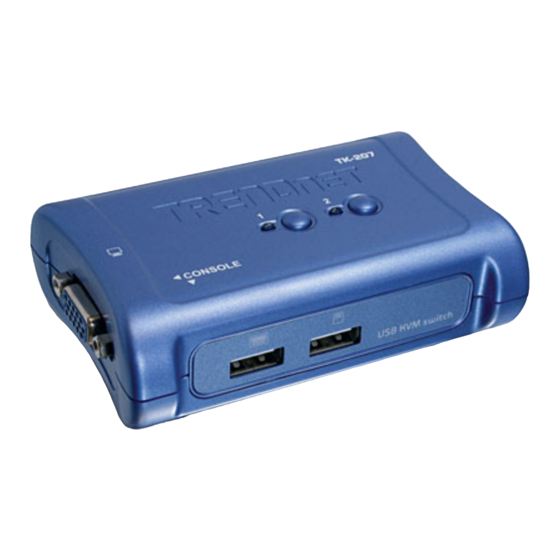
- Page 2 BOUT THIS UIDE The 2/4 Port USB KVM Switch or 2/4 Port USB KVM Swith with Audio lets you manage 2/4 computers with just one set of keyboard, monitor, mouse, and a set of speakers and microphone (TK-209 & TK-409 only ). The device comes with 2/4 sets of USB KVM and/or Audio cables, no additional equipment required.
-
Page 3: Package Contents
Package Contents Unpack the package and check all the items carefully, and be certain that you have: ♦ 1 x TK-207/TK-407/TK-209/TK-409 USB KVM Switch. ♦ 1 x Utility CD-ROM ♦ Multi-Language Quick Installation Guide ♦ 2/4 Sets of USB KVM Cables ♦... -
Page 4: General Features
General Features ♦ Management 2/4 Computers ♦ 2/4 ports USB KVM Switch with 1 set of Microphone/Speaker port. (Audio ports for TK-209 & TK-409 models only) ♦ 2/4 sets of USB KVM Cables ♦ 2/4 sets of Audio & Microphone Cables (for TK-209 & TK-409 models only) ♦... - Page 5 Installing the KVM Client Switching Software Insert the Installation CD-ROM into your computer’s CD-ROM drive to initiate the Auto-Run program, and the menu screen will appear as below. 1. Click Client Switching Software from the Auto-Run menu screen. The welcome screen appears as below. Click Next >. - 5 -...
- Page 6 2. When completed, click Finish. - 6 -...
- Page 7 Start\Program\USBKVM Switcher. 4. After the installation is completed, you will see a KVM Switch icon on the system tray of your window desktop. Just right click to evoke the operation menu and double-click to evoke configuration box.
- Page 8 (optional) to your KVM Switch Connects each KVM PC port to a computer via included USB KVM Cables. After you have connected the KVM and computers properly, the KVM Switch is ready to use. NOTE: • The KVM Switching software only supports Windows operating system on PC Platforms.
-
Page 9: Keyboard Hotkeys
Operate the KVM Switch There are three methods to control your KVM Switch for PCs. (1) face-panel push button (2) hotkey sequence (3) KVM Client Switching Software Face-panel button The face-panel button allows you a direct control over KVM switching operation. Simply press the button to switch to the corresponding PC port. - Page 10 After perform port switching, you have to wait till the KVM Switch icon shows forth the target port before you can perform next switching again. The KVM Switch icon could be found on the system tray of your Windows desktop after its installation.
- Page 11 KVM Switch Operation Reference Switch to PC x by Operation Menu Right-click the KVM Switching icon from the system tray to evoke the operation menu, then select whichever PC that is available for switching. Once you select a PC channel, it will immediately switch to that PC.
- Page 12 * The factory default hotkey setting is Ctrl + Alt + 1/2/3/4 for PC 1/2/3/4. You can also use ScrLk + ScrLk to switch PC. Start Auto-scan Right-click the KVM Switch icon to evoke the operation menu, then select Start Auto-Scan to activate auto-scanning. Stop Auto-scan...
- Page 13 Auto Scan Period Select the Autoscan period from 10 ~ 60 seconds with an increment of 5 seconds. The Auto-scan period is the time your KVM Switch will wait to switch to next PC. - 13 -...
Need help?
Do you have a question about the TK-207K and is the answer not in the manual?
Questions and answers