Sign In
Upload
Download
Table of Contents
Contents
Add to my manuals
Delete from my manuals
Share
URL of this page:
HTML Link:
Bookmark this page
Add
Manual will be automatically added to "My Manuals"
Print this page
×
Bookmark added
×
Added to my manuals
Manuals
Brands
Defy Manuals
Oven
DBO488E
Instruction manual
Defy DBO488E Instruction Manual
Slimline oven
Hide thumbs
1
2
Table Of Contents
3
4
5
6
7
8
9
10
11
12
13
14
15
16
17
18
19
20
21
22
23
24
25
26
27
28
29
30
page
of
30
Go
/
30
Contents
Table of Contents
Troubleshooting
Bookmarks
Table of Contents
Table of Contents
Important Safety Instructions
General Safety
Electrical Safety
Intended Use
Safety for Children
General Information
Overview
Parts
Accessories
Use of Product Accessories
Technical Specifications
Installation
Before Installation
Built in Oven Cut Outs
Installation and Connection
First Cleaning of the Appliance
Initial Heating
Tips for Energy Saving
Future Transportation
How to Use the Oven
General Information about Baking, Roasting
And Grilling
How to Operate the Electric Oven
Using the Oven
Selector Switch
Using the Oven Clock
Activating the Keylock
Setting the Alarm Clock
Setting the Economy Mode
Setting the Screen Brightness
Selector Switch Operating Modes
Cooking Times Table
Maintenance and Care
General Information
Cleaning the Oven
Steam Assisted Cleaning
Removing the Oven Door
Replacing the Oven Light
Troubleshooting
Customer Care
Warranty
Advertisement
Quick Links
1
Table of Contents
2
How to Use the Oven
Download this manual
DBO488E - DBO489E -
DBO496E - DBO589
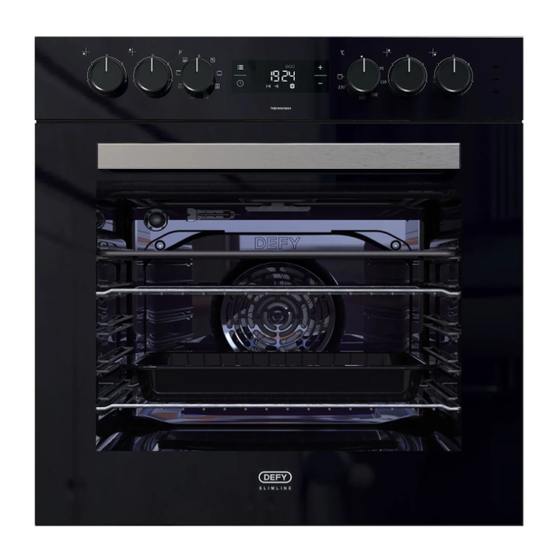
SLIMLINE OVEN
Page 1
Cooking
Instruction manual
Part number: 073788D
Table of
Contents
Previous
Page
Next
Page
1
2
3
4
5
Advertisement
Table of Contents
Need help?
Do you have a question about the DBO488E and is the answer not in the manual?
Ask a question
Questions and answers
Related Manuals for Defy DBO488E
Oven Defy DBO488 Instruction Manual
(29 pages)
Oven Defy DBO489 Instruction Manual
(29 pages)
Oven Defy DBO486E Instruction Manual
Slimline oven (22 pages)
Oven Defy DBO489E Instruction Manual
Slimline oven (30 pages)
Oven Defy DBO482 Instruction Manual
(20 pages)
Oven Defy DBO483 Instruction Manual
(20 pages)
Oven Defy DBO484 Instruction Manual
(20 pages)
Oven Defy DBO485 Instruction Manual
(20 pages)
Oven Defy DBO487 Instruction Manual
(20 pages)
Oven Defy DBO482E Instruction Manual
(20 pages)
Oven Defy DBO483E Instruction Manual
(20 pages)
Oven Defy DBO484E Instruction Manual
(20 pages)
Oven Defy DBO485E Instruction Manual
(20 pages)
Oven Defy DBO487E Instruction Manual
(20 pages)
Oven Defy DBO486 Instruction Manual
Slimline oven (20 pages)
Oven Defy 600 MSE Owner's Manual
Slimline multifunction built-in ovens eye level/under-counter (25 pages)
This manual is also suitable for:
Dbo489e
Dbo496e
Dbo589
Table of Contents
Print
Rename the bookmark
Delete bookmark?
Delete from my manuals?
Login
Sign In
OR
Sign in with Facebook
Sign in with Google
Upload manual
Upload from disk
Upload from URL


Need help?
Do you have a question about the DBO488E and is the answer not in the manual?
Questions and answers