Sign In
Upload
Download
Table of Contents
Contents
Add to my manuals
Delete from my manuals
Share
URL of this page:
HTML Link:
Bookmark this page
Add
Manual will be automatically added to "My Manuals"
Print this page
×
Bookmark added
×
Added to my manuals
Manuals
Brands
Bush Manuals
Oven
BDBL60ELW
Instruction manual
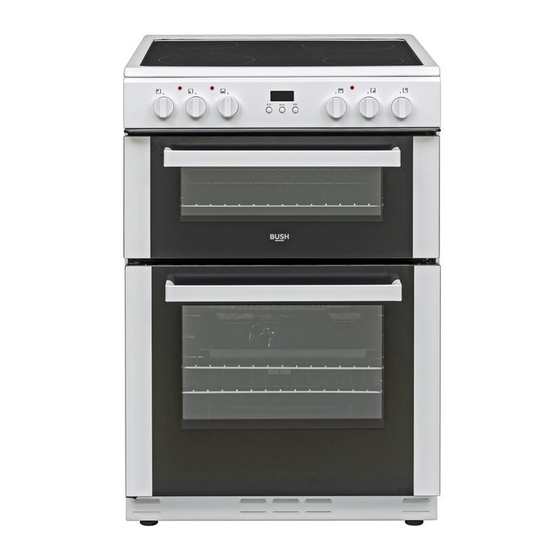
Bush BDBL60ELW Instruction Manual
Electrical double oven
Hide thumbs
1
2
Table Of Contents
3
4
5
6
7
8
9
10
11
12
13
14
15
16
17
18
19
20
21
22
23
24
25
26
27
28
29
30
31
32
33
34
35
36
37
38
39
40
41
42
43
44
page
of
44
Go
/
44
Contents
Table of Contents
Troubleshooting
Bookmarks
Table of Contents
Table of Contents
Safety Information
Getting to Know Your Cooker
Ready? Let's Begin
Product Features
Control Panel
Installing Your Cooker
Installatıon and Preparatıon for Use
Electrical Connection and Safety
Anti-Tilting Kit
Adjusting the Feet
Functions
Hob Controls
Main Oven Functions
Top Oven Functions
Use of the Digital Timer
Using Your Cooker
Accessories
Energy Fiche
Care and Maintenance
Cleaning
Maintenance
Product Support
Troubleshooting
Transport
Help and Assistance
Information about Transportation
Disposal
Advertisement
Quick Links
1
Getting to Know Your Cooker
2
Control Panel
3
Top Oven Functions
4
Main Oven Functions
5
Using Your Cooker
6
Maintenance
7
Troubleshooting
Download this manual
Instruction Manual
Electrical Double Oven
BDBL60ELW
BDBL60ELB
BLC60DBLW
BLC60DBLB
Mode
Table of
Contents
Previous
Page
Next
Page
1
2
3
4
5
Advertisement
Table of Contents
Need help?
Do you have a question about the BDBL60ELW and is the answer not in the manual?
Ask a question
Questions and answers
Related Manuals for Bush BDBL60ELW
Oven Bush BDFT60B Installation & User's Instructions
Dual fuel twin oven (20 pages)
Oven Bush BMFPROGSS Installation & User's Instructions
(16 pages)
Oven Bush 5569144 Instruction Manual
Built-in double oven (24 pages)
Oven Bush BT60ELW Instruction Manual
Electrical double oven (40 pages)
Oven Bush BDFD60B Installation & User's Instructions
(20 pages)
Oven Bush BS60ELW Instruction Manual
Electrical freestanding oven (40 pages)
Oven Bush BSOPT60X INOX Installation & User's Instructions
(20 pages)
Oven Bush BDBL60ELB Instruction Manual
Electrical double oven (44 pages)
Oven Bush BLC60DBLW Instruction Manual
Electrical double oven (44 pages)
Oven Bush BLC60DBLB Instruction Manual
Electrical double oven (44 pages)
Oven Bush DHBES60WX Instruction Manual
Electrical freestanding oven (40 pages)
Oven Bush DHBEDC50W Instruction Manual
Electrical double oven (44 pages)
Oven Bush CTFS60DBLECW Instruction Manual
Electrical double oven (44 pages)
Oven Bush DHBET60W Instruction Manual
Electrical double oven (40 pages)
Oven Bush DHBES60W Instruction Manual
Electrical freestanding oven (40 pages)
Oven Bush AE66DCW Operating & Installation Instructions Manual
Electrical double oven (20 pages)
This manual is also suitable for:
Bdbl60elb
Blc60dblw
Blc60dblb
Table of Contents
Print
Rename the bookmark
Delete bookmark?
Delete from my manuals?
Login
Sign In
OR
Sign in with Facebook
Sign in with Google
Upload manual
Upload from disk
Upload from URL


Need help?
Do you have a question about the BDBL60ELW and is the answer not in the manual?
Questions and answers