Sign In
Upload
Download
Table of Contents
Contents
Add to my manuals
Delete from my manuals
Share
URL of this page:
HTML Link:
Bookmark this page
Add
Manual will be automatically added to "My Manuals"
Print this page
×
Bookmark added
×
Added to my manuals
Manuals
Brands
Creda Manuals
Dryer
C3TDBL
Instruction manual
Creda C3TDBL Instruction Manual
3kg tumble dryer
Hide thumbs
1
2
Table Of Contents
3
4
5
6
7
8
9
10
11
12
13
14
15
16
17
18
19
20
page
of
20
Go
/
20
Contents
Table of Contents
Troubleshooting
Bookmarks
Table of Contents
Table of Contents
Safety Information
General Safety
Fire & Heat Safety
Plug & Cord
Introduction of Your Appliance
Specifications
Control Panel Functions
Drying Program Selector
Heat Selector Button
Start Button
Installation
Wall Mounting
How to Use Your Appliance
Electrical Requirements
Loading the Dryer
Tips
Drying Time Reference Table
Operation Precautions
Troubleshooting
Maintenance
Disposal of the Appliance
Advertisement
Quick Links
1
Introduction of Your Appliance
2
Specifications
3
Installation
4
How to Use Your Appliance
5
Troubleshooting
6
Maintenance
Download this manual
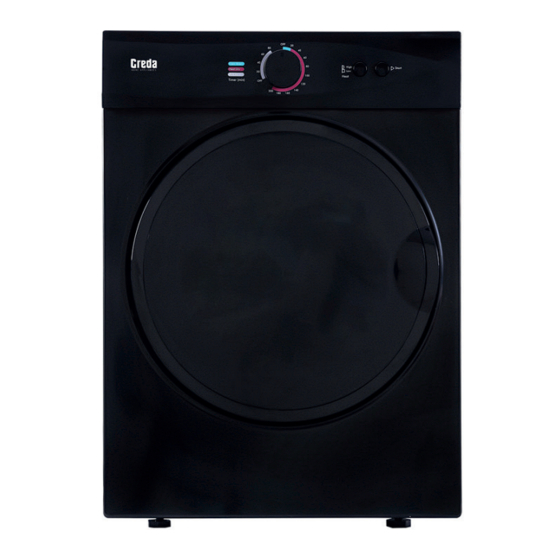
3KG TUMBLE DRYER
INSTRUCTION MANUAL
MODEL/S
C3TDBL
C3TDW
Table of
Contents
Previous
Page
Next
Page
1
2
3
4
5
Advertisement
Table of Contents
Need help?
Do you have a question about the C3TDBL and is the answer not in the manual?
Ask a question
Questions and answers
Related Manuals for Creda C3TDBL
Dryer Creda CT61C User Handbook Manual
Condenser tumble dryer (20 pages)
Dryer Creda C3TDW Instruction Manual
3kg tumble dryer (20 pages)
Dryer Creda TCR2 Instruction Book
Creda tumble dryer instruction book tcr2 (12 pages)
Dryer Creda TCS3 Instruction Book
Creda clothes dryer user manual (16 pages)
Dryer Creda TVS3 Instruction Book
Creda instruction manual tumble dryer tvs3 (16 pages)
Dryer Creda TVU1 TVR2 Instruction Book
Creda instruction book tumble dryer tvu1 tvr2 (16 pages)
Dryer Creda Tumble Dryer Instruction Book
Condensing tumble dryer (16 pages)
Dryer Creda S102GW, S202PW Instruction Manual
Spindryer (3 pages)
Dryer CREDA HB37281 Instruction Book
(10 pages)
Dryer Creda T301IS Instruction Book
(16 pages)
Dryer Creda T522VW Instruction Book
5kg models (22 pages)
Dryer CREDA HB37550 Instruction Book
(6 pages)
Dryer CREDA HB37513 Instruction Book
5kg automatic/ecocare models (20 pages)
Dryer CREDA HB37754 Instruction Book
(8 pages)
Dryer CREDA HB37649 Instruction Book
5kg models (24 pages)
Dryer CREDA HB37447 Instruction Book
4.5kg models autodry & reversair (6 pages)
This manual is also suitable for:
C3tdw
Table of Contents
Print
Rename the bookmark
Delete bookmark?
Delete from my manuals?
Login
Sign In
OR
Sign in with Facebook
Sign in with Google
Upload manual
Upload from disk
Upload from URL


Need help?
Do you have a question about the C3TDBL and is the answer not in the manual?
Questions and answers