Summary of Contents for iLive DTMAC701WL
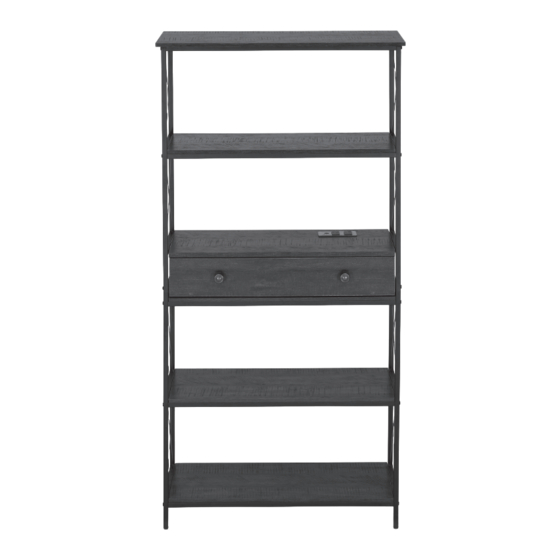
- Page 1 5 Tier Bookcase with Drawer & Charging Station User’s Guide for Model DTMAC701WL v2730-01 60mins Assembly Instructions & User Guide...
-
Page 2: Safety And Warnings
Safety & Warnings Features 8kg weight limit (17.6 lbs) SAFETY WARNINGS FCC WARNINGS Warning: Changes or modifications to this unit not expressly approved by the party 2 AC sockets • WARNING: To prevent fire or shock hazards, do not expose this unit to responsible for compliance could void the user’s authority to operate the equipment. -
Page 3: What You Will Need
What you will need Maintenance Thank you for your purchase. This product has been designed for easy assembly and constructed for durability. All parts were checked prior to packaging to ensure quality. Prior to beginning assembly, please make sure all parts and hardware are included and free of defect. -
Page 4: Before Assembly
Charging Before assembly Tips before your start: - Remove all wrapping material, including staples & packing straps before you start to This end table includes 2 USB ports and 2 AC outlets that can power assemble. your electronics and devices - DO NOT tighten all screws and bolts until completely assembled. -
Page 5: Part List
Part list When unpacking, please be careful not to discard any parts with the packaging. Before continuing, please make sure you have the following parts: Description Description Sketch Sketch Top panel frame Left frame Left Stretcher Shelf frame Right frame Right Top panel Right side... - Page 6 Step 1 Hardware list When unpacking, please be careful not to discard any parts with the packaging. Before continuing, please make sure you have all of the following hardware: Cam Bolt Wooden Dowel Cam Lock Cabinet Slider Drawer Slider Allen Key Screw Handle Screw...
- Page 7 Step 3 Step 5 Do not tighten ANY bolts until entire unit is set up! Step 4 Please screw from the side with counterbore. 20xI...
- Page 8 Step 6 Step 8 Step 7 Step 9 SAFETY RELEASE TAB D and E are shipped together to maintain the oil for the ball bearings. Note that you Slider need to pull up the safety Dx2 and Ex2 release tab to seperate the two parts prior to assembly.
- Page 9 Step 12 Step 10 Step 11 Step 13...
- Page 10 Step 14 Step 16 Step 15 Step 17 Notice: When fixing the panel and metal frame, please adjust the distance between panel and metal frame to be consistent, then lock the screws.
- Page 11 Step 18 Step 20 Step 19 Step 21 Gently Tighten All Bolts.
- Page 12 Step 22 Step 24 WARNING: ENSURE THAT WALL STRAP IS ATTACHED TO AVOID SERIOUS INJURY To avoid any serious injury, this product has been supplied with a wall strap to prevent toppling. We strongly recommend that this product is permanently fixed to the wall or another suitable surface.
- Page 13 Step 26 Step 28 Notice: tighten this screw first Notice: tighten this screw first Step 27 If needed, adjust lev- elers (T) to level the bookcase.
-
Page 14: Top View
Drawer Installation Guide NOTE • Before you insert the drawers into the frame, please ensure that the ball bearing sliders (on the assembled unit) have been placed to the front of the main unit. If the bearings are in the middle of the slider it will be difficult to install the drawers correctly. •... -
Page 15: Customer Support
Customer Support For Warranty Information, the most up-to-date version of this User’s Made Guide or to download this User’s Guide in English, French or Spanish, Green please go to: www.iLiveElectronics.com Customer Service: 1-888-999-4215 Email Support: prodinfo@dpiinc.com Protect for Today Email Parts: partsinfo@dpiinc.com Sustain for Tomorrow Copyright ©...


Need help?
Do you have a question about the DTMAC701WL and is the answer not in the manual?
Questions and answers