Advertisement
Life Gets Better With
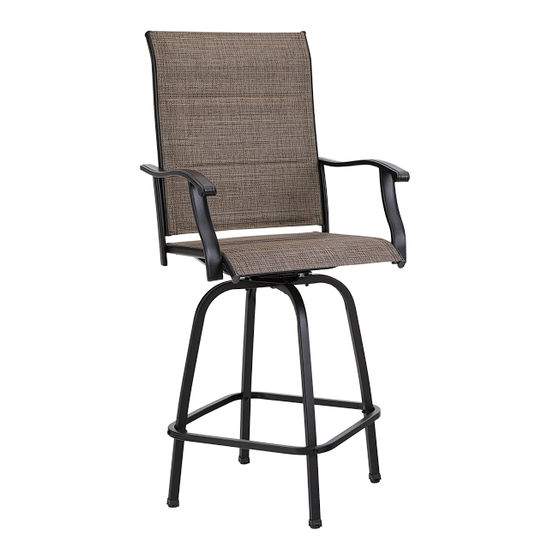
USE AND CARE GUIDE
E02GF097
h
Questions, problems, missing parts? Before returning to the store,
please contact our Customer Service
service@alphamarts.com
THANK YOU
We appreciate the trust and confidence you have placed in PHI VILLA through the purchase of our product. We strive to continually create quality
products designed to enhance your home. Visit us online to see our full line of products available for your home improvement needs.
Thank you for choosing PHI VILLA!
Advertisement
Table of Contents

Subscribe to Our Youtube Channel
Related Manuals for PHI VILLA E02GF097


Summary of Contents for PHI VILLA E02GF097
- Page 1 THANK YOU We appreciate the trust and confidence you have placed in PHI VILLA through the purchase of our product. We strive to continually create quality products designed to enhance your home. Visit us online to see our full line of products available for your home improvement needs.
- Page 2 Table of Contents Table of Contents Pre-assembly Safety Information Assembly Warranty Care And Maintenance What is Covered What is Not Covered Safety Information • Tighten each bolt firmly and properly. Do not completely tighten screws until all screws are started. •...
- Page 3 Pre-assembly (continued) Assemble the item on a soft, non-abrasive surface, such as carpet or cardboard to avoid damaging the item. Seek assistance to assemble bulky or heavy items. Identify all parts packed in the carton against the parts list. NOTE: Remove all the protective material carefully and DO NOT use a knife to prevent scratching the furniture.
- Page 4 Pre-assembly (continued) Assemble the item on a soft, non-abrasive surface, such as carpet or cardboard to avoid damaging the item. Seek assistance to assemble bulky or heavy items. Identify all parts packed in the carton against the parts list. NOTE: Remove all the protective material carefully and DO NOT use a knife to prevent scratching the furniture.
- Page 5 Pre-assembly (continued) Assemble the item on a soft, non-abrasive surface, such as carpet or cardboard to avoid damaging the item. Seek assistance to assemble bulky or heavy items. Identify all parts packed in the carton against the parts list. NOTE: Remove all the protective material carefully and DO NOT use a knife to prevent scratching the furniture.
- Page 6 Assembly...
- Page 7 Assembly...
- Page 8 Cleaning and Maintenance Clean the furniture with damp cloth, rinse thoroughly. Dry frame parts completely. Do not use bleach, acid or ● other solvents on the wicker or metal parts. We recommend the use of furniture covers to protect the product when not in use. ●...
Need help?
Do you have a question about the E02GF097 and is the answer not in the manual?
Questions and answers
why does seat bottom have to un even bars to attach swivel assembly to??? Not clear on how to attach bearing swivel
The PHI VILLA E02GF097 seat bottom likely has uneven bars for attaching the swivel assembly due to a manufacturing issue. Specifically, during production, nuts are welded into the arms, and these must align precisely with the bolt holes in the seat and back. If the welding jig used is misaligned (out of true), even by as little as 1/8", the holes won't line up properly, making assembly difficult. This misalignment can cause the bars to appear uneven when attaching the swivel assembly.
This answer is automatically generated