Advertisement
Quick Links
Advertisement

Summary of Contents for LINSY HOME LH096M1-A
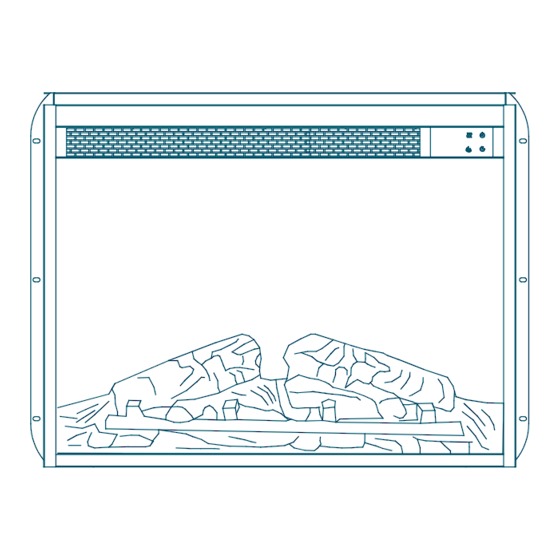
- Page 1 ELECTRIC FIREPLACE LH096M1-A PRODUCT SPECIFICATION:(W) 22.75 * (H) 19.61 inch...
- Page 2 Components Please check you have all the pieces listed below. Pieces List Serial No Part List Quantity Fireplace Remote control Instructions Important – Please read these instructions fully before starting assembly. Electrical parameters 1400W Rated operating voltage 120V Rated working power Rated operating frequency heating element 1350W...
- Page 3 Safety And Care Advice Important – Please read these instructions fully before starting assembly. Please check if all the components and tools listed Please assemble the product as close toits on pages 3 - 4 are received. final position as possible. Please remove all fittings from the plastic bags and Do not place furniture directly in front of separate them into homologous groups.
- Page 4 Safety And Care Advice Important – Please read these instructions fully before starting assembly. Do not share a socket with other appliances when using electric fireplaces, please use a dedicated socket. × × √ Never use with an extension cord or relocatable power tap (outlet / power strip).
-
Page 5: Maintenance
Safety And Care Advice Important – Please read these instructions fully before starting assembly. COLD CLIMATE INSTALLATION RECOMMENDATION: When installing this unit against a Non-insulated exterior wall or chase, it is mandatory that outer walls be insulated to conform to applicable insulation codes. - Page 6 Assembly Instructions Important – Please read these instructions fully before starting assembly. Position your completed mantel close to its final location. Make sure you can access the back of the mantel as your electric fireplace appliance will be installed from back. Using a Phillips head screwdriver, remove the screws and the metal mounting center opening.
- Page 7 Assembly Instructions Important – Please read these instructions fully before starting assembly. This heater is for use on 120 volts. The cord has a plug as shown at (A) in figure 2. An adapter as shown at (C) is available for connecting three-blade grounding-type plugs to two-slot receptacles. The green grounding lug extending from the adapter must be connected to a permanent ground such as a properly grounded outlet box.
-
Page 8: Functional Requirements
Functional Requirements Important – Please read these instructions fully before starting assembly. 1. Turn on or Turn off the machine 2. This key has the same highest priority as the POWER key on the remote control (compared with FLAME,HEATER,TIMER). 3. This key has a memory function. Its function is to remember the current state (except the Power Key timing function) and turn off all the currently opened functions. - Page 9 Functional Requirements Important – Please read these instructions fully before starting assembly. 1. This key is the function key for setting the timed shutdown, and the automatic shut down time can be set circularly between 1h to 8h and OFF. Timer 2.
-
Page 10: Remote Control Illustration
Remote control illustration Important – Please read these instructions fully before starting assembly. 1. Control the opening and closing of the machine 2. This key has the same highest priority as the POWER key on the machine (compared with FLAME, HEATER, TIMER) 3.This key has a memory function.
Need help?
Do you have a question about the LH096M1-A and is the answer not in the manual?
Questions and answers