Advertisement
Quick Links
Advertisement

Summary of Contents for IMAGIMAGS MARBLE RUN SET
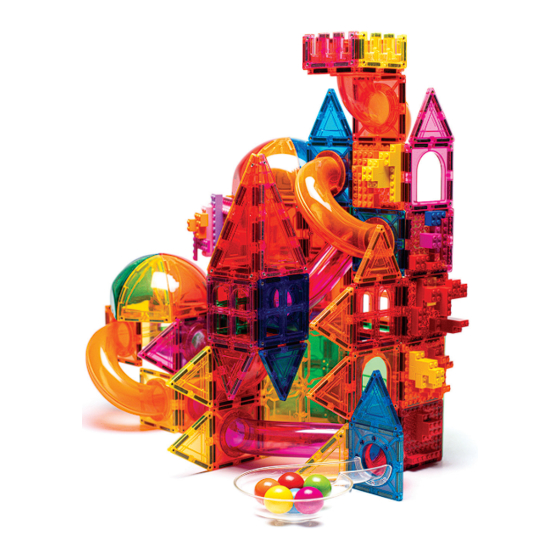
- Page 1 MARBLE RUN SET INSPIRA TION & USER MANUAL...
- Page 5 WHA T’S IN THE SET...
- Page 6 CONNECTOR SQUARE Use the connector squares to build the foundation of your marble run. Clip the chutes, straights, bends and cups onto the connector squares.
- Page 7 CORNER CHUTE Use the red corner chutes to quickly change the direction of your marbles transversing through your run! Clip each side of the corner chute onto the connector square to create a 90°angle.
- Page 8 SLOPE Use the pink slopes to add momentum and gain speed! Clip one side of the slope onto a connector square and the other side onto another connector square, it will be spaced one square below.
- Page 9 SHORT STRAIGHT The short straight can be used both vertically and horizontally! Clip each side of the short straight onto a square connector.
- Page 10 DIAGONAL CHUTE Use the diagonal chute to change direction and gain speed. If there is a small gap between the tubes don’t worry, it won’t change the speed of your runs! Lay two connector tiles corner to corner, diagonally opposite one another. Clip one side of the diagonal chute onto a connector and connect the other side onto the diagonally opposite connector.
- Page 11 HAIRPIN BEND The hairpin bend can be used both vertically and horizontally, which allows you to change the direction of your transversing marbles! Clip each side of the hairpin bend onto a square connector.
- Page 12 LONG STRAIGHT The long straight can be used both vertically and horizontally. Use the straight vertically to add speed, and horizontally to slow your marbles down! Clip each side of the long straight onto a square connector.
- Page 13 Use the cups at the start and end of your runs to create a ‘whirl pool’ effect with your marbles! Clip a square connector onto the opening and / or the circular base of the cup.
Need help?
Do you have a question about the MARBLE RUN SET and is the answer not in the manual?
Questions and answers