Table of Contents
Advertisement
Quick Links
Advertisement
Table of Contents

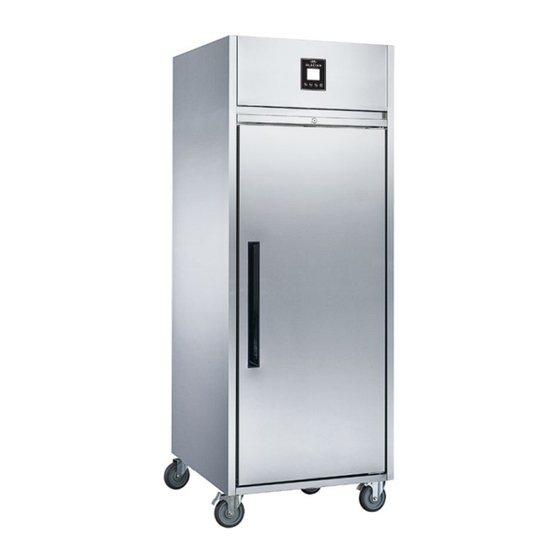
Summary of Contents for Royal-Kincool GLACIAN GUC1737
-
Page 4: Installation
1.WARNING This instruction manual is an integral part of the machine and must be kept for any further consultation. Never try to use this machine for applications which are not described in the instructions or for the unit's intended purpose. This machine should be used only for the purpose for which it was designed. - Page 5 2.2 Storage The unit must not be double stacked. (Fig.1) Fig.1 2.3 Unpacking Please remove all packaging materials including the protective lm on the stainless steel. 2.4 Refrigerator Installation Do not install the machine in the area where it can be damaged by water. This unit is intended for indoor use only.
-
Page 6: Shelf Installation
2.5 Shelf Installation Once unpacked and all packaging removed. Ensure that all backing strips are mounted at the same horizontal place with the supporting strips, and they can be positioned according to the number on the supporting strips. Remove the shelf backing strips from the plastic belt. For installation, closed end shall be located at rear and open end at front. - Page 7 In order to ensure cold air circulation, do not place the foods against the inner wall of refrigerator. Please do not place foods excess the load line and place foods evenly. The load capacity of each shelf is 30kgs. 2.6 Place food In order to ensure well cold air circulation, do not place the foods against the inner wall of refrigerator.
-
Page 8: Power Connection
2.7 Power Connection Do not cut off or remove three-pin plug. Plug unit directly into socket and not through an extension cord. In case of failure of power supply, please restart the compressor after ve minutes to prevent damage. Any damage of compressor due to low voltage will not be included within the warranty range. 3. -
Page 9: Condenser Cleaning
4. CLEANING 4.1 Interior and Exterior Cleaning Before cleaning, please turn unit off. Use warm soapy water is used to clean (do not use ammable or toxic substance for cleaning). During cleaning process, wring dry the cloth to prevent water from owing into the electric component to cause short circuit. -
Page 10: Technical Specifications
6. TECHNICAL SPECIFICATIONS... -
Page 11: Troubleshooting
7. TROUBLE SHOOTING If found that the refrigerator can not work normally, please nd out the cause according to the following table. ! ! ! Cause ! ! ! Failure Solution Check whether the mounting Poor ventilation position is well ventilated Condenser is blocked Clean the condenser lter Check stock placement. -
Page 12: Wiring Diagrams
8. WIRING DIAGRAMS... -
Page 13: Parts Diagrams
9. PARTS DIAGRAMS 1. Castor 13. Safety lock 25. Evaporator 2. Castor 14. Magnetic switch 26. Compressor 3. Door hinge 15. Front panel of cooling unit 27. Blade of condenser 4. Door hinge 16. Sticker 28. Fan cover 29. Condenser fan motor 5. - Page 14 9. PARTS DIAGRAMS 1. Castor 12. Shelf 23. Dry lter 2. Castor 13. Right supporter 24. Electronic expansion valve coil 25. Electronic expansion valve body 3. Ladder 14. Left supporter 26. Evaporator fan motor 4. Back ladder 15. Front panel of cooling unit 27.
Need help?
Do you have a question about the GLACIAN GUC1737 and is the answer not in the manual?
Questions and answers