Advertisement
Quick Links
USA office: Fontana
AUS office: Truganina
GBR office: Ipswich
If you're having difficulty, our friendly
customer team is always here to help.
FRA office: Saint Vigor d'Ymonville
USA:cs.us@costway.com
AUS:cs.au@costway.com
GBR:cs.uk@costway.com
FRA:cs.f r @costway.com
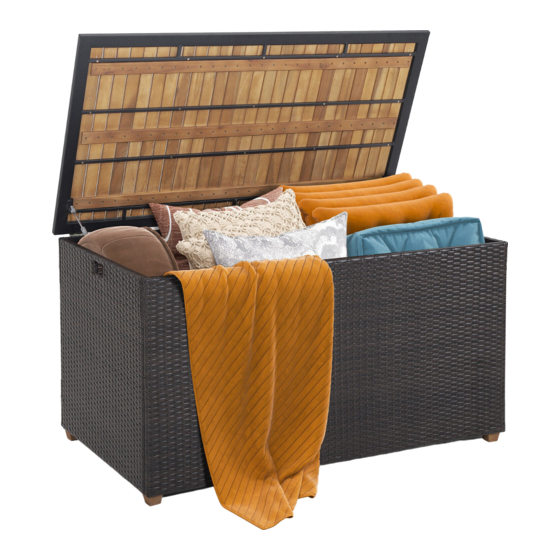
Rattan Storage Ottoman
Coffre de Rangement en Rotin
HW70798
THIS INSTRUCTION BOOKLET CONTAINS IMPORTANT SAFETY INFORMATION. PLEASE READ AND KEEP FOR FUTURE REFERENCE.
Advertisement

Related Manuals for PATIOJOY HW70798


Summary of Contents for PATIOJOY HW70798
- Page 1 Rattan Storage Ottoman Coffre de Rangement en Rotin HW70798 USA office: Fontana AUS office: Truganina GBR office: Ipswich FRA office: Saint Vigor d'Ymonville USA:cs.us@costway.com If you're having difficulty, our friendly AUS:cs.au@costway.com customer team is always here to help. GBR:cs.uk@costway.com THIS INSTRUCTION BOOKLET CONTAINS IMPORTANT SAFETY INFORMATION. PLEASE READ AND KEEP FOR FUTURE REFERENCE.
- Page 2 Before You Start Please read all instructions carefully. Retain instructions for future reference. Separate and count all parts and hardware. Read through each step carefully and follow the proper order. We recommend that, where possible, all items are assembled near to the area in which they will be placed in use, to avoid moving the product unnecessarily once assembled.
- Page 3 Part List / Liste des Pièces Notice 1. 50% Tighten before fixing all screws, Allen wrench is recommended instead of an electric drill. 2. Place the item on a flat ground to adjust and make sure it remains stable. 3. Tighten up all screws with tools gradually. 4.
- Page 4 Hardware List / Liste des Accessoires STEP / ÉTAPE 1 EN: Connect Back panel (B) to Left side panel (D) with Bolts (2) & Washers (3). FR: Connectez le panneau arrière (B) au panneau latéral gauche (D) à l'aide des boulons (2) et des rondelles (3). 1 x12 2 x22 3 x18...
- Page 5 STEP / ÉTAPE 2 STEP / ÉTAPE 3 EN: Connect part from STEP 1 to Bottom panel (F) with Bolts (2) & Washers EN: Connect part from STEP 2 to Right side panel (C) with Bolts (2) & (3). Washers (3). FR: Connectez la partie de l’ÉTAPE 1 au panneau inférieur (F) avec les FR: Connectez la partie de l’ÉTAPE 2 au panneau latéral droit (C) à...
- Page 6 STEP / ÉTAPE 4 STEP / ÉTAPE 5 EN: Connect part from STEP 3 to Front panel (A) with Bolts (2) & Washers EN: Fix the Wooden feet (6) to the part from STEP 4 with Bolts (2). (3). FR: Connectez les pieds en bois (6) à la partie de l’ÉTAPE 4 avec les FR: Connectez la partie de l’ÉTAPE 3 au panneau frontal (A) à...
- Page 7 STEP / ÉTAPE 6 STEP / ÉTAPE 7 EN: Connect part from STEP 5 to Top panel (E) with Hinge (4) & Bolts (1). EN: Connect part from STEP 6 with Pneumatic hinge (5). FR: Connectez la partie de l’ÉTAPE 5 au panneau supérieur (E) à l'aide de FR: Connectez la partie de l’ÉTAPE 6 à...
- Page 8 STEP / ÉTAPE 8 EN: Put in Waterproof bag (G) to complete the assembly of Storage Return / Damage Claim Instructions Ottoman. FR: Placez dans un sac étanche (G) pour terminer l'assemblage du coffre DO NOT discard the box / original packaging. de rangement.
Need help?
Do you have a question about the HW70798 and is the answer not in the manual?
Questions and answers