Table of Contents
Advertisement
Quick Links
Advertisement
Table of Contents

Related Manuals for GVA G34MWW15


Summary of Contents for GVA G34MWW15
- Page 1 34L Microwave Oven G34MWW15 / G34MWS15 Instruction Manual...
-
Page 3: Table Of Contents
Contents Guide to the Appliance Caring for the Environment Safety Information and Warnings Items in the Box Getting Started Basic Set Up Operation Instructions Advanced Features Hints and Tips Troubleshooting Care and Maintenance Technical Specifications... -
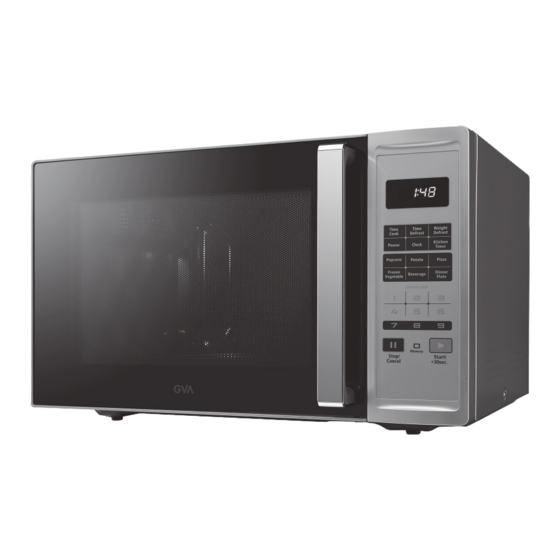
Page 4: Guide To The Appliance
Guide to the Appliance Safety Interlock System Door assembly Control Panel Turntable ring assembly Observation window Glass tray Turntable shaft NOTE: Due to production improvements, the appliance may differ slightly from the diagram shown. Diagrams in this instruction manual are for reference only. -
Page 5: Caring For The Environment
Caring for the Environment Responsible disposal of the packaging The packaging of your appliance has been selected from environmentally friendly materials and can usually be recycled. Please ensure these are disposed of correctly. Plastic wrapping can be a suffocation hazard for babies and young children, please ensure all packaging materials are out of reach and are safely disposed of. -
Page 6: Safety Information And Warnings
Safety Information and Warnings IMPORTANT SAFETY INSTRUCTIONS READ CAREFULLY AND KEEP FOR FUTURE REFERENCE. To avoid possible exposure to excessive microwave energy follow the below precautions. Do not attempt to operate this oven with the door open, this can result in harmful exposure to microwave energy. - Page 7 Safety Information and Warnings • The temperature of accessible surfaces may be high when the appliance is operating. The surfaces are liable to get hot during use. Keep the cord away from the heated surface, and do not cover any of the vents on the appliance. •...
- Page 8 Safety Information and Warnings If a long cord set or extension cord is used: • The marked electrical rating of the cord set or extension cord should be at least as great as the electrical rating of the appliance. • The extension cord must be a grounding-type 3-wire cord. •...
-
Page 9: Items In The Box
Items in the Box Remove all items from the packaging. Retain the packaging. If you dispose of it please do so according to local regulations. The following items are included: Time Time Weight Cook Defrost Defrost Kitchen In s t ru c t io n Power Clock Timer... -
Page 10: Getting Started
Getting Started Remove all packing material and accessories. Examine the oven for any damage such as dents or broken door. Do not install if the appliance is damaged. This is a free standing appliance and is not designed to be built-in. Do not block any intake or outlet openings on the appliance. -
Page 11: Basic Set Up
• Both glass tray and turntable ring assembly must always be used during cooking. • Ensure all food and containers of food are always placed on the glass tray for cooking. • If glass tray or turntable ring assembly cracks or breaks, contact GVA customer care. -
Page 12: Operation Instructions
Operation Instructions Power Levels Level Power 100% Display PL10 PL9 Kitchen Timer 1. Press ‘KITCHEN TIMER’, LED screen will display ‘00:00’, and will flash. 2. Press the number keys to enter the required time for the timer (the maximum time is 99 minutes and 99 seconds). - Page 13 Operation Instructions • During microwave cooking, ‘POWER’ can be pressed to change the power you need. After pressing ‘POWER’, press the corresponding number button to change the power level. The oven will work with the selected power for the rest of the cooking time. Quick Start Function •...
- Page 14 Operation Instructions Memory Function 1. Press ‘MEMORY’ to choose memory 1-3 procedure. The LED will display 1,2,3. 2. If the procedure has been set, press ‘START/+30SEC.” to use it. If not, continue to set the procedure. Only one or two stages can be set. 3.
- Page 15 Operation Instructions Inquiring Function • In the cooking state, press ‘CLOCK’, the LED will display the clock for three seconds. • In the microwave cooking state, press ‘POWER’ to view the microwave power level, the current microwave power will be displayed on the screen for three seconds. In the multi-stage function, follow the above to check the power level or clock.
-
Page 16: Advanced Features
Advanced Features Popcorn Option 1. Press ‘POPCORN’ repeatedly until the number you wish appears in the display, ‘50’ and ’100’ will display in order. For example, press ‘POPCORN’ once and ‘50’ will appear. 2. Press ‘START/+30SEC.’ to cook. When cooking has finished, the buzzer will sound five times and the display will go back to the standby mode. - Page 17 Advanced Features Beverage Option 1. Press ‘BEVERAGE’ repeatedly until the number you wish appears in the display, ‘1’,’2’,’3’ cup will display in order (one cup is approximately 120ml). For example, press ‘BEVERAGE’ once and ‘1’ will appear. 2. Press ‘START/+30SEC.’ to start cooking. When cooking has finished, the buzzer will sound five times and the display will go back to the standby mode.
-
Page 18: Hints And Tips
Hints and Tips Materials you can use in the appliance. Aluminium foil Shielding only. Small smooth pieces can be used to cover thin parts of meat or poultry to prevent overcooking. Arcing can occur if foil is too close to oven walls. The foil should be at least 2.5 cm (1 inch) away from oven walls. - Page 19 Hints and Tips Materials to avoid in the appliance Aluminium tray May cause arcing. Transfer food into microwave-safe dish. Food carton with metal May cause arcing. Transfer food into microwave-safe dish. handle Metal or metal-trimmed Metal shields the food from microwave energy. Metal trim utensils may cause arcing.
-
Page 20: Troubleshooting
Troubleshooting If you experience a problem with your microwave, please check the following table for solutions. If after these checks you are unable to solve the issue with your appliance, contact GVA customer care for advice. Problem Possible Cause Solution... -
Page 21: Care And Maintenance
Care and Maintenance Cleaning Always turn off and unplug the appliance before cleaning. • To clean the cavity of the oven use a slightly damp cloth. • Clean the accessories with soapy water, rinse and dry thoroughly before placing back into the appliance. -
Page 22: Technical Specifications
Technical Specifications Model G34MWW15 / G34MWS15 Rated Voltage 220-240V~ 50Hz Rated Input Power (Microwave) 1500 W Rated Output Power 900-1100 W (Microwave) Oven Capacity 34 L Turntable Diameter Ø315 mm Dimensions (H) x (W) x (D) 315 x 519 x 440 mm Weight approximately 15.5 kg... - Page 24 M.E.W. (Australia) Pty Ltd 15 Vaughan Street Essendon Fields VIC 3041 ACN 152 719 036 1300 725 885 customercare@gvaproducts.com.au gvaproducts.com.au While every effort has been made in the preparation of this instruction manual, the publishers cannot be held responsible for the accuracy of the information contained herein or any consequences arising from it.
Need help?
Do you have a question about the G34MWW15 and is the answer not in the manual?
Questions and answers