Advertisement
| Model | BWD3TTGA | BWD3FMCGA | BWD3FMRGA |
| BWD3FMRGA - B | BWD3FMRGA - M | BWD3FMRGA - G |
Installation & Operation
Operation
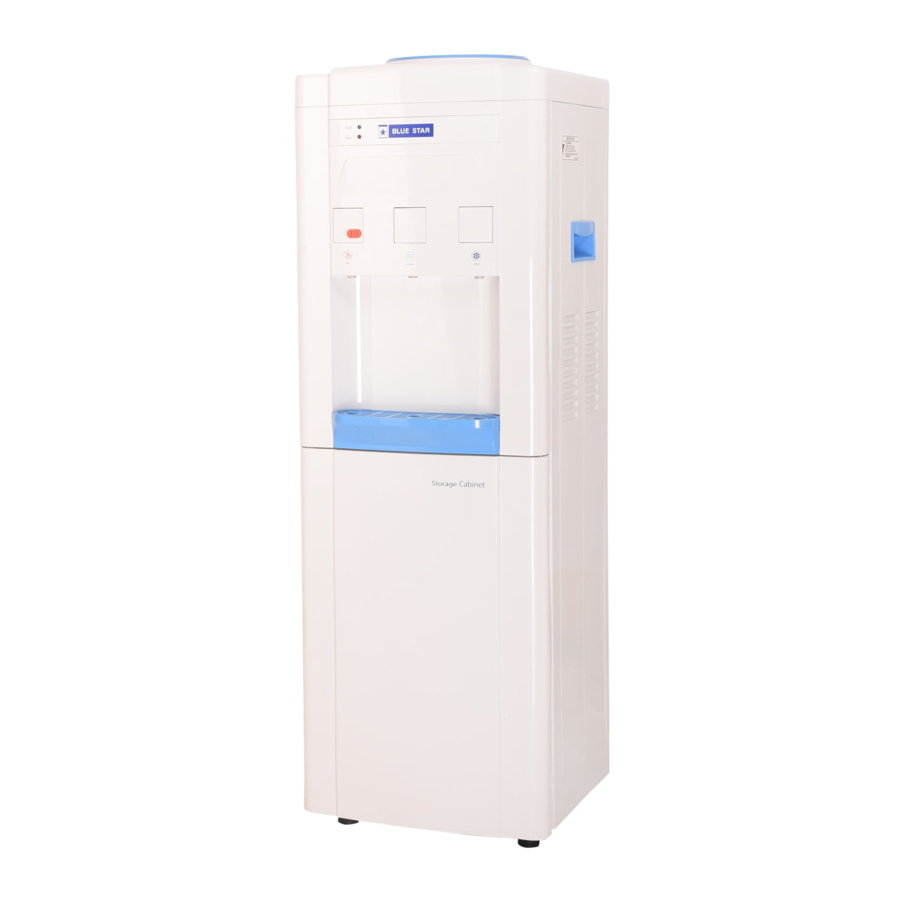
- Tear the label from the bottle.
- Vertically insert the bottle into the bottle supporter on top of the machine. Don't plug the power cord or push the heating switch until water runs out from the hot water faucet.
![]()
- Insert the plug to socket, then turn on the switch. Indicators light up accordingly once the machine turns on.
- Vertically pull out the bottle with two hands when the bottle is empty and then replace it with another bottle of water.
- The thermostat is factory-set. No need to adjust it by yourself.
![]()
- In case hot (or cold) water is not needed for a long time, turn o the switch accordingly to save power.
![]()


Precautions
- Keep the machine in a dry place and avoid direct sunshine. The back of the machine should be at least 20cm away from the wall. Never put the machine on paper or foam, which may store water that can cause creepage. Never put anything ammable near or besides this machine.
![]()
- Attention: Do not switch on the power supply cord until water runs out from the tap, otherwise some parts can be damaged.
![]()
- This machine must be connected with earthed socket and reliable creepage protection switch.
![]()
- Never use organic liquid as gas to clean the machine. Strictly prohibit using water to wash it.
![]()
- Never turn the machine upside down or lean it to more than 45° angle when moving/handling.
![]()
- Never turn on (off) the machine by plugging (unplugging) the machine. To avoid electrical re accidents, never increase the length of the power supply cord.
![]()
- This machine should not be turned on until after 3 minutes of turning o the power switch.
![]()
- The thermostat has been factory-set. Do not adjust it by yourself as it can a ect the performance of this machine.
![]()
- In case the machine will not be in use for a long time, please pull the plug out from the socket and drain the water in the tank.
![]()
- In case hot (or cold) water is not needed for a long time, turn o the switch accordingly, to save energy.
![]()
- If you are using the refrigerator cupboard for the rst time, don't put anything into the cupboard for an hour. Hot food should be cooled to room temperature before it is placed in the cupboard. Enough space should be left for cool air to circulate.
![]()
- The dispenser is suitable for bottled water only. Use mineral-free water to avoid damage to the heating system.


Operational DOs & DON'Ts
DOs: (  )
)
- Clean the dirt accumulated over the static condenser every fortnight.
- Choose a bottle with the right type of cap, based on the type of piercing device. Align the bottle cap with the piercing device for smooth piercing.
- Choose the right temperature to avoid overcooling.
- Switch on the machine only after water ows from all the faucets.
- If the power cord is damaged, it must be replaced only with a similar new one, sourced from a local dealer.
- The electricity outlet into which the unit is to be plugged, must have proper and reliable grounding.
- The machine should work under ambient temperature from 15°C to 35°C, relative humidity not higher than 90%.
DON'Ts: (  )
)
- Don't keep the unit exposed to direct sunlight.
- Don't position the unit near expensive furniture or electrical appliances, as water spills can cause serious problems.
- Don't modify the power plug and don't use an extension cord. It may lead to overheating and electrical res.
- Don't unplug or plug in the power cord to switch the unit o or on.
- Don't switch on the unit immediately after switching it off; a gap of 3 minutes is required.
- Avoid keeping the unit in excessively heated areas.
- Don't change the cooling thermostat setting frequently. Please allow the unit to run for 20 minutes between consecutive settings.
- Don't use bottles lled with hot water and unhealthy hard water.
- Don't use scouring powder, harsh soap, wax or polish on plastic parts.
- Don't clean any component, especially plastic parts, with any petroleum products.
- Don't use a metal scrubber to clean the tank.
- Don't tilt the unit to more than 45° angle while carrying it.
- Do not pull the faucet, it is push type only.
Maintenance
Completely automatic, the unit requires minimum attention and maintenance. For satisfactory performance, periodical checking and cleaning are necessary.
Cooling Tank
It is essential to drain out water from the cooling tank and flush it once every one or two months. Failure to do this periodically, may result in brown stains on the tanks which will be difficult to remove at a later stage.
The most convenient time to clean your dispenser is when a bottle is empty. Before you start cleaning the reservoir of your Water Dispenser, it is suggested to have the following items handy:
- Clean rubber gloves, paper towels or other clean, dry cloth or towels.
- Clean dish-type scrub brush with a long handle to help you to reach the bottom of the reservoir.
- Plastic scrubbing pad. Never use steel wool or other abrasives on your reservoir.
- Measuring spoon, one teaspoon volume: One normal teaspoon to take out mild detergent for cleaning.
- Calibrated container e.g., a bucket: Any container with litre volume measurement marks.
- Non-chloride-based mild cleaning agent/disinfectant. Never use metal scrubbers, scouring powder, harsh soaps, wax or polish on the plastic parts.
Now take the following steps to clean the tank:
- Unplug the cord. If there is an empty bottle on top fo the dispenser, carefully lift off the bottle and store it away. However, if there is water in the bottle, make sure you cap the bottle or cover the bottle top to keep dirt or debris from falling into the bottle.
- Once you have removed the bottle, check to seer whether there is removable baffle. If there is one, remove it. Check for a plastic top and remove it.
- At this point you should be able to see inside the reservoir. If there is water remaining in the reservoir, drain it out. If you like, you can save the water for future use.
- Prepare a cleaning solution in the calibrated container with a concentration of one teaspoon of mild detergent per litre. The minimum volume prepared should be 3 to 4 litres; some dispenser reservoirs may require a larger volume.
- Fill the reservoir with the prepared solution.
- Wearing clean rubber gloves, use the scrub brush to clean the inside of the reservoir with the clening solution. Wet the same brush again, scrub the baffle and place it upside down in the reservoir, clean the faucet(s), body, handles, and outlets.
- Let the cleaning solution stand in the reservoir for five minutes.
- Rinse and dry the baffle, drain all the cleaning solution from the dispenser throught the faucet(s), and replace the baffle in the reservoir. Using clear and clean water, rinse the reservoir thoroughly, draining water through the faucet(s) several times until there is no evidence of chlorine taste and/or odour. Close it with the plastic top. Plug the dispenser back and allow at least twenty minutes for the water to reach the appropriate temperature.
Now you can dry the outlet of the dispenser, and place a clean, full bottle on top. If you have followed these steps, you'll have a clean dispenser.
Do not use bleach for units with hot water tanks. Use the hot water cleaning procedure only. The suggested frequency for cleaning your dispenser is every change of a bottle or every six weeks.
Static Condenser
The efficiency of the Water Dispenser is drastically affected if the condenser is clogged with lint or dust. To maintain free circulation of air over the condenser, it should be cleaned every fortnight with a small brush.
Long period shutdowns
If the Water Dispenser is to be kept out of service for over a week, or a longer period, shit off the water supply, empty the tank and remove the bottle from the top. Also, disconnect the plug from the electrical socket.
Troubleshooting Chart
| Symptoms | Possible Causes | Suggested Remedy |
| Electrical System | ||
| Unit does not start |
|
|
|
| |
| Fuse blows upon starting unit |
|
|
| There is electrical leakage |
|
|
| Refrigeration System | ||
| Compressor does not start |
|
|
|
| |
| Compressor tries to start with a humming sound but fails or compressor runs for a while but shuts down |
|
|
|
| |
| Compressor runs excessively |
|
|
|
| |
| Compressor makes too much noise |
|
|
|
| |
| Water System | ||
| Water does not flow/flows very slowly |
|
|
|
| |
|
| |
|
| |
|
| |
| Water leaks from unit/faucet |
|
|
|
| |
|
| |
|
| |
|
| |
| Water flows from cold faucet but there is no cooling |
|
|
|
| |
| Water flows from cold faucet but is not cold enough |
|
|
|
| |
|
| |
| Water flows from hot faucet but there is no heating |
|
|
|
| |
|
| |
| Water flows from hot faucet but it is not hot enough |
|
|
|
| |
| Cold water flows from normal faucet |
|
|
Technical Specifications
| Product | Water Dispenser |
| Cooling Capacity | < 12°C, 2.5 ltr/hr |
| Heating Capacity | < 90°C, 5 ltr/hr |
| Refrigerant | R134a |
| Power Source | 230V/1Ph/50Hz |
| Ambient Temperature | 15°C - 35°C |
* Due to continuous product development, colours, features and technical specifications are subject to change without prior notice.
Warranty Obligation for Customer
| Product | Warranty | Parts covered | Range | (Parts not covered under 1 year of Warranty period) |
| Bottled Water Dispenser | 1 year |
|
|
|
Documents / ResourcesDownload manual
Here you can download full pdf version of manual, it may contain additional safety instructions, warranty information, FCC rules, etc.
Download Blue Star GA Series - Bottled Water Dispenser Manual
Advertisement
Need help?
Do you have a question about the GA Series and is the answer not in the manual?
Questions and answers