Advertisement
Please read this manual carefully before use and keep it for future reference!
IN THE BOX

SPECIFICATIONS
FLOODLIGHT

SPOTLIGHT

All above specifications are test results based on ANSI/NEMA FL1-2009 Standard. The tests are performed using the battery included in the flashlight.
The maximum output brightness will decrease as the battery voltage decreases.
* The charging port itself is waterproof and it is shielded against dust by a port cover.
FEATURES OF CHARGING & REVERSE CHARGING
| PARAMETER | SPECIFICATION |
| Charging port | USB-C |
| Compatible protocols | QC2.0, QC3.0, PD2.0, PD3.0, APPLE, DCP, AFC |
| *Voltage/current of charging | 5V3A, 9V3A, 12V2.5A, 15V2A, 20V1.5A |
| *Voltage/current of reverse charging | 5V3A, 9V3A, 12V2.5A, 15V2A, 20V1.5A |
| Indication of charging | Solid red: charging Solid green: charging completed |
| Indication of reverse charging | Flashing green |
| Time to fully charge (PD 30W) | 2.5 hours |
Note: * indicates that to achieve maximum value requires a designated power adapter or USB power source.
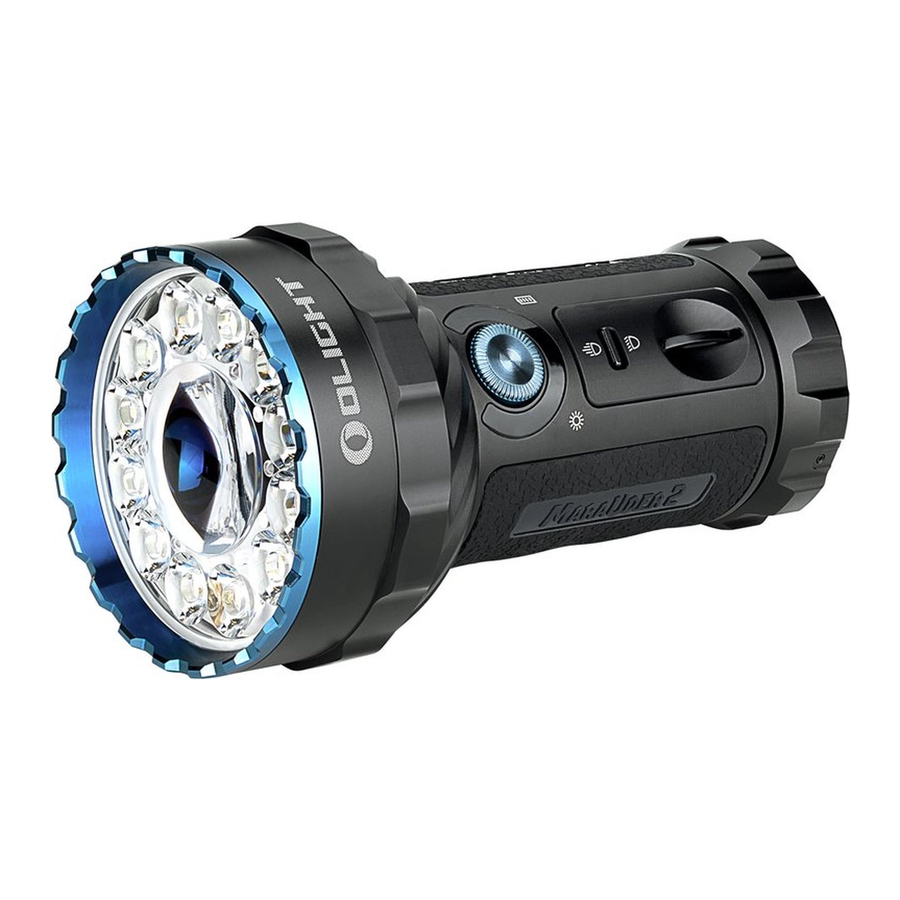
PRODUCT OVERVIEW


DO NOT stick your finger or any part of your body or any object into the open hole of the port cover when closing it. The sharp edges of the port cover blades may cause cuts or other injuries.
BEFORE FIRST USE
Before your first use, please remove the protective film on the lens. The flashlight arrives in lockout mode for shipping purposes. To unlock, please rotate the knob switch quickly over 90 degrees. The surrounding indicators will light up when you have unlocked the switch successfully.

Before your first use, please fully charge the product. Twist the tail cap counterclockwise to open the charging port cover. Connect the flashlight to a power adapter via the provided USB-C charging cable. The charging status indicator will glow red to indicate charging and turn green once it is fully charged. After charging, please remove the cable and twist the tail cap clockwise to close the port cover.

POWER BANK FUNCTION
The flashlight's USB-C port is capable of charging other devices up to 30W. When charging a separate device from your flashlight, the charging status indicator will flash green. This reverse charging process will stop when the battery level is lower than 5% or the floodlight is on at Level 7.

As a power bank, the flashlight can only charge one device at a time. Please DO NOT use it to charge a device through any multi-port USB hub or charge two or more devices at the same time.
DASHBOARD OF INDICATORS


- DO NOT shine the light directly into human eyes. This may cause temporary blindness or permanent damage to the eyes.
- Keep out of reach of children.
- DO NOT cover the flashlight when it is on. The heat built-up may cause close objects to burn or even result in unexpected disasters.
- DO NOT immerse the flashlight in seawater or other corrosive media as it will enter and damage the charging port.
- DO NOT activate high mode repeatedly under high temperature to prevent the flashlight body from overheating and hurting the users' hands.
- Overheat protection circuit: If the flashlight is on at a temperature consistently higher than 70°C, the overheat protection circuit will disconnect the power supply and shut the flashlight down proactively. To end this protection process, please allow the flashlight to cool down to room temperature and charge it.
NOTICE
- The dustproof charging port cover should be closed after charging immediately to protect the charging port from dust and other impurities.
- The dustproof port cover is not waterproof. If water enters, please twist it open, then place the flashlight with its tail facing down to air-dry or blow-dry it.
- The Level 7 (14000lm) brightness can only be reached when the battery level is at Level 4 or above.
- The brightness will be capped at 200 lumens (Level 1 brightness of the floodlight) if the battery level is lower than 5%.
- Though the flashlight supports up to 30W charging, the charging speed and time depend on the output power of the adapter used.
- When the floodlight is on and set at Level 3 or higher brightness, the built-in proximity sensor underneath the front lens will dim the brightness automatically if it senses a close-up obstruction ahead. The brightness will restore when the obstruction is gone.
- Please turn the flashlight off and make sure that its knob switch has been locked out if it is left unused, carried, or transported. The heat built-up due to accidental activation may melt the lens of the flashlight, cause close objects to burn, or even result in unexpected disasters.
CAUTIONS ABOUT PROXIMITY SENSOR
- The built-in proximity sensor is underneath the front lens. It works only when the floodlight is on and set at Level 3 or higher brightness; and it does NOT work in spotlight settings.
- When the floodlight is on, the sensor will dim the brightness automatically if it senses a close-up obstruction ahead. The brightness will restore when the obstruction is gone.
- When the floodlight is on, the sensor will dim the brightness automatically if it senses a strong light source right ahead, like sunlight, bright street lamps, car headlights, etc. The brightness will restore when the light source is not right ahead.
- The distance sensitivity of the sensor may vary due to the reflectivity of obstructive objects. For dark rough objects, the maximum distance for response is about 5cm. For white flat objects, the maximum distance for response is about 80 to 100cm.
- The sensor may NOT work if it is blocked by water, dirt, or scratches on the front lens. Please keep the lens clean to ensure that it works properly.
HOW TO OPERATE
Unlock Rotary Knob Switch: The knob switch will be locked out automatically, if no operation is made within 30 seconds after the flashlight is off. To unlock, please rotate the knob switch 90 degrees, whereupon indicators around it will be on for 3 seconds.
ON/OFF: Single click the unlocked knob switch to turn the flashlight on/off. When turned on again, it will return to the previous brightness level selected (Level 7 will not be memorized; Level 5 or 6 will only be memorized for 10 minutes and will then revert to Level 4)
Change Brightness Level: When the flashlight is on, rotate the knob switch clockwise to ramp up the brightness level or vice versa.
Select Light Form: Flip the toggle switch up for spotlight or down for floodlight. The brightness level will stay unchanged when the light form is switched. The indicators will be on for 3 seconds when the toggle switch is flipped.
Turbo: Double click the unlocked knob switch quickly to activate Turbo (Level 7). Double click quickly again to access Level 4 of brightness.
Strobe: Triple click the unlocked knob switch quickly to activate Strobe. Under the Strobe mode, single click the knob switch to turn off the flashlight. To exit Strobe, press and hold or rotate the knob switch.

Documents / ResourcesDownload manual
Here you can download full pdf version of manual, it may contain additional safety instructions, warranty information, FCC rules, etc.
Advertisement
Need help?
Do you have a question about the Marauder 2 and is the answer not in the manual?
Questions and answers