Advertisement
Quick Links
Advertisement

Subscribe to Our Youtube Channel
Related Manuals for PURPLE LEAF Dining Table 250

Summary of Contents for PURPLE LEAF Dining Table 250
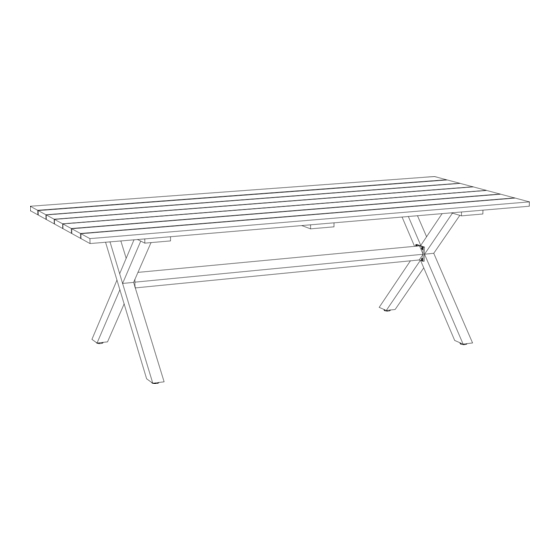
- Page 1 Dining Table (250) Outdoor © Copyright 2016-2023 Purple Leaf Inc.
-
Page 2: Warnings And Cautions
Warnings and Cautions Please retain this instruction for future usage and read carefully before assembly. Make sure you have all the parts & hardware as item list shows. 2 adults are recommended to install your table. Do not discard any of the packaging until you have checked that you have all the parts and pack of fittings. - Page 3 J x56 K x4 Check List A×5 F×8 M x32 M6X20 N x20 M6X45 I×50 A1×2 O x4 J×58 B×2 P x56 Q x2 B1×1 K×2 R x2 C×2 D×2 E×1...
- Page 4 Step 1 Take the panel of table top out of the box and make sure to use a carpet for installation to avoid scratches.
- Page 5 Step 2 Step 2 To install the part B on the plate of the part A. Please note that the side below has the larger screw hole to match the hole position between the part B and A. For the hole position, please leave an appropriate gap between the part A and A1.
- Page 6 Step 2 Note The screws on the A1 do not need to be installed first. The screws on the part B are installed as shown in page 5.
- Page 7 Step 3 Step 3 Please put together the 4 legs in an "X" shape according to the number then turn it over to the reverse side and prepare to install part E with screws. front side reverse side...
- Page 8 Step 4 Step 4 To connect the part E to D P l e a s e n o t e t h a t t h e screws here are not the same size as the screws of the part A or A1.
- Page 9 Step 4 If you find the part C and D are unstable after installation, please stand the table legs on a flat bottom surface as shown and press downward.
- Page 10 Step 5 Step 5 To connect the part C and D to the table top. Check the gap between the part A and A1 and keep them even.
- Page 11 Step 5...
- Page 12 Step 6 Please adjust the foot plug if the table is unstable after installing the whole table.
-
Page 14: Warranty
Warranty Limitation This warranty is for the original purchase order only. (Order number required). This warranty is non-transferable. Purple Leaf is responsible for the free replacement part including shipping charges for the 1 year warranty. - Page 16 Purple Leaf Inc. 1820 E Locust St, Ontario CA, 91761, US furniture4@purpleleafgarden.com © Copyright 2016-2023 Purple Leaf Inc. All Rights Reserved...
Need help?
Do you have a question about the Dining Table 250 and is the answer not in the manual?
Questions and answers