Advertisement
Instructions
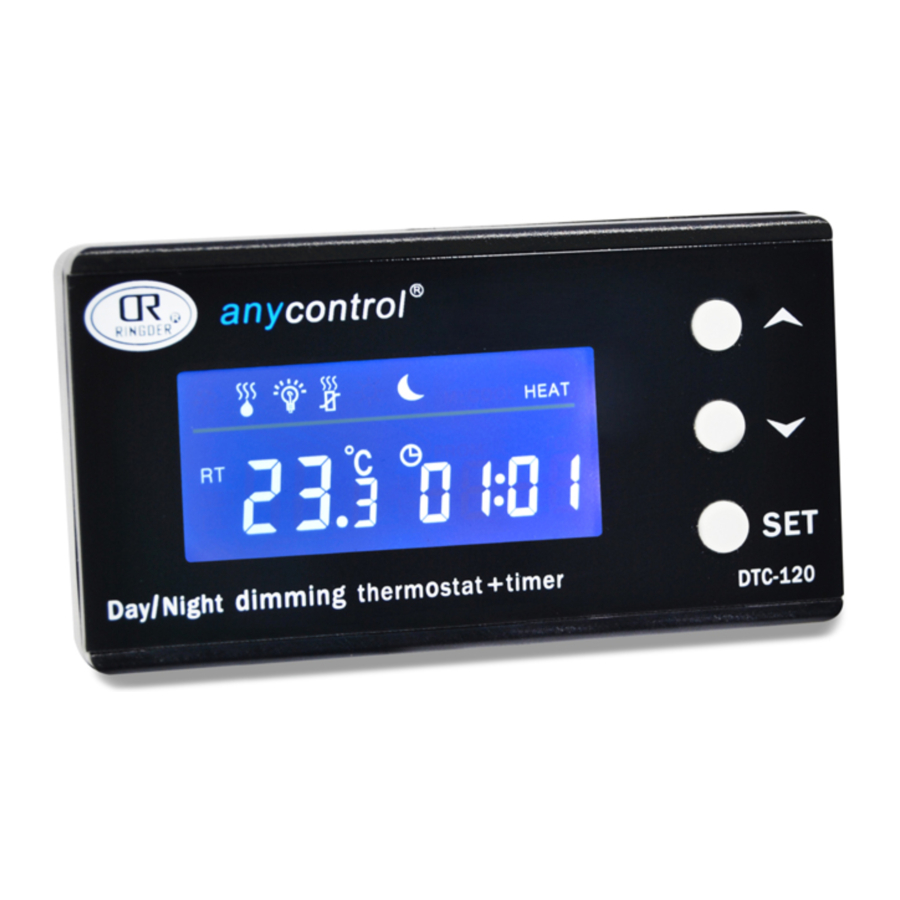
DTC-120 is one of latest developed dimming thermostat series products which are applied to aquatic and reptile market. Practicality functions, elegant appearance.
One channel is for temperature PID heating, one channel for timer controlling.
We adopt PID techniques, a very accurate temperature control mode, DTC-120 operates by reducing the current (amps) to the heating device which in turn reduces the amount of electricity it uses and the amount of heat it produces, The DTC-120 uses its intelligence to determine how much current to supply, when the sensor reading starts to get closer to the target temperature it will reduce the current so that the area will not over heat once the target has been reached. Also if the temperature starts to fall, the DTC-120 will start to send power to your heating devices to prevent the temperature dropping below the target temperature.
Compared to ON/OFF control mode, DTC-120 can avoid the unstable change of temperature and lighting caused by switching on & off frequently, so DTC-120 is more conducive to the health of reptiles, even DTC-120 can make the heater or other electrical equipment maintain long service life, and save money for users.
Main features
- Big LCD display, friendly interface, easy to read, operates and set the parameters.
- Using real-time clock to control the light, simulating the day and night as real environment.
- Small and elegant appearance, can adopt attached on the glass, or stand on the table, or install into the aquarium and terrarium, fit for different operating requirements of users.
Main Functions and Parameters
- Temperature controlling range: 0~50℃
- Resolution: 0.1℃; Accuracy: ±1.0℃
- Time unit: hour (24:00 format)
- Input voltage: 220Vac±15%(standard)/50HZ
- Ambient Requirements: Temperature: -10~60℃;Humidity: 20%~85%℃
- Timer output: resistive load MAX 1100W; inductive load MAX 275W; incandescent bulb MAX 220W
- Heating output: resistive load MAX 440W
- Temperature measuring range: 0~50℃
- Input: 1 NTC sensor
- Product consumption: ≤3W
Icons
 : Icon flashing: Heating output;
 : Upper part rapid flashing: Alarm status over temperature
 : Icon flashing: Daytime;
 : Icon flashing: The timer is on;
![]() : Icon flashing: Nighttime
: Icon flashing: Nighttime
Menu instructions
| Menu item | Set | Default value | Remark |
| HEAT(MODE) | HEAT | HEAT | |
| Daytime Temperature(SET) | 0.0~50.0℃ | 25℃ | Set step 0.1℃ |
| Nighttime Temperature(SET) | 0.0~50.0℃ | 20℃ | |
Daytime FROM  | 00:00—22:59 | 08:00 | |
Daytime TO  | 01:00—23:59 | 18:00 | If TO time is earlier than FROM time, display error message "ERR". |
Alarm over temperature  | 0.0~5.0℃ | 5.0℃ | Set step 0.1℃ |
| First Timing control L1: ON: FROM, OFF: TO | 00:00~23:59 | 00:00~06:00 | Disabled if FROM and TO are same |
| Second Timing control L2: ON: FROM, OFF: TO | 00:00~23:59 | 12:00~18:00 | Disabled if FROM and TO are same |
| Real Time | 00:00~23:59 | Real-time |
Parameters setting
Parameters would be set according to the following circular mode in the first time. All the parameters are set and saved instantly.
First of all, make sure the power is on.
- Daytime temperature setting:
Press SET key for 3 seconds to display the default temperature value while icon SET and![]() flashing, then press UP or DOWN key to select the ideal temperature you want.
flashing, then press UP or DOWN key to select the ideal temperature you want. - Nighttime temperature setting:
Press SET key once to display the default temperature value while icon SET and![]() flashing, then press UP or DOWN key to select the ideal temperature you want.
flashing, then press UP or DOWN key to select the ideal temperature you want. - Over temperature alarm setting:
Press SET key once until lower part of icon![]() flashing and display the current over temperature alarm value, press UP or DOWN key to select the idea over temperature you want.
flashing and display the current over temperature alarm value, press UP or DOWN key to select the idea over temperature you want. - Timing setting:
Notice that while start time and end time is same, this timing control become invalid- First timing control L1:
- Start time setting: Press SET key until display L1 and FROM icon flashing, at the same time display the default time, press UP or DOWN key to set the hour; After hour set, press SET key to set the minute, press UP or DOWN key to set the value;
- End time setting: When start time is already finished, press SET key and then TO icon flashing, you can set end time in the same method.
- Second timing control L2: The same operation with first timing control L1.
- First timing control L1:
- Real-time setting:
Press SET key, icon![]() flashing and display current hour set value, press UP or DOWN key to adjust the system time;
flashing and display current hour set value, press UP or DOWN key to adjust the system time;
Press SET key and then set minute value in the same method.
- Daytime time setting:
- Start time setting: Press SET key,
![]() and
and ![]() icon flashing, at the same time FROM flashing and display default hour value, press UP or DOWN key to modify the value. After hour set, press SET key to set the minute, press UP or DOWN key to set the value;
icon flashing, at the same time FROM flashing and display default hour value, press UP or DOWN key to modify the value. After hour set, press SET key to set the minute, press UP or DOWN key to set the value; - End time setting: When start time is already finished, press SET key and then TO icon flashing, you can set end time with the same method of start time setting.
- Start time setting: Press SET key,
- Night time time setting:
- Start time setting: Press SET key,
![]() and
and ![]() icon flashing, at the same time FROM flashing and display default hour value, press UP or DOWN key to modify the value. After hour set, press SET key to set the minute, press UP or DOWN key to set the value;
icon flashing, at the same time FROM flashing and display default hour value, press UP or DOWN key to modify the value. After hour set, press SET key to set the minute, press UP or DOWN key to set the value; - End time setting: When start time is already finished, press SET key and then TO icon flashing, you can set end time with the same method of start time setting.
- Start time setting: Press SET key,
 Tips:
Tips:
- If current menu don't need adjustment, press SET key directly to switch to next menu, press SET key for 3 seconds to exit and save settings.
- Parameters of temperature and timer can be recycled view by pressing UP or DOWN key in normal status.
- The product returns to normal working condition automatically without any key operate in 15 seconds.
- Parameter adjustment: Press UP or DOWN key and hold, enter into quickly adjusting state.
Set high and low limits of the set temperature
In normal working status:
- High limit: Press UP key for 5 seconds to display current high temperature limit setting(50℃), and then press UP or DOWN key to modify the set value.
- Low limit: Press DOWN key for 5 seconds to display original low temperature limit setting(0℃), and then press UP or DOWN key to modify the set value.
For example: if the limits are default value, the set temperature can be adjusted between 0~50℃; if the high limit is 30C, low limit is 10C, the set temperature can only be adjusted between 10~30℃
Heat controlling function
Heating systems works in below situation:
the measuring temperature Heating systems stops working in below situation:
the measuring temperature > the set temperature
Timing setting
FROM: timing of turning on light; TO: timing of turning off light
If the system time is during FROM time and TO time, the light will light when timing setting has adjusted and saved. For example, original timing starting time is 8:30, original timing ending time is 18:30, new timing starting time is 6:00, new timing ending time is 18:00, the system time is 7:00, you will see the light is on. If not, the light is off.
Others
- Over temperature alarm: upper part of
![]() icon rapid flashing with "drops" alarm sounds and display the measuring temperature in below situation:
icon rapid flashing with "drops" alarm sounds and display the measuring temperature in below situation: - the measuring temperature ≥ the set temperature + Alarm over temperature
- the measuring temperature ≤ the set temperature - Alarm over temperature
- Exceed temperature measuring limits alarm: with "drops" alarm sounds at the same time. the measuring temperature 50.0℃, display HHH: super high temperature;
- Probe fault alarm: when probe have open circuit or short circuit faulty, display error message of probe faulty "ERR"
- Mute alarming manually:
- the 1st and 2nd alarm can be muted by pressing any key, but probe fault alarm sound cannot eliminate.
- Press UP or DOWN key at the same time for 3 sec or more, the menu is available to choose whether to eliminate alarm sound, AL: have alarm sounds, NO: have no alarm sounds.
- You can choose one and press SET to save and exit.
- Socket output control load:
- : heating output; II: timer output, such as lighting or oxygen pump.
- Mute alarming manually:
Remarks
When you choose a heater, please choose appropriate capacity one, for low capacity one will take very long time to reach the setting temp., but the high capacity one will make DTC-100 always working at low capacity, So such unsuitable capacity of the heater/cooler will influence the heating / cooling effect, and even cause damage to the heater/cooler and DTC-120 if you use them for long time.
Safety regulations
- Dangers:
- Please avoid overload, load short circuit, misuse, human damage etc., which is not covered by the warranty. Load short circuit can damage the dimming output immediately!
- DO NOT connect the wire terminals without electricity cut-off.
![]()
DO NOT use the machine under the environment of over damp, high temp, strong electromagnetism interference or strong corrosion.![warning]() Notes:
Notes: - The power supply should conform to the voltage value indicated in the instruction and keep stability
- To avoid the interference, the sensor down-lead and power wire should be kept a distance.

 Notes:
Documents / ResourcesDownload manual
Here you can download full pdf version of manual, it may contain additional safety instructions, warranty information, FCC rules, etc.
Download Ringder DTC-120 - Digital Dimming Thermostat Manual
Advertisement

Need help?
Do you have a question about the DTC-120 and is the answer not in the manual?
Questions and answers