
Related Manuals for Vais Technology SoundLinq 3


Summary of Contents for Vais Technology SoundLinq 3
- Page 1 VAIS VAIS T T E E C C H H N N O O L L O O G G Y Y Owner’s Manual Universal Audio interface...
-
Page 2: Before You Start
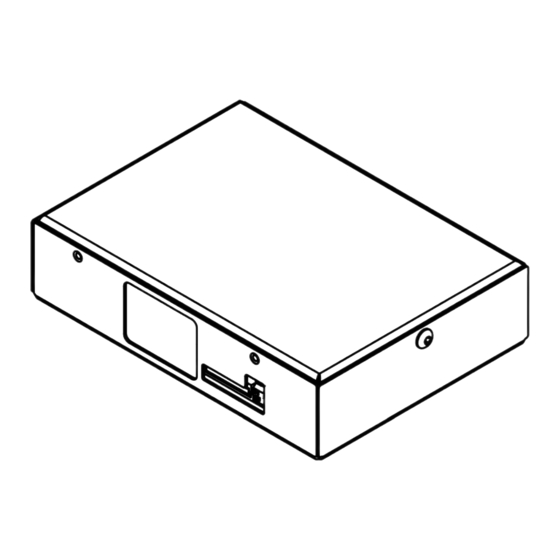
Before You Start WARNING DO NOT DISASSEMBLE OR ALTER Doing so may result in an accident, fire or electric shock. Do not block your view Do not mount product or any added audio and/or video equipment where it can block your view through the windshield or your view of dashboard indicators and displays. - Page 3 Connections Connecting SoundLinQ3 SoundLinQ3 Interface Adapter Model SL3u SoundLinQ3 SoundLinQ3 Audio Harness (36”) 12-Pin harness SoundLinQ3 20-Pin harness SoundLinQ3 Interface Harness RED LED Mode Service Programming Port switch Interface harness Power and Audio wiring harness...
- Page 4 Connections Connecting SoundLinQ3 to head unit using 20-pin Y-harness Head Unit (Radio Receiver) 20-pin connector Lexus GX 470 Radio Receiver shown as an example. Locate connector “A” (20-pin connector) on your Radio. Plug into Connector location on the Radio may be Head Unit different from shown above.
- Page 5 Installation IMPORTANT We strongly recommend that you install the unit in easily accessible location. So you can later upgrade the unit or re-program it in case if incorrect programming. Installation Gain access to the back of you vehicle’s Head Unit. Find the same port as our Y-Harness (see “Connecting SoundLinQ3 to head unit”) Disconnect the existing connector and plug in our Y-Harness connector into this port, then plug female end of Audio Harness to the plug in for your factory connector.
-
Page 6: Installation
Carpet or car chassis NOTE Hook and loop fastener are not included VAIS Technology strongly recomand to ground unit to the car chassis for best results Do not more the 5mm size screws. Using screws larger then 5mm may damage the PCB board. -
Page 7: Functionality Description
Functionality Description Audio AUX input allows you to connect uncontrolled Audio aftermarket equipment such as MP3 player, portable Satellite Radio and etc. Audio AUX input is universal auxiliary input and provides NO CONTROL over added aftermarket equipment. Devices connected to AUX input must to be controlled by their own controls. This unit can be programmed in CD changer emulation mode, MD changer emulation mode or special emulation mode . - Page 8 Head Unit Controls Source Selection Select desired source by pressing DISC button on the head unit or MODE on the steering wheel control. (See diagram below) Head Unit: To switch between the unit sources you need to use “DISC” or “CD” button on the radio (Diagram below assumes factory CD changer is present).
- Page 9 About AUX Input Audio AUX input allows you to connect uncontrolled Audio aftermarket equipment such as MP3 player, Satellite Radio etc. Audio AUX input is universal auxiliary input and provides NO CONTROL over added aftermarket equipment. Devices connected to AUX input have to be controlled by its own controls. AUX Input Sound Level Adjustment Select “AUX Input mode”...
Need help?
Do you have a question about the SoundLinq 3 and is the answer not in the manual?
Questions and answers