Advertisement
Quick Links
Advertisement

Related Manuals for Southern Enterprises FA1095656


Summary of Contents for Southern Enterprises FA1095656
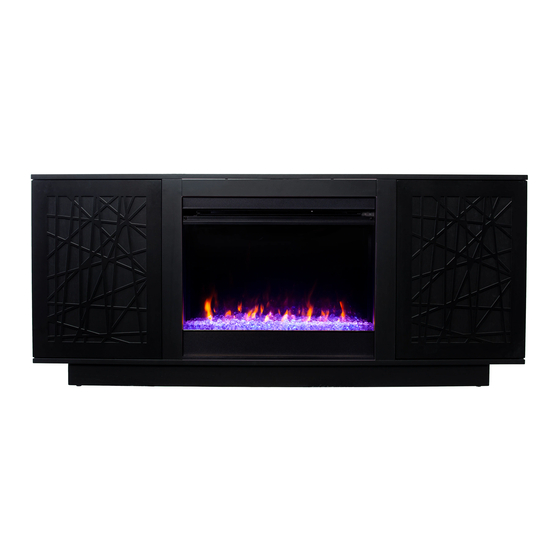
- Page 1 FA1095656...
- Page 4 Top panel Left side panel Right side panel Panel superior Panel lateral izquierdo Panel lateral derecho Panneau supérieur Panneau latéral gauche Right side panel Left middle panel Right middle panel Bottom panel Panel central izquierdo Panel central derecho Panel inferior Panneau central gauche Panneau central droit Panneau du bas...
- Page 5 Cam bolt Cam lock Cover Perno de leva Bloqueo de la leva Tapa Boulon à came Serrure à came Couverture Wood dowel Hinge Screw Taco de madera Bisagra Tornillo ∮ Charnière ∮ Cheville en bois 8x30mm 1/4"x15mm Magnet Screw Magnet plate Imán Tornillo Imán plano...
- Page 10 To achieve uniform clearance around the door, you may need to adjust the door by tightening or loosening the two screws on the hinge itself. Para lograr un espacio uniforme alrededor de la puerta, es posible que deba ajustar la puerta apretando o aflojando los dos tornillos de la bisagra.
- Page 11 11 |...
- Page 12 12 |...
- Page 13 13 |...
- Page 14 Anti-tipping hardware must be used for this product to avoid tipping and injury. Anti-tipping hardware must be 13 15 used for this product to avoid Se debe usar hardware tipping and injury. antivuelco para este producto El hardware antivuelcodebeusarse para para evitar que se vuelque y se esteproducto para evitarvuelcos lastime.
- Page 15 85 LBS< 15 LBS< 15 LBS< 20 LBS< 15 LBS< 20 LBS< 20 LBS< 15 LBS< 15 |...
- Page 16 16 |...
- Page 17 FA4723 ELECTRICAL SPECIFICATIONS ESPECIFICACIONES ELÉCTRICAS CARACTÉRISTIQUES ÉLECTRIQUES Voltage: Tensión: Tension: 120V, 60 Hz Amps: Amperios: Intensité de courant: 12.5 Amps Watts: Watts: Puissance: 1500 Watts Lighting: Iluminación: Éclairage:...
- Page 22 It's highly recommended to plug the unit to outlet with GFR/GFCI receptacle.
- Page 23 Se recomienda encarecidamente enchufar la unidad a un tomacorriente con receptáculo GFR/GFCI.
- Page 24 • Il est fortement recommandé de brancher l'appareil sur une prise avec une prise GFR/GFCI.
-
Page 27: Child Lock Function
Operating Instructions: Control Panel on the Front of Unit: 1. Power 2. Heater 3. Flame 4. Log 5. Timer 1. On/Off Main Power Button a. Press to switch the unit ON/OFF. b. The unit will turn on to its default factory settings. 2. -
Page 28: Conexión Eléctrica
Instrucciones de operación: Panel de control en la parte delantera de la unidad: 1. Encendido/apagado 2. Calefactor 3. Llama 4. Leños 5. Temporizador 1. Botón de encendido/apagado principal a. Presiónelo para encender/apagar la unidad. b. La unidad se encenderá en su configuración predeterminada de fábrica. 2. -
Page 29: Directives D'utilisation
Directives d'utilisation: Panneau de commande à l'avant de l'unité: 5. Minuterie 1. Alimentation 2. Fournaise 3. Flamme 4. Bûche 1. Bouton marche/arrêt de l'alimentation principale a. Appuyez pour allumer ou éteindre l'unité. b. L'unité se mettra en marche avec les paramètres par défaut de l'usine. 2. - Page 42 Smart Fireplace Setup Guide Setting up your Smart Fireplace with Alexa In order to control your new fireplace via Alexa voice commands, you must connect the fireplace to your wireless network (WiFi) and then link the fireplace to your Amazon account.
- Page 43 Smart Fireplace Setup Guide 2) Connect your fireplace to your WiFi network Open your phone’s After a few seconds, you Select your wireless should see the success web browser and enter network and enter your message showing that your the address: password for the network.
- Page 44 Smart Fireplace Setup Guide 3) Link your fireplace to your Amazon account Tap the Login with Enter your Amazon account Tap Allow to link your Amazon button to begin details when prompted and fireplace to your Amazon linking your account. account.
- Page 45 Smart Fireplace Setup Guide 4) Name your fireplace and enable the Alexa skill You will be prompted to Configure the Alexa skill by Choose a name for your enable the Alexa skill. Tap tapping the link to launch fireplace. This is how you Enable to Use.
- Page 46 Smart Fireplace Setup Guide 5) Link the Alexa skill to your Amazon account Alexa should find 5 Once you have logged in Login with the same devices – these are the with your Amazon account, Amazon account that you different functions of your close the window to begin used to set up the fireplace.
- Page 47 Smart Fireplace Setup Guide List of Alexa Commands Use the following phrases to control your fireplace via Alexa. Simply replace “Fireplace” with the name you chose for your fireplace during setup. Power "Alexa, turn Fireplace on" "Alexa, turn Fireplace off" Downlight "Alexa, turn Fireplace downlight on"...
-
Page 48: Troubleshooting
Smart Fireplace Setup Guide Troubleshooting If you experience issues with your fireplace during or after setup, please refer to the common troubleshooting questions below or call our customer service line for assistance. Issue Solution Make sure the fireplace is turned ON for all steps during setup. The fireplace is stuck connecting to the Amazon account. - Page 49 Smart Fireplace Setup Guide Setting up your Smart Fireplace with Google In order to control your new fireplace via Google Assistant voice commands, you must connect the fireplace to your wireless network (WiFi) and then link the fireplace to your Google account.
- Page 50 Smart Fireplace Setup Guide 2.) Connect your fireplace to your WiFi network Open your phone’s After a few seconds, you Select your wireless web browser and network and enter should see the success enter the address: your password for the message showing that your http://10.9.8.7 network.
- Page 51 Smart Fireplace Setup Guide 3.) Link your fireplace to your Google account Tap the blue Google Select the Google account you Enter your Google account details if Sign in button to wish to link your fireplace to. prompted. begin linking your Note that you must use the same account when using the SEI account.
- Page 52 Smart Fireplace Setup Guide 4.) Name your fireplace and enable the Google Action Choose a name for your Your device is now fireplace. This is how you linked to your Google will identify the device when account. Next, set up using Google voice the Google Action.
- Page 53 Smart Fireplace Setup Guide 5.) Sign in to Google Assistant Open Google Assistant on Choose which Google Once you have selected Android or IOS. Tap the icon account you wish to use the desired account, in the top right to enter the for your Google scroll down and select “Home Control.”...
- Page 54 Smart Fireplace Setup Guide 6.) Link the Google Action to your Google account Sign in with the same Click the Google Locate and select the Google account you used Login Button. S.E.I. Firebox action. to setup your device in step 3. *Note: To remove a fireplace from your Amazon account, visit http://sei- smartfireplace.com and login with your account details.
-
Page 55: Finish Setup
Smart Fireplace Setup Guide 7.) Finish setup If you are not redirected Your setup is complete. Try out a Now you will see the command like “Ok Google, turn automatically, please follow devices which have been the link to return to the on the Fireplace.”... - Page 56 Smart Fireplace Setup Guide List of Supported Google Commands Use the following phrases to control your fireplace via Google Assistant. Simply replace “Fireplace” with the name you chose for your fireplace during setup. Power "Ok Google, turn on Fireplace" "Ok Google, turn off Fireplace" Downlight "Ok Google, turn on Fireplace downlight"...
Need help?
Do you have a question about the FA1095656 and is the answer not in the manual?
Questions and answers