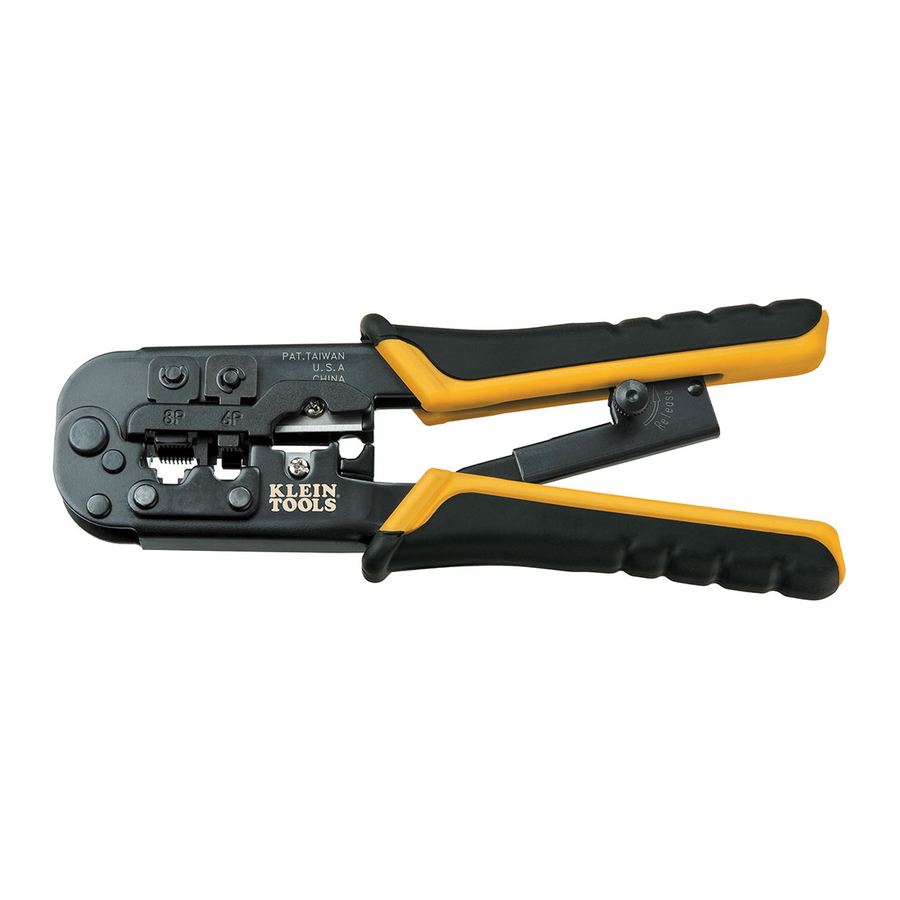
Klein Tools VDV226-011 - Ratcheting Modular Crimper/Stripper Manual
Also See for VDV226-011:
- Operating instructions (2 pages) ,
- Operating instructions (2 pages)
Advertisement
Table of Contents
Contents
Klein Tools VDV226-011 - Ratcheting Modular Crimper/Stripper Manual

Tool Front

Tool Back

RATCHET SAFETY RELEASE
Carefully turn the safety release knob counter-clockwise to release the ratchet mechanism.
(TIP: To ease safety release knob rotation, relieve the handle tension by slightly squeezing the handles together while rotating the safety release knob.)
CUTTING CABLE

- Open the tool completely by squeezing the handles together fully to release the ratcheting mechanism.
- With the tool in the open position, insert the cable into the cable cutting cavity on the back of the tool.
- To cut the cable, carefully squeeze the handles together fully through a complete ratcheting cycle.
- When the cutting cycle is complete, the ratchet mechanism will release and the jaws will open.
- Remove the cable from the tool.
STRIPPING FLAT/RIBBON TYPE MODULAR CABLE

- Open the tool completely by squeezing the handles together fully to release the ratcheting mechanism.
- With the tool in the open position, insert the cable into the cable cutting cavity on the front of the tool.
4 and 6 conductor cable: Insert the cable into the cable cutting cavity on the front side of the tool, and position the cable towards the handle-side of the cavity. (Note: The raised depth gauge located inside the cavity adjacent to the round, twisted-pair, cable stripper guide.) Insert the cable up to the raised depth gauge.
8 conductor cable: Insert the cable into the cable cutting cavity on the front side of the tool and position the cable towards the hinge-side of the cavity. Insert the cable until the end protrudes from the other side of the tool. - To strip the cable, carefully squeeze the handles together fully and hold in the closed position.
- Pull the cable out while holding the handles together. The cable will be stripped to the correct length for insertion/assembly into a handset RJ22, RJ11 or RJ12 connector.
- When finished pulling the cable through the stripping knives, release the handles. The ratcheting cycle is complete, the ratchet mechanism will release, and the jaws will open.
- Remove the cable jacket from the cutting knife cavity of the tool.
- Follow the instructions below for crimping the connector to the cable.
STRIPPING TWISTED PAIR (UTP/STP) TYPE CABLE

- Open the tool completely by squeezing the handles together fully to release the ratcheting mechanism.
- With the tool in the open position, insert the cable into the round, twisted-pair, cable stripping cavity on the front of the tool.
- To strip the cable, carefully squeeze the handles together fully and hold in the closed position.
- Carefully rotate the tool around the cable 3 to 5 times to score jacket.
DO NOT use the tool to pull the outer jacket off of the cable. This may damage the conductors and the tool. - Complete the ratcheting cycle.
- The ratchet mechanism will release and the jaws will open. Remove the scored twisted-pair cable from the tool.
- Crack jacket by bending at score and remove scrap.
(Note: If blade penetrates the conductor insulation, cut the cable and remove the damaged insulation. Repeat steps 1 through 6.) - Follow the instructions below for crimping the connector to the cable.
CRIMPING MODULAR PLUGS
- Assemble connector to prepared cable end, per the connector manufacturer's instructions.
(Note: Verify the required "pin-out" configuration prior to crimping connector-cable assembly.) - See the chart (Fig. 4) to determine the appropriate cavity for the connector-cable assembly.
Fig. 4Crimp Nest Cavity Connector Type 4P RJ22 Handset 6P RJ11/RJ12 P RJ45 - Open the tool completely by squeezing the handles together fully to release the ratcheting mechanism.
- With the tool in the open position, insert the connector-cable assembly into the appropriate cavity (Fig. 5 & Fig. 6). Use care when inserting the assembly into the cavity, paying attention to the key/cavity orientation.
6P & 8P cavity located on front of tool (Fig. 5).
4P cavity located on back of tool (Fig. 6).
![Klein Tools - VDV226-011 - CRIMPING MODULAR PLUGS - Step 1 CRIMPING MODULAR PLUGS - Step 1]()
![]()
- To compress the connector, carefully squeeze the handles together. When the crimping cycle is complete, the ratchet mechanism will release and the jaws will open.
- Remove the crimped cable assembly from the tool. Verify and test the connection.

Documents / ResourcesDownload manual
Here you can download full pdf version of manual, it may contain additional safety instructions, warranty information, FCC rules, etc.
Download Klein Tools VDV226-011 - Ratcheting Modular Crimper/Stripper Manual
Advertisement


Need help?
Do you have a question about the VDV226-011 and is the answer not in the manual?
Questions and answers