Table of Contents
Advertisement
Quick Links
Advertisement
Table of Contents

Summary of Contents for Onlincam C36
- Page 1 User Manual Onlincam C36...
-
Page 2: Product Overview
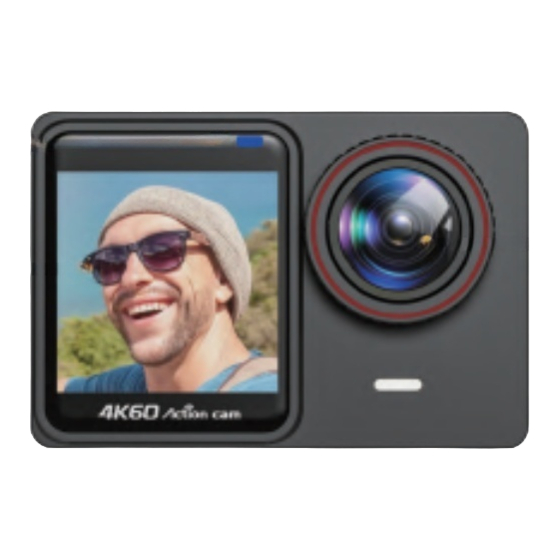
INTRODCTION Action Camera is a high-definition digital motion video recording device, created to reach market demand. It has a wide variety of the leading features for digital video recording, photo shooting, audio recording with screen display and detachable battery. Best suitable for vehicle recording, outdoor sports, home security, diving and more related activities. -
Page 3: Getting Started
1. Lens 9. Bracket Hole 2. 1.4-inch Front Screen 10. Speaker 3. Front Screen Working Indicator 11. Built-in Mic 4. 2.0-inch Touch Screen 12. HD Output Port 5. Working & Charging Indicator 13. External Mic/Data/Charging Port 6. Shutter Button / Select Button 14. -
Page 4: Powering On/Off
• micro SD, micro SDHC, or micro SDXC • UHS-III rating at least for 4K Video resolution (at least 60MB/S or above read and writing speed) • Capacity up to 128GB (FAT32) Note: 1. Please format the micro SD card first in this camera before using. To keep your micro SD card in good condition, reformat it on a regular basis. - Page 5 To turn page, please swipe up or down on the screen as shown below: To exit, tap “X” icon. QUICK OPERATION GUIDE 1)Verify the camera is in Video Mode or Photo Mode, quickly swipe right on the touch screen to enter Playback Mode, as shown below: To exit Playback Mode, quickly swipe down on the screen.
-
Page 6: Customizing Your Camera
3)Verify the camera is in Video Mode or Photo Mode,Quickly swipe up on the screen to switch to the Mode Shift Mode, as shown below: to exit, tap the icon “X”on the top right corner of the screen 4)Verify the camera is in Video Mode or Photo Mode: Swipe left quickly on the touch screen to switch fast to the Video Settings or Photo Settings, as shown below: CUSTOMIZING YOUR CAMERA... - Page 7 Notes: • When capturing video at high resolution or high frame rates such as 4K 60/30fps, the camera may become hot and consume more power, which is normal. • When capturing video at high resolutions or high frame rates in warm ambient temperatures, the camera may become warm and use more power.
- Page 8 • If you use Time-Lapse Video function, Loop Video,Slow Motion and Fast Motion will not be available automatically. • If you want to set Time Lapse Duration, please turn on Time Lapse Interval first. • Please select 1080P 120FPS, 720P 240FPS or 720P 120FPS when you want to record slow motion movie.
-
Page 9: System Setting
• If you want to use TL Duration, please turn on Time Lapse Photo interval first. • If use Burst Photo function, Time Lapse Photo,TL Duration and Long Exposure will not be available automatically. SYSTEM SETTING Verify the camera is in Video Settings or Photo Settings, tap the setting icon on the upper right corner of the screen to System Setting, then swipe up or down to cycle through the various option and tap the desired option,or use Up Button or Down Button to cycle... -
Page 10: Video Mode
VIDEO MODE To record video,verify the camera is in desired Video Setting option and set the desired video resolution. To Start Recording: To press the Shutter Button. The camera’s blue Working Indicator will flash and a Red Dot will show on the screen while recording. To Stop Recording: To press the Shutter Button again. -
Page 11: Photo Mode
PHOTO MODE To capture photo,verify the camera is in desired Photo Setting option and set the desired photo resolution. To capture a photo: 1.In the Photo mode, Press the Shutter Button. The camera will emit the camera shutter sound. To capture Time-Lapse Photo series Verify the camera is selected desired Time Lapse Photo mode, Press the Shutter Button, The camera will trigger continuous shooting at the set interval and TL duration, the camera will emit shutter sound... -
Page 12: Playing Back On Tv
by inserting the micro SD card directly into a device, such as a computer or compatible TV. With this method, playback resolution depends on the resolution of the device and its ability to play back that resolution. PLAYING BACK ON CAMERA 1. - Page 13 Notes: 1.If the camera is connected TV with HDMI cable, the camera do not support to take videos or photo, only for Playback or Preview. HDMI cable is not included in the standard package,you will need buy an extra HDMI cable. PLAYING BACK ON COMPUTER To play back your video and photos on a computer, you must first transfer these files to a computer.
- Page 14 DELETE FILE ON CAMERA 1.Verify the camera is in Video or Photo Playback menu,If your micro SD card contains a lot of content, it might take a minute for it to load. 2. Slide up or down on the screen or press the Up or Down Button to locate the file you want to delete.
- Page 15 please do no throw the camera or its battery to the garbage,find a specific recycling point for it. Wi-Fi APP The Wi-Fi App lets you control your camera remotely using a smart phone. Features include full camera control,live preview,playback and sharing of selected content and more. Download and Install FUN DV app Option 1:...
-
Page 16: Remote Controller
3.Connect to the network called “FUN DV”in your phone ’s Wi-Fi setting. 4.Enter the password”12345678” 5.Launch the FUN DV App on your smart phone. 6.Press the Up/Wi-Fi Button for seconds again to turn off Wi-Fi. REMOTE CONTROLLER Place the Remote Control On Your Wrist and Acquiesce Ultra-conve- nient Control For Hiking,Biking, Skiing,Bungee and more while installing the camera on your Helmet or other place. -
Page 17: Waterproof Case
WATERPROOF CASE Specially designed for diving, surfing, snorkeling and other water sports activities. The waterproof case does not only offer greater waterproof protection to your camera, it also offers extra protection against dust, scratches and shocks. Light and easy to carry, excellent PMMA material endows it with high quality.With the use of the waterproof case, you can record activities even 30M under water and it won't damage the shooting effect, clear and vivid.Your movement and photographic effect... - Page 18 Notes: In order to capture a clear video or photo, please tear off the lens protection film of the waterproof shell before use, and protect well the lens window from scratch after use. Before sealing the waterproof case, keep the camera housing’s White Silicone Seal Ring clean, a single hair or grain of sand cause a leak.
- Page 19 Specifications are subject to change without prior notice. Please refer to the actual specifications! For any inquiries, issues or comments concerning our products, please send E-mail to the address below or call us. We will respond as soon as possible. cs@onlincam.com E-mail: https://www.onlincam.com Web: English-18...
- Page 20 V1.1...
Need help?
Do you have a question about the C36 and is the answer not in the manual?
Questions and answers