Advertisement
Quick Links
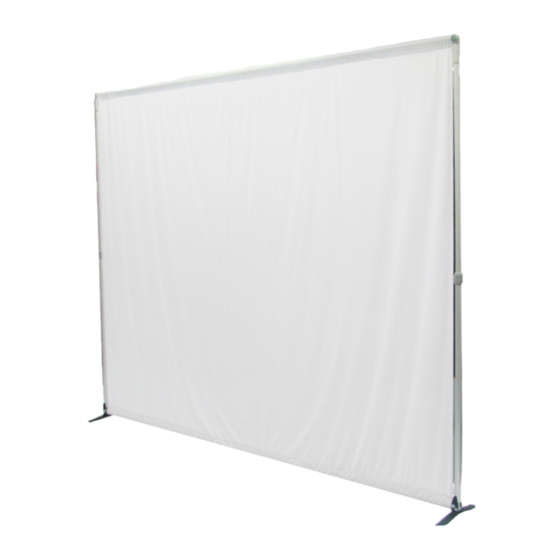
Bravo
Product Parts
1 - Left Frame Assembly
2 - Right Frame Assembly
3 - Top Horizontal Pole
4 - Bottom Horizontal Pole
5 - Graphic
6 - Carrying Case
Display Set-Up
Step 1
Remove the parts from the
bag and place on a clean, flat
surface, along with your banner.
Lay the Left Frame Assembly (1)
on its side and unfold. First, open
the levers on each of the two
poles. Push the poles down into
the joints as shown. Repeat step
for Right Frame Assembly (2).
Step 3
Insert Top Horizontal Pole (3) into the Left Frame Assembly (1)
by matching up the labels on the hardware. Push in the push-
button and insert as shown. Repeat step for Bottom Pole (4).
Step 5
Connect the Right Frame Assembly (2) to the Top
Horizontal Pole (3) as shown. Repeat step for Bottom
Horizontal Pole (4).
1
2
3
4
5
6
OPEN
LEVERS
PUSH
IN PIN
Instructions Continued On Back Side
Step 2
Stand the Left Frame Assembly
(1) upright and fold open and
push the Vertical poles down into
the joints as shown. Repeat step
for Right Frame Assembly (2).
Step 4
Slide the Graphic (5)
on the Top and Bottom
Horizontal Poles (3 &
4) as shown. Continue
to slide the graphic until
the Horizontal Poles are
exposed on the opposite
end.
Step 6
To adjust the
height, open the
telescoping clamp
as shown.
Kit Item #: 254150, 254151
Graphic Item #: 254154, 254155
9/14
Advertisement

Summary of Contents for Bravo 254150
- Page 1 Bravo Kit Item #: 254150, 254151 Graphic Item #: 254154, 254155 Product Parts 1 - Left Frame Assembly 2 - Right Frame Assembly 3 - Top Horizontal Pole 4 - Bottom Horizontal Pole 5 - Graphic 6 - Carrying Case...
- Page 2 To adjust the width, locate the Blue “A“ and “B“ Labels on the Left Frame Assembly (1). Push in the push-button and slide pole to desired setting. “A“ - Setting for the 10’ Bravo Graphic (Do Not exceed 10’ width setting) “B“ - Setting for the 8’ Bravo Graphic...
Need help?
Do you have a question about the 254150 and is the answer not in the manual?
Questions and answers